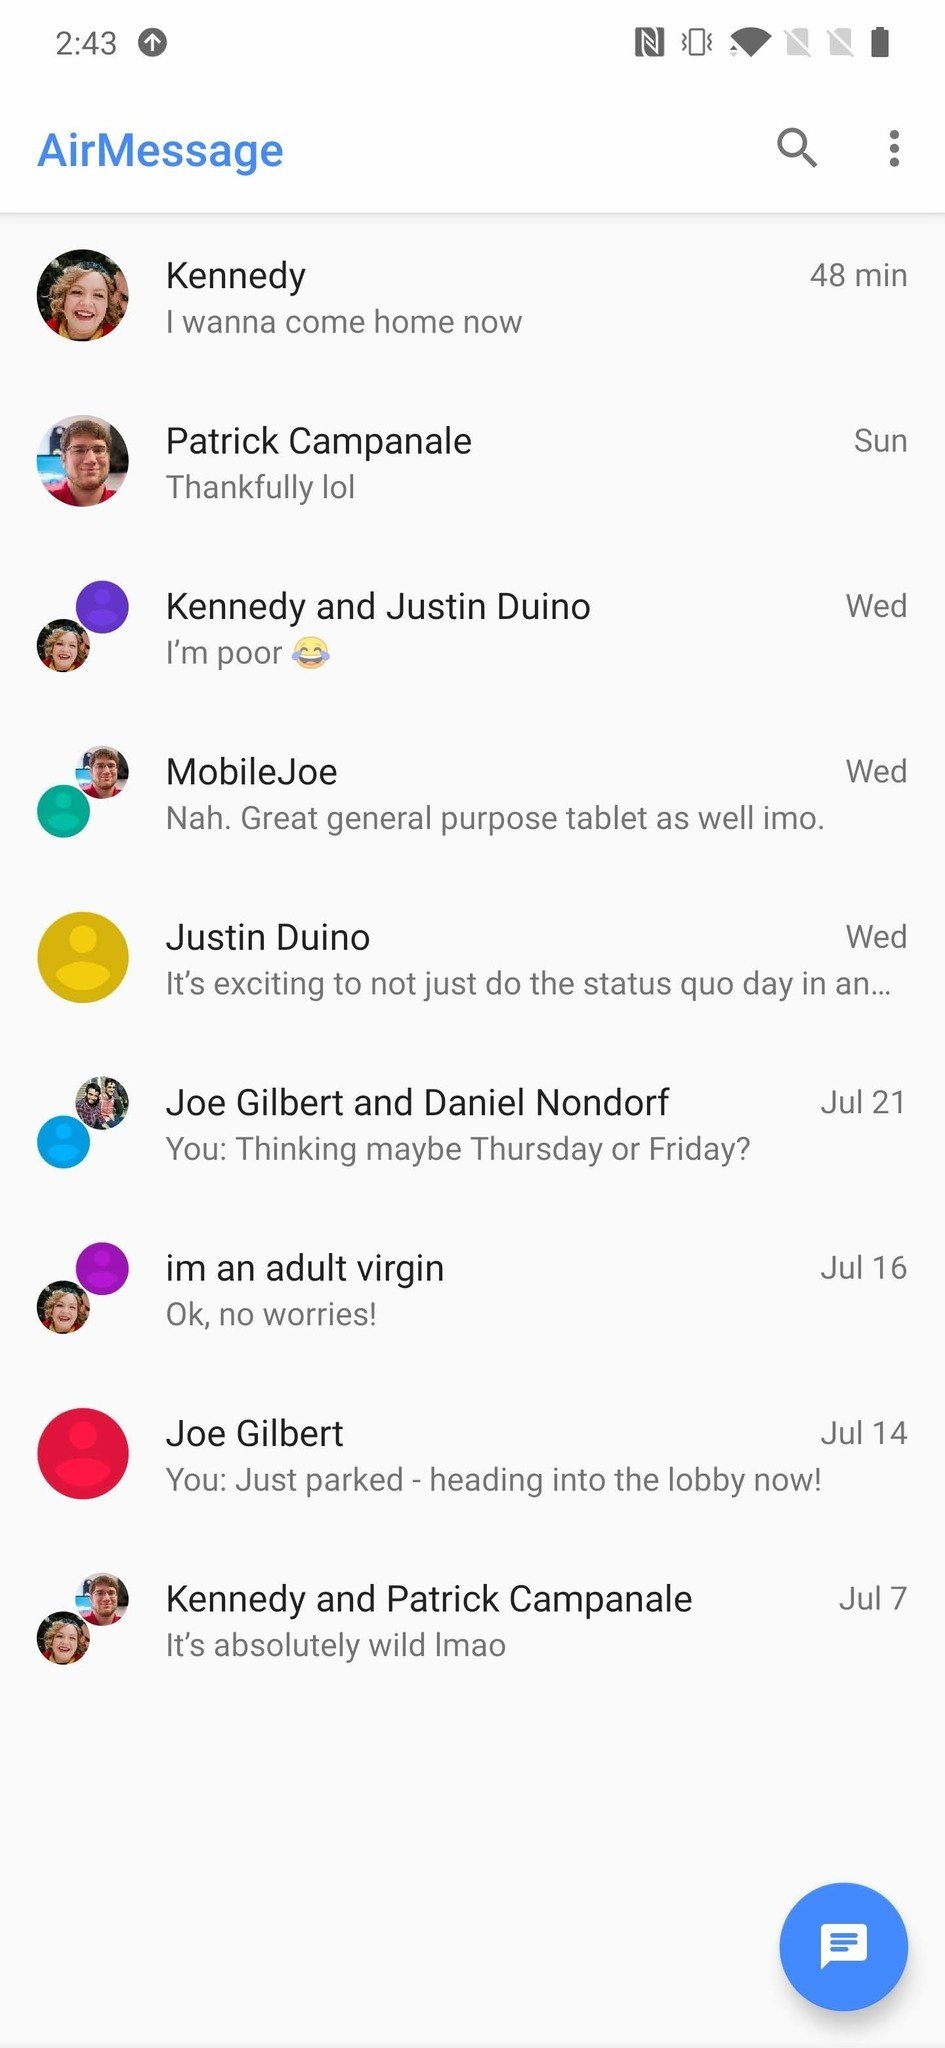
iMessage on Android. It's a beautiful pipe dream that's fun to think about, but in reality, it likely won't ever be a thing. Or will it? If you have a bit of patience and technical knowhow, there is a way to get iMessage on your Android phone right now using something called AirMessage. It's not the easiest thing to set up, but once you have everything up and running, the experience is pretty solid.
Products used in this guide
- iPhone who?: OnePlus 7 Pro (From $669 at OnePlus)
- Messaging server: Apple iMac ($1649 at Amazon)
- Ties it all together: AirMessage (Free at Google Play)
How to download the AirMessage macOS client
Before we dive into the step-by-step guide, there is one big caveat to this whole process. To get iMessage working on your Android phone, you'll need a Mac of some kind. It can be an iMac, Mac Mini, or MacBook — the only thing is that the Mac needs to be on 24/7 as it acts as a server for your iMessages to be relayed to your Android phone.
With that out of the way, here's how the process works.
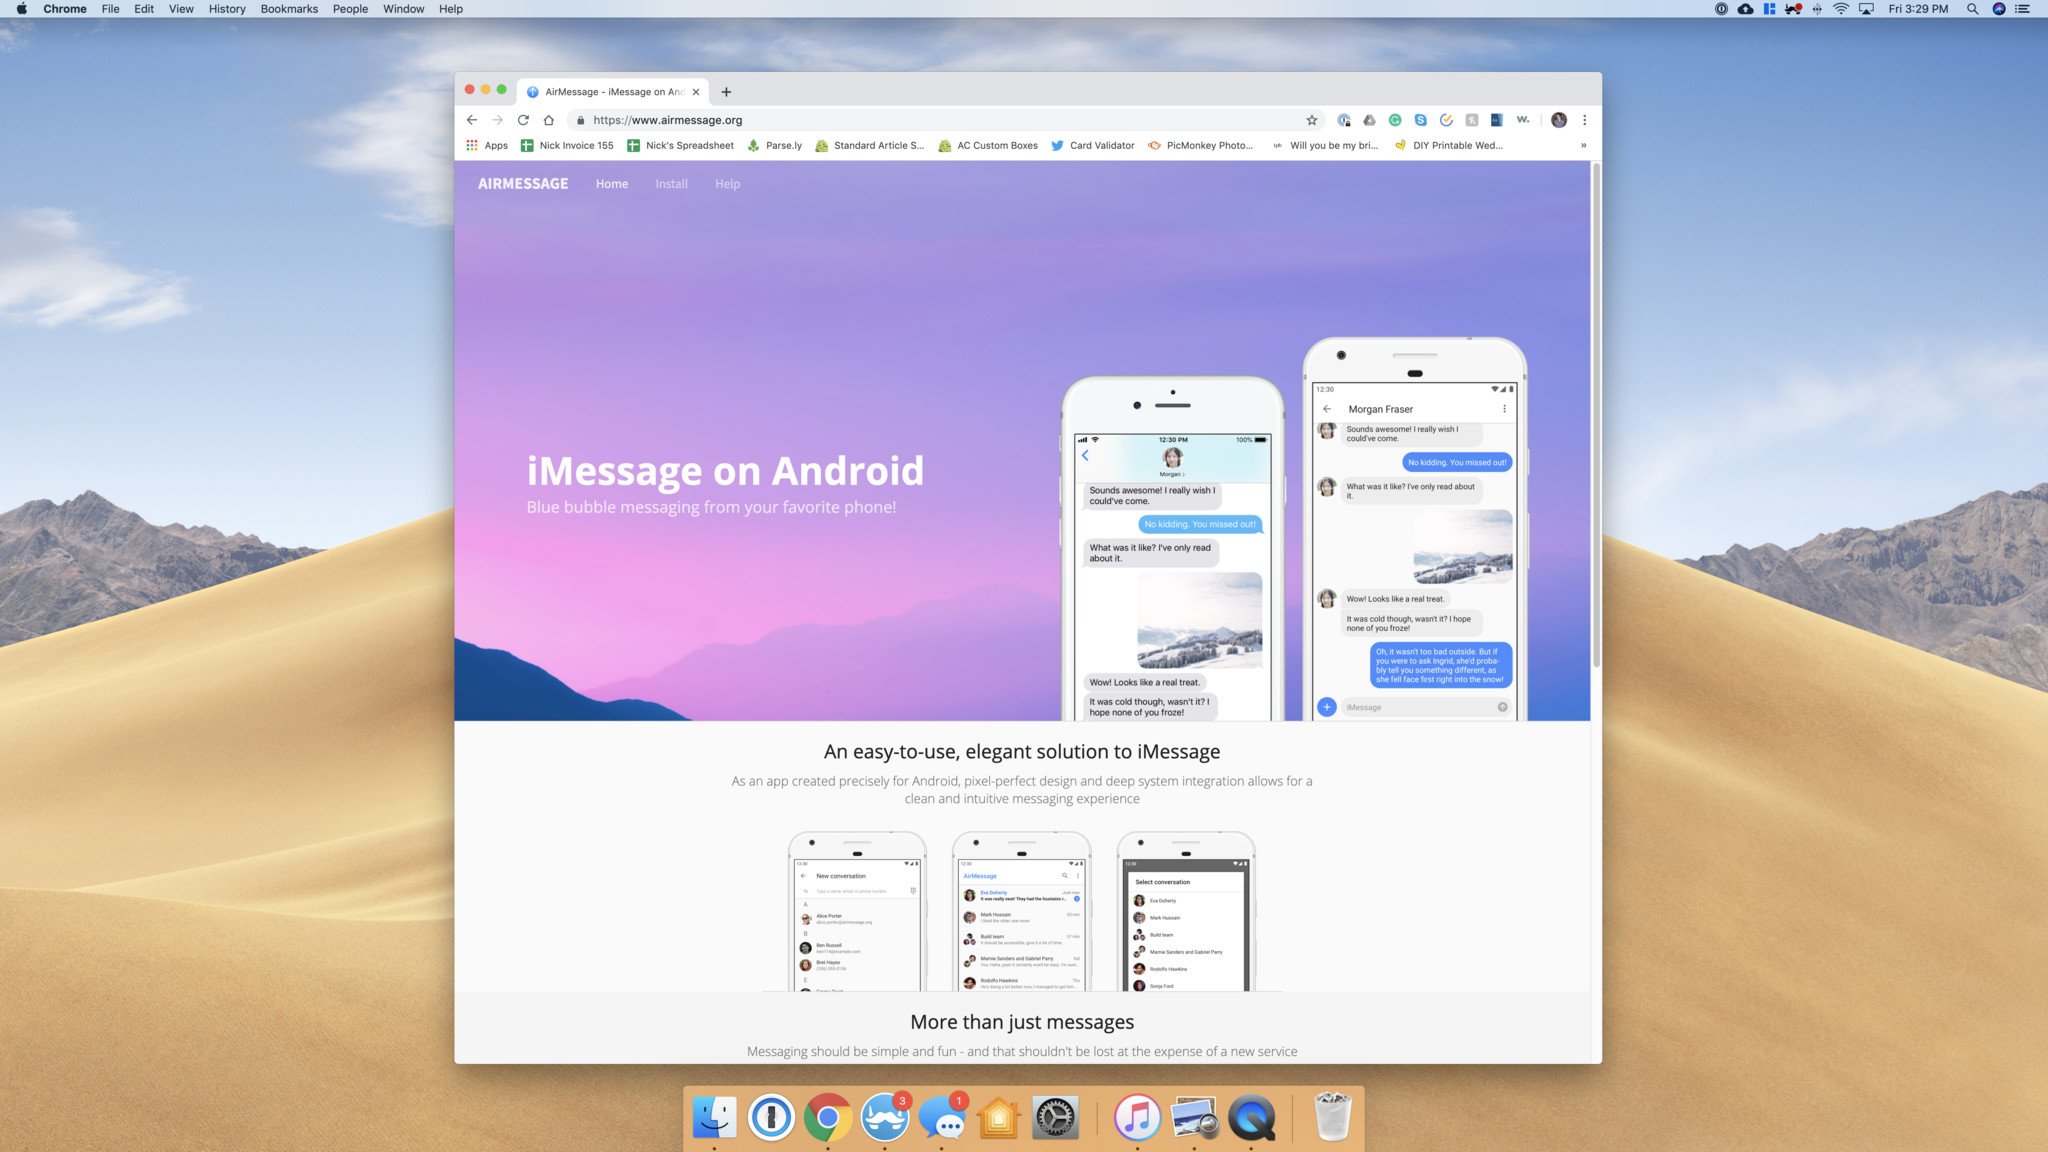
- Go to www.airmessage.org on your Mac.
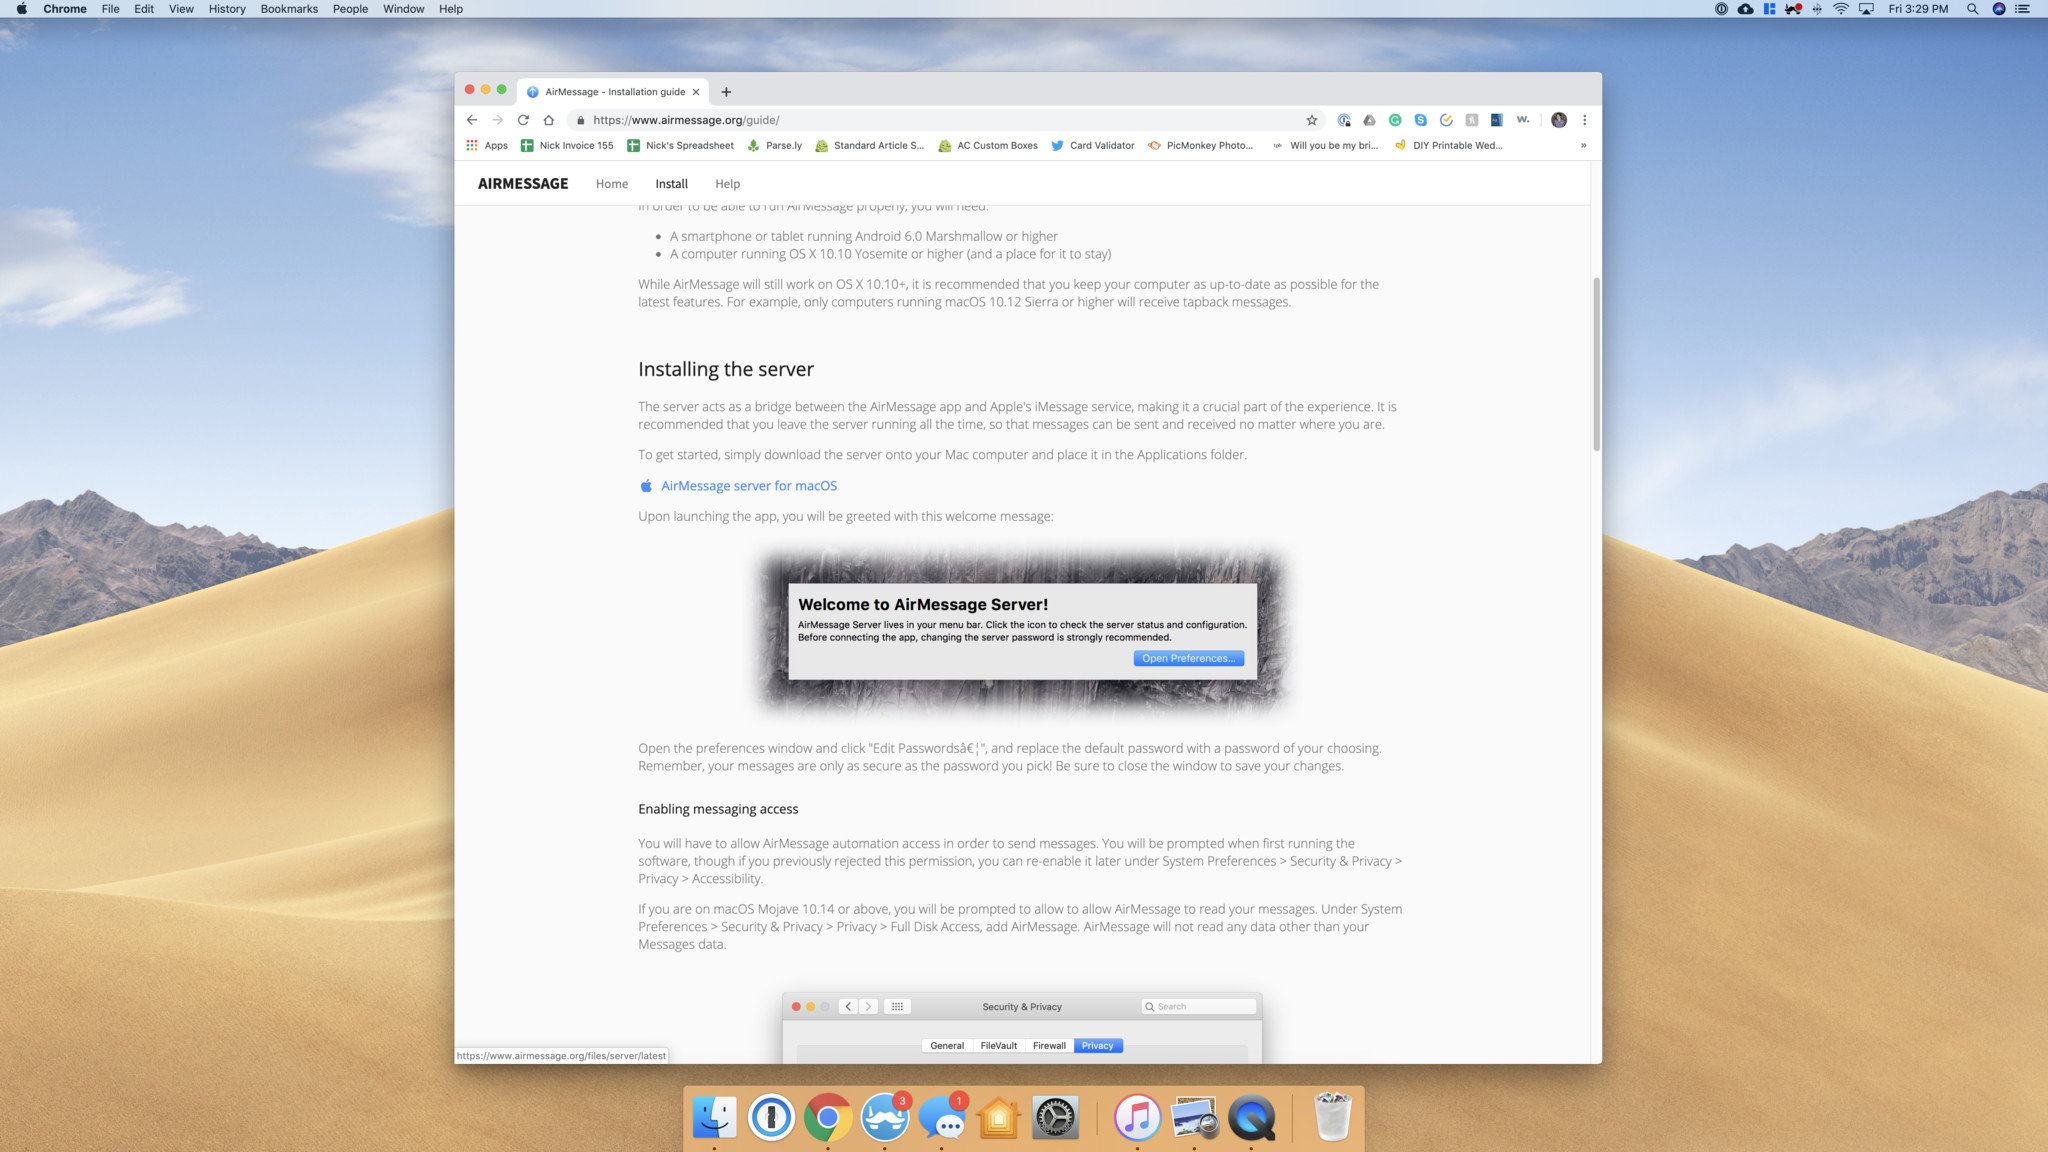
- Click Install at the top of the page.
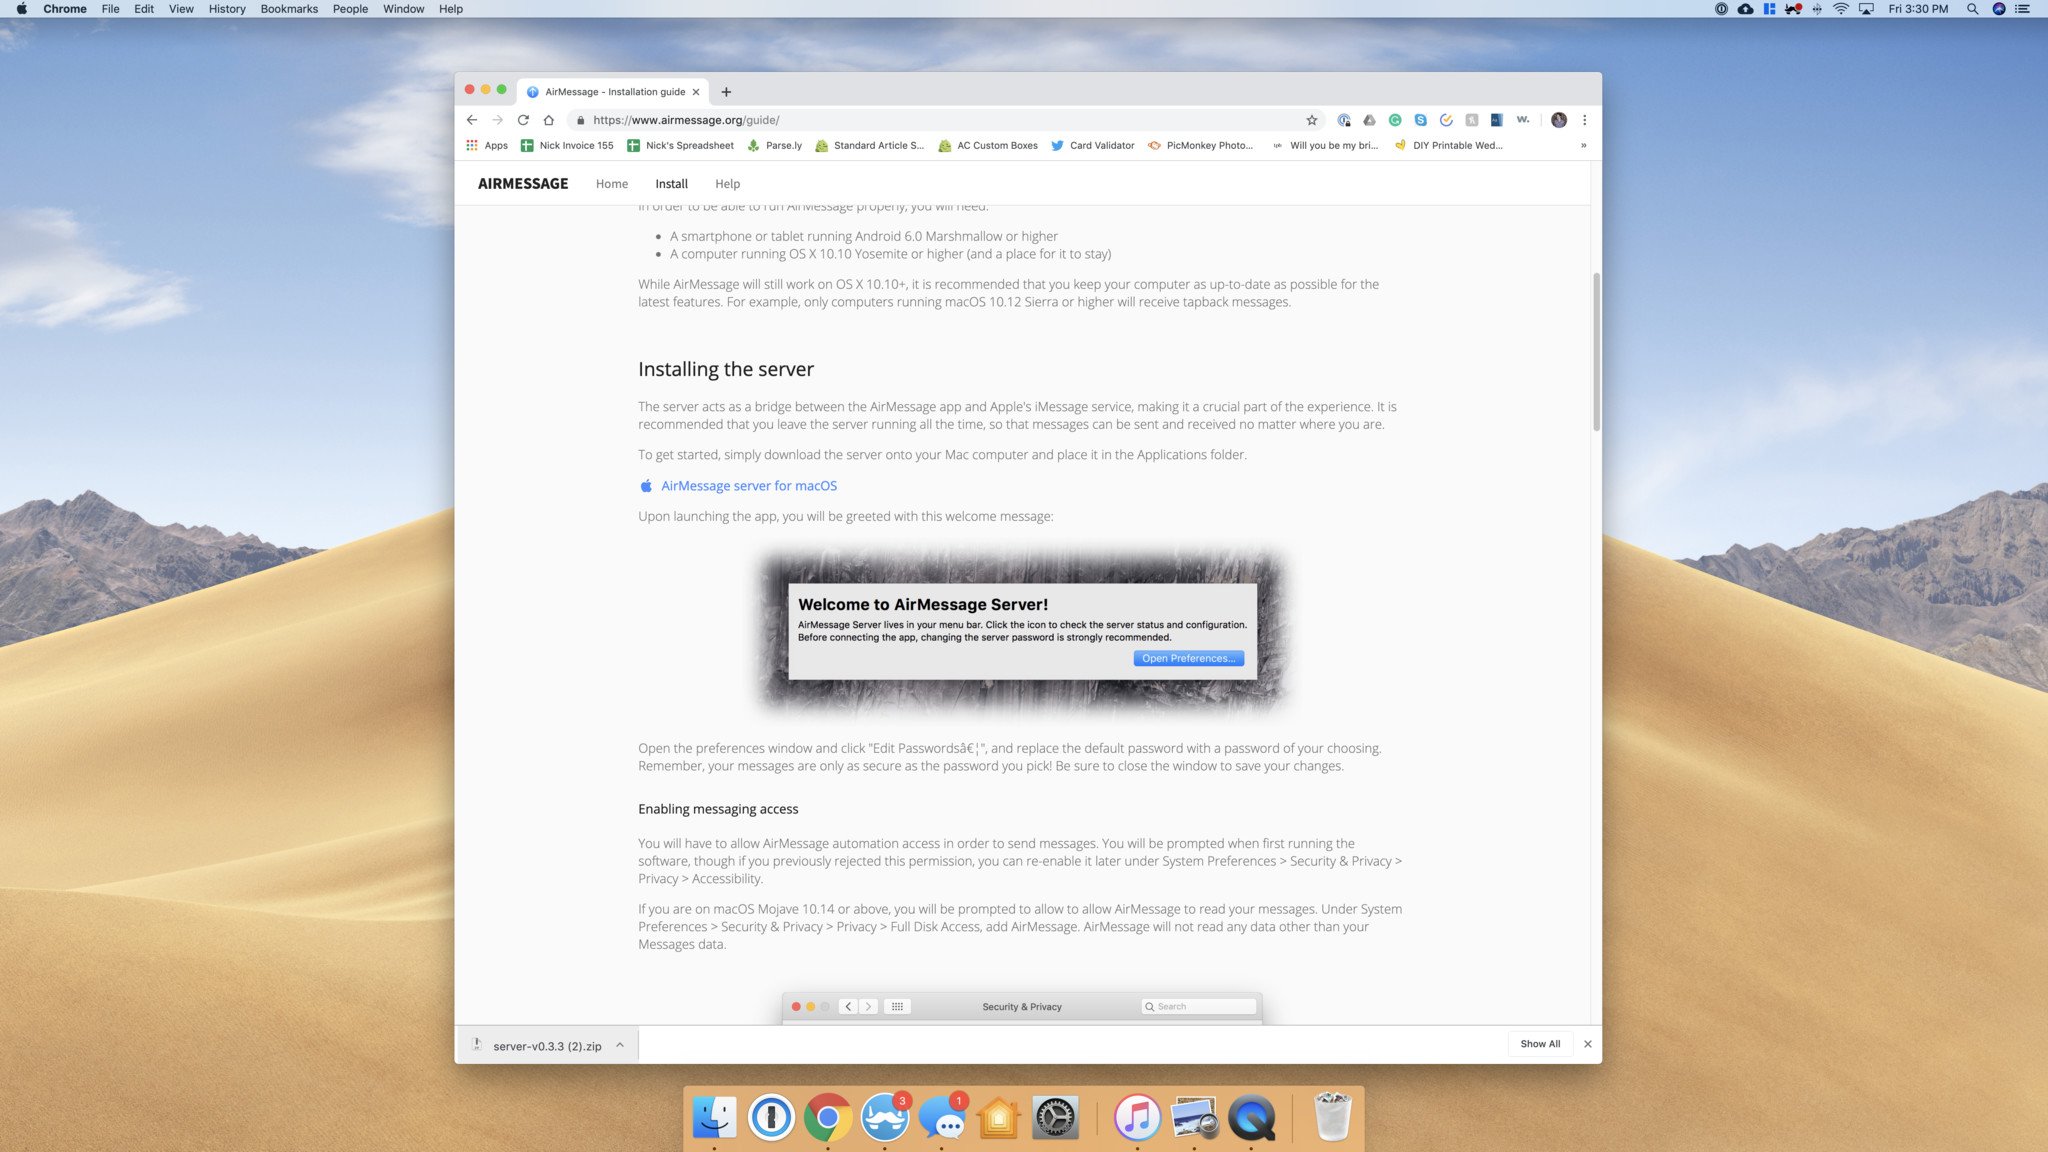
- Click AirMessage server for macOS.
-
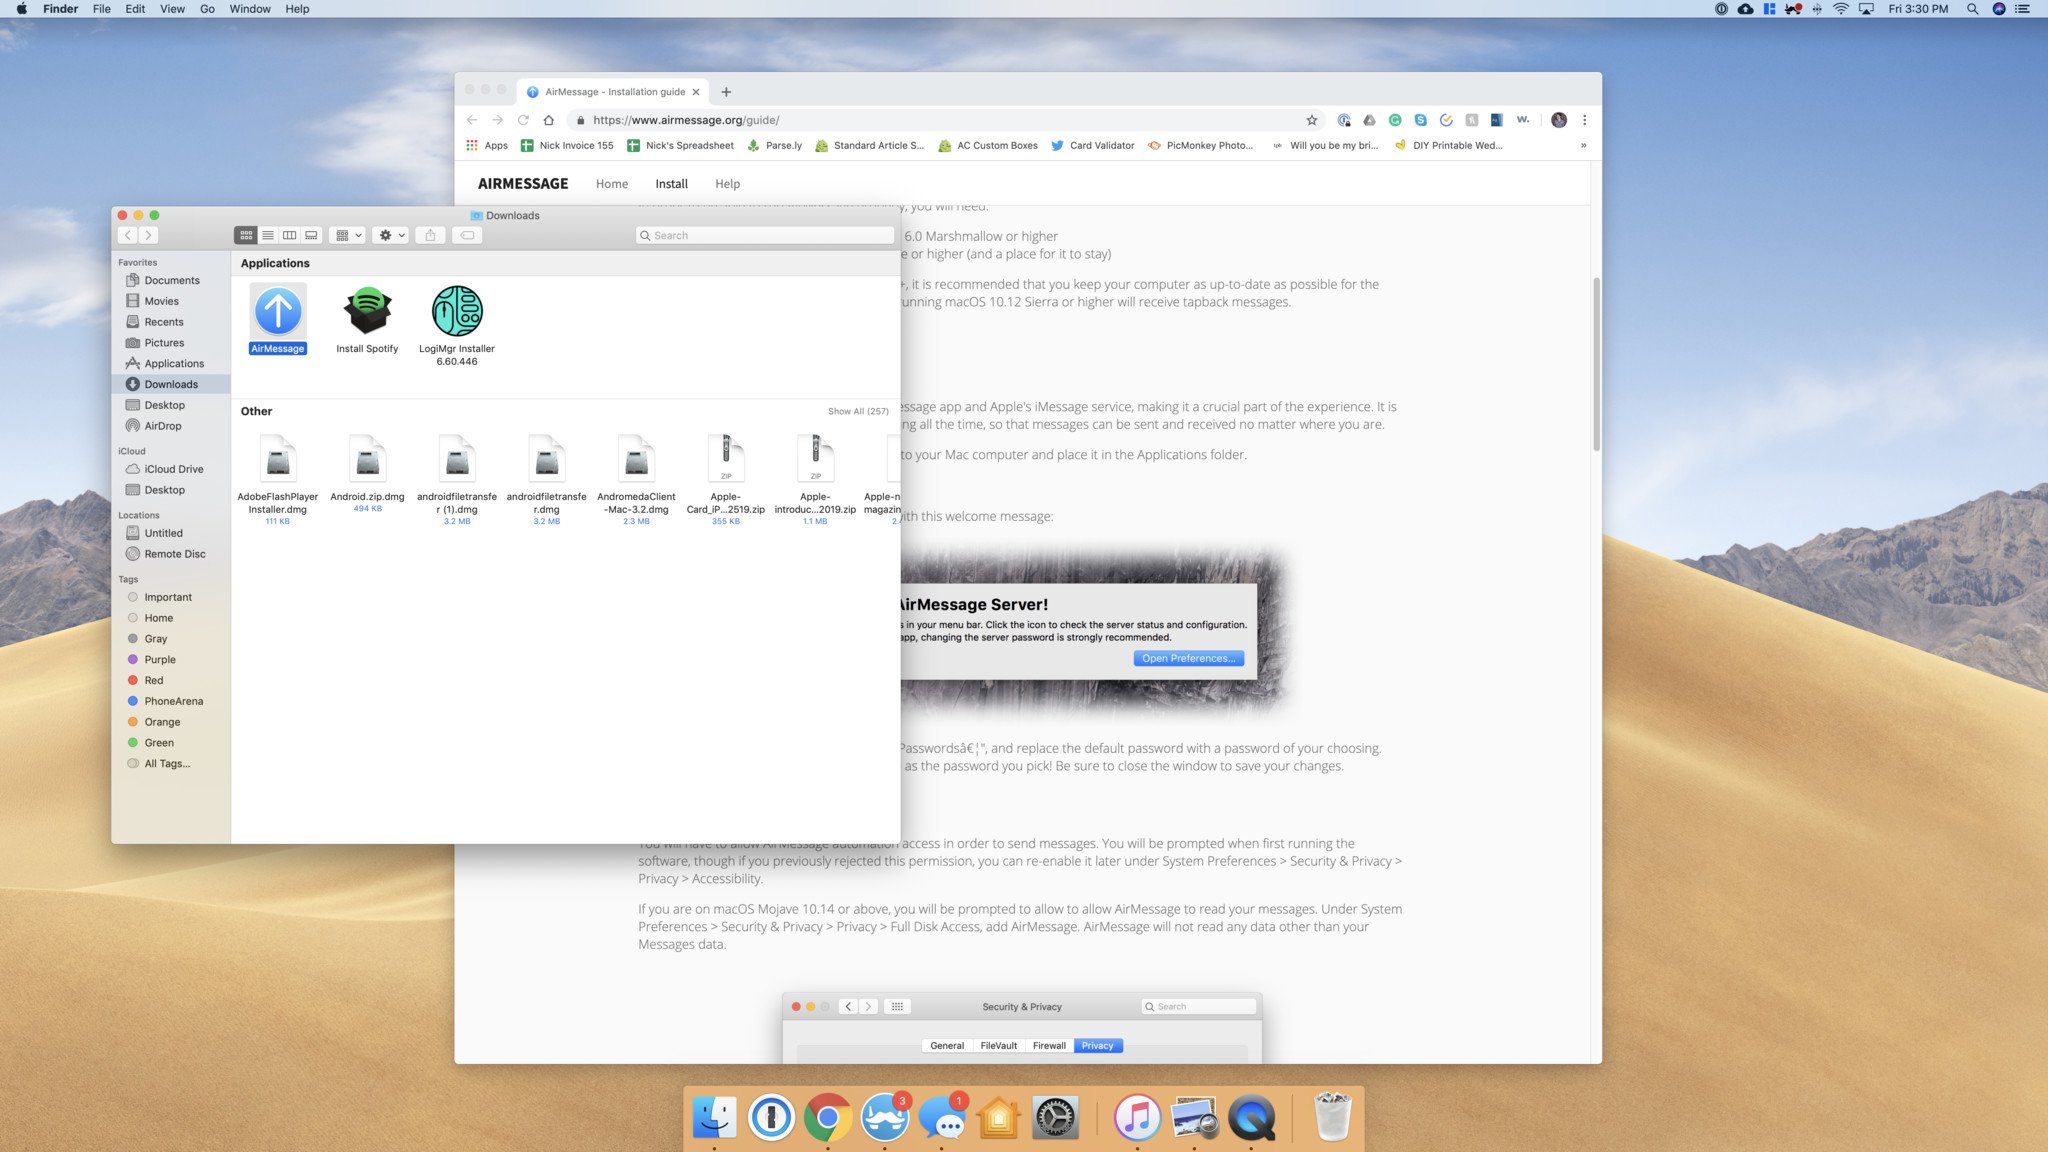
Click the .zip file once it's down downloading.
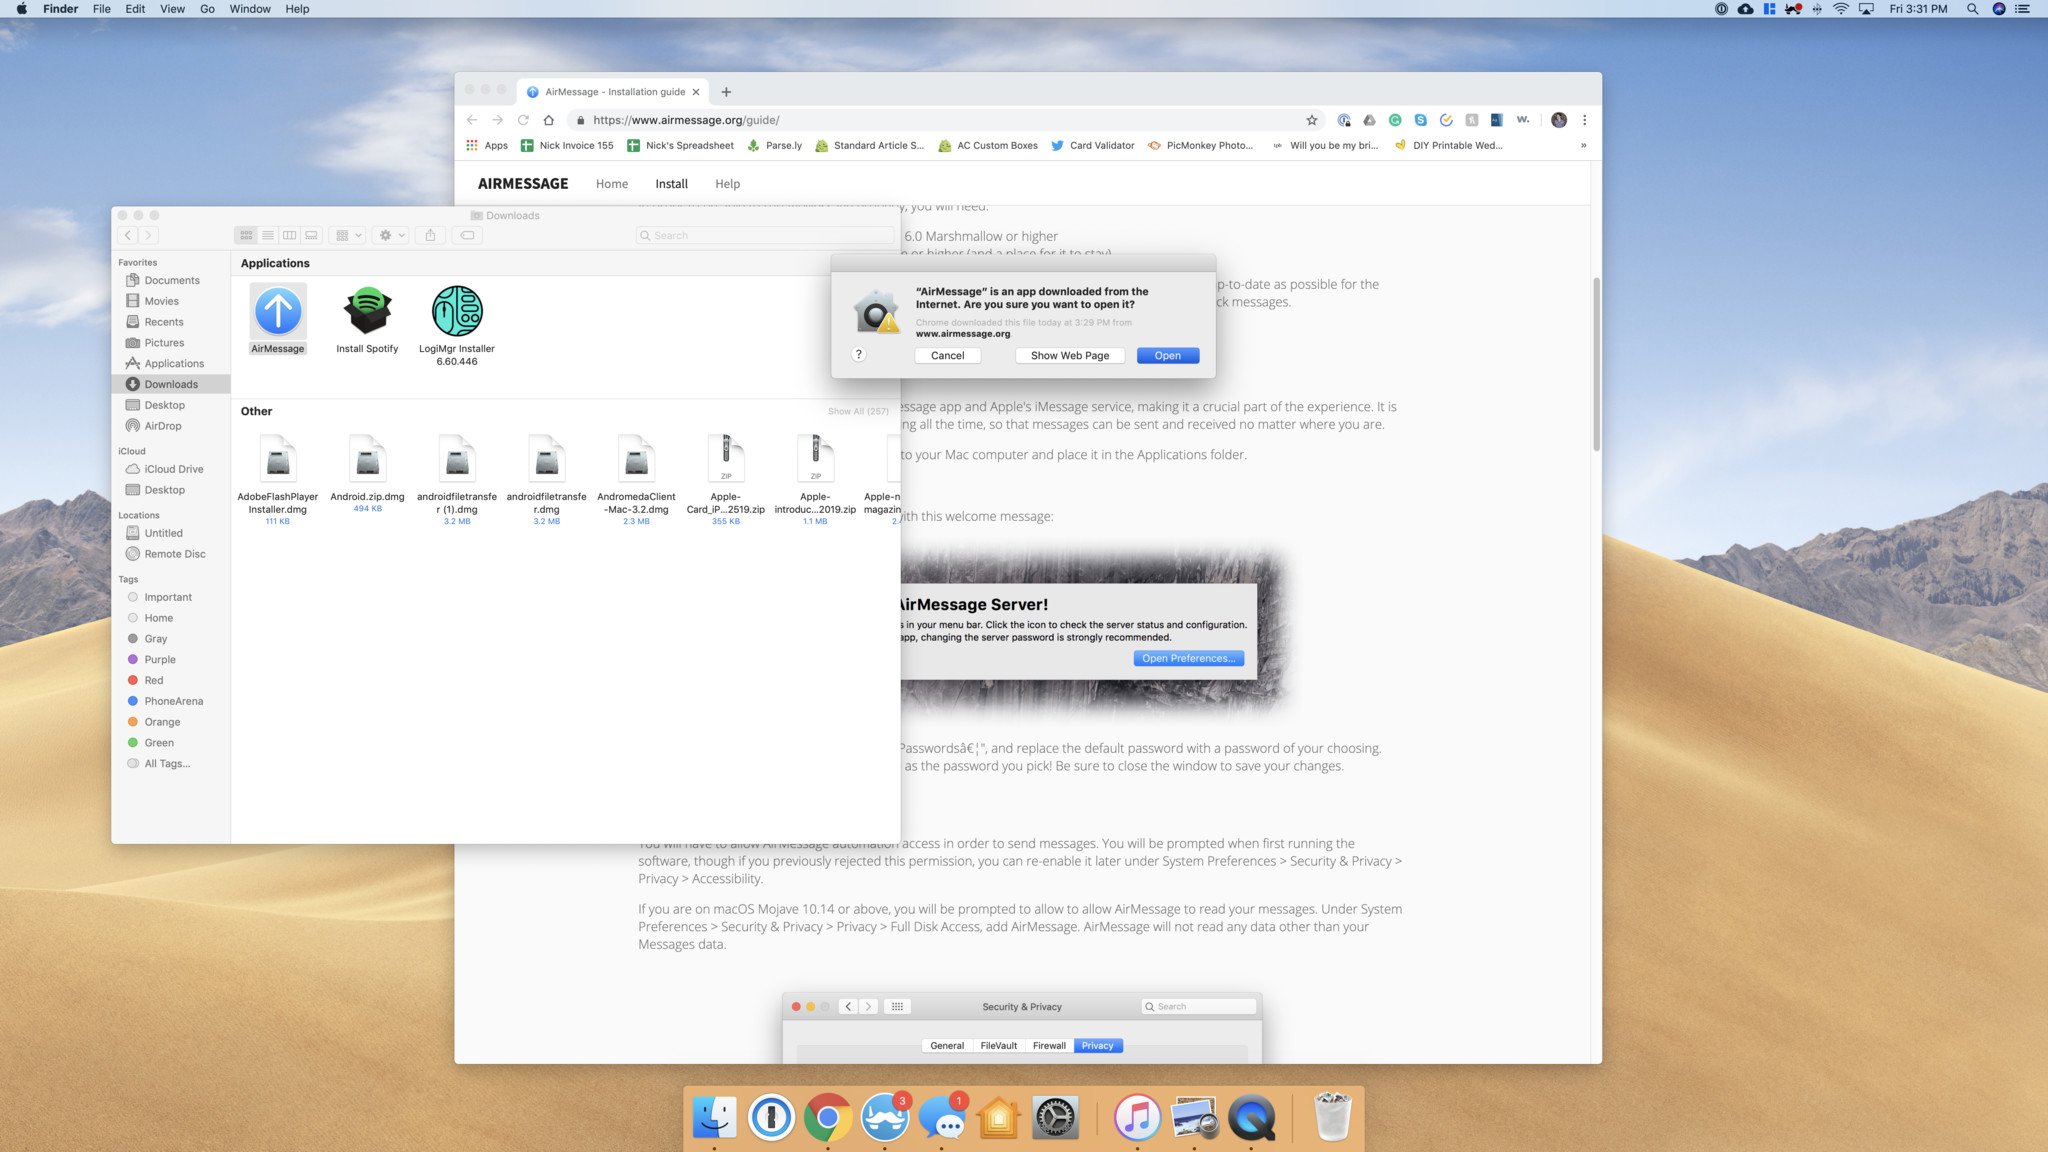
- After the Downloads folder pops up, click AirMessage.
- Click Open to confirm that you want to open the app.
-
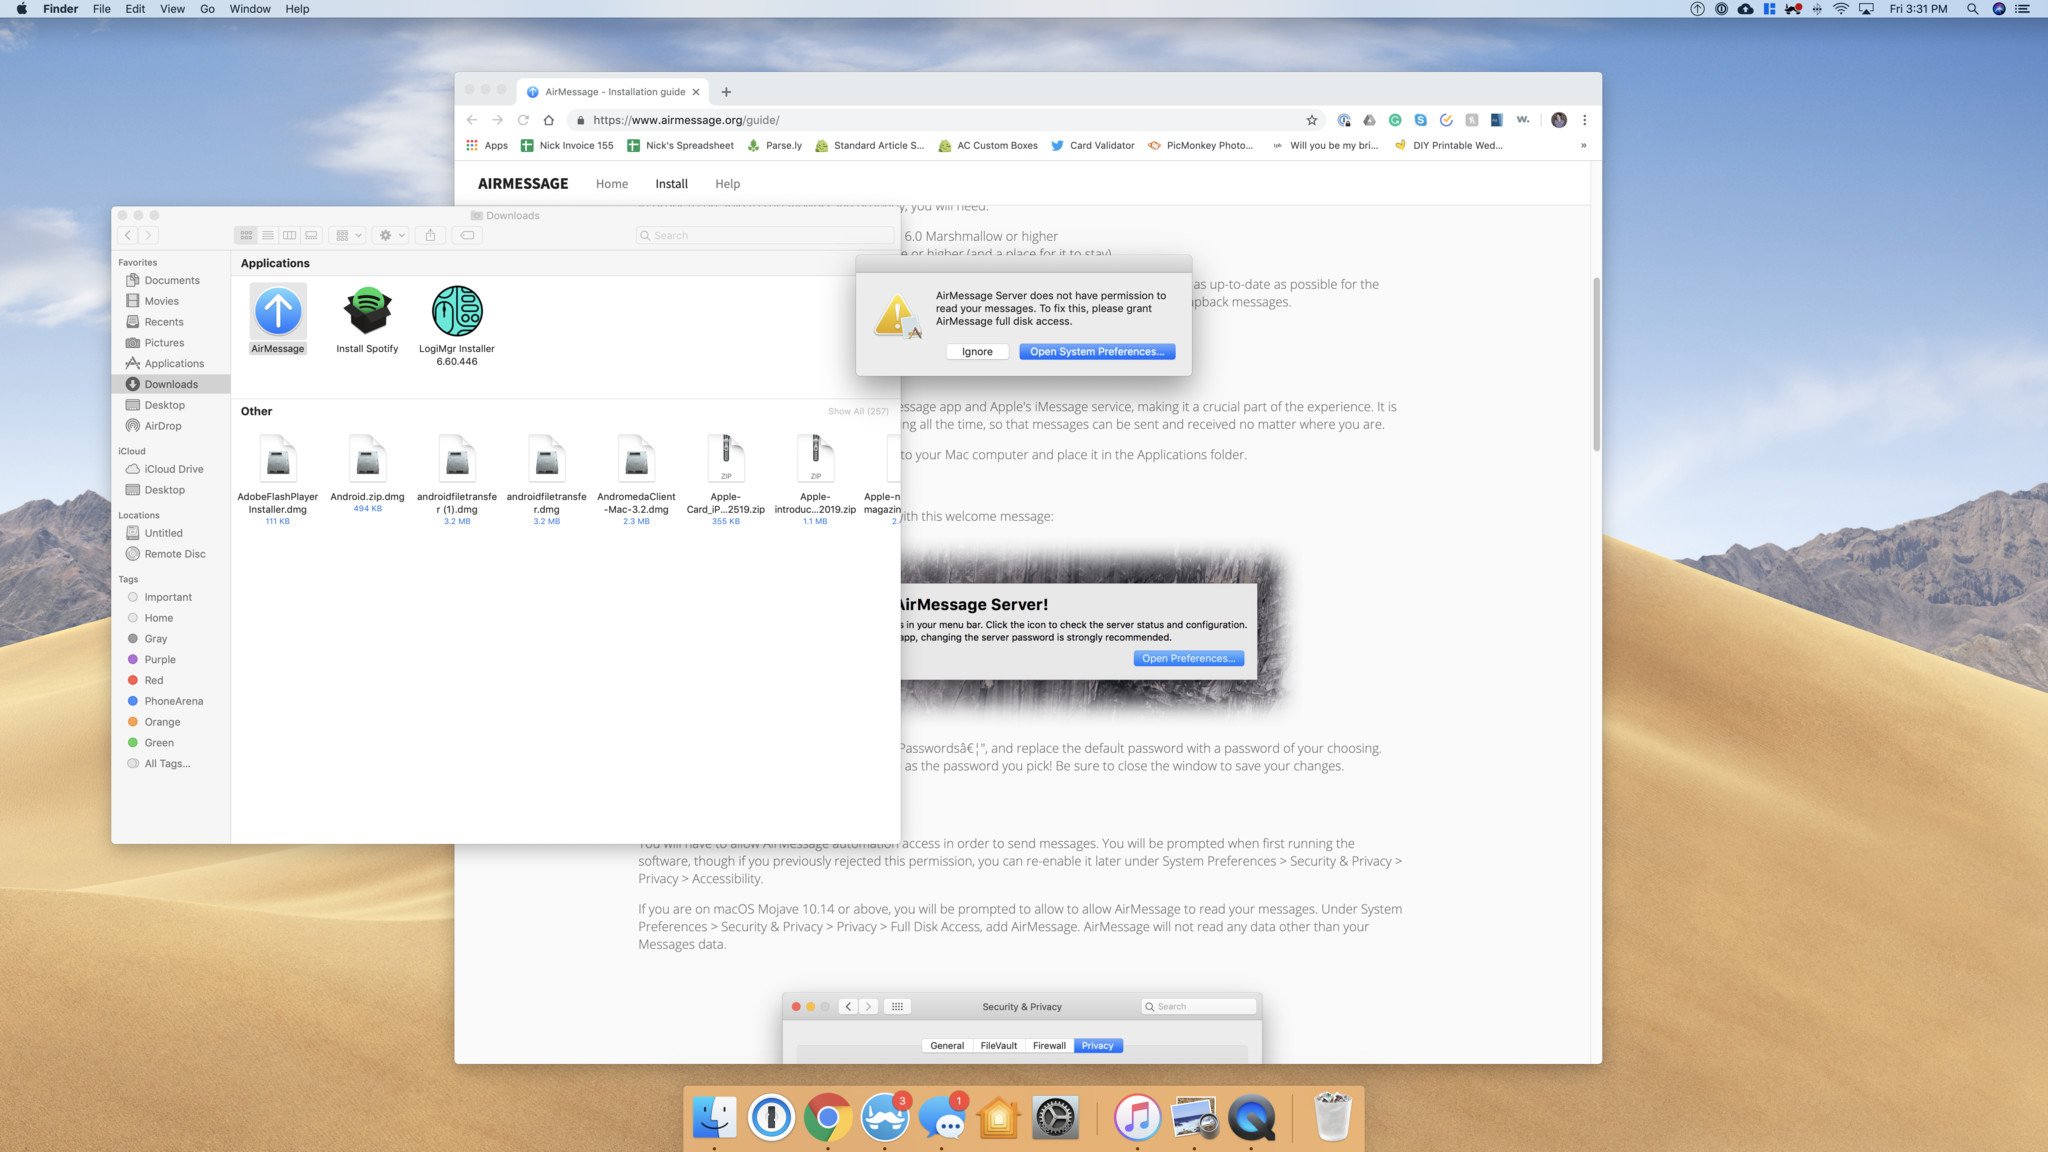
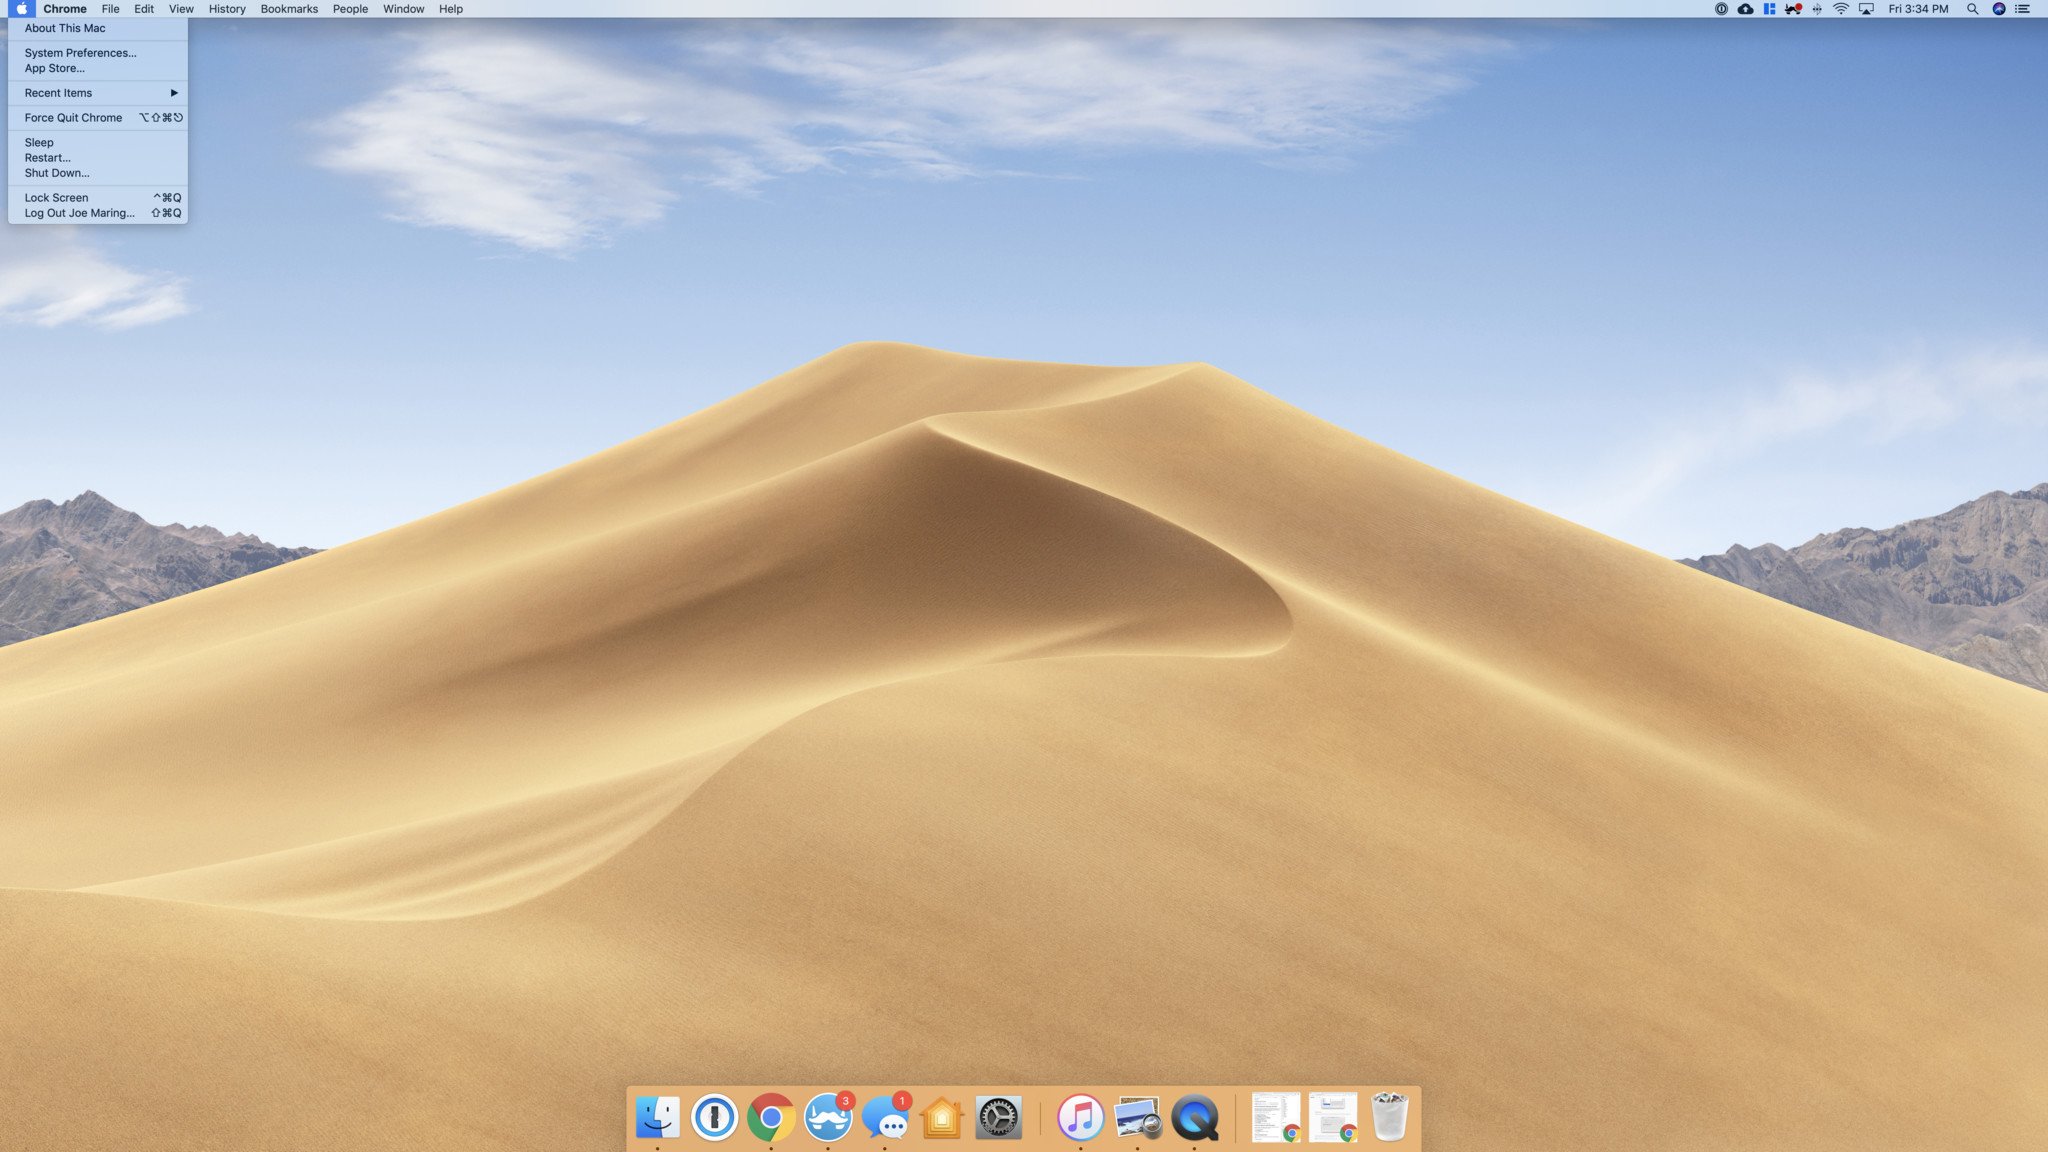
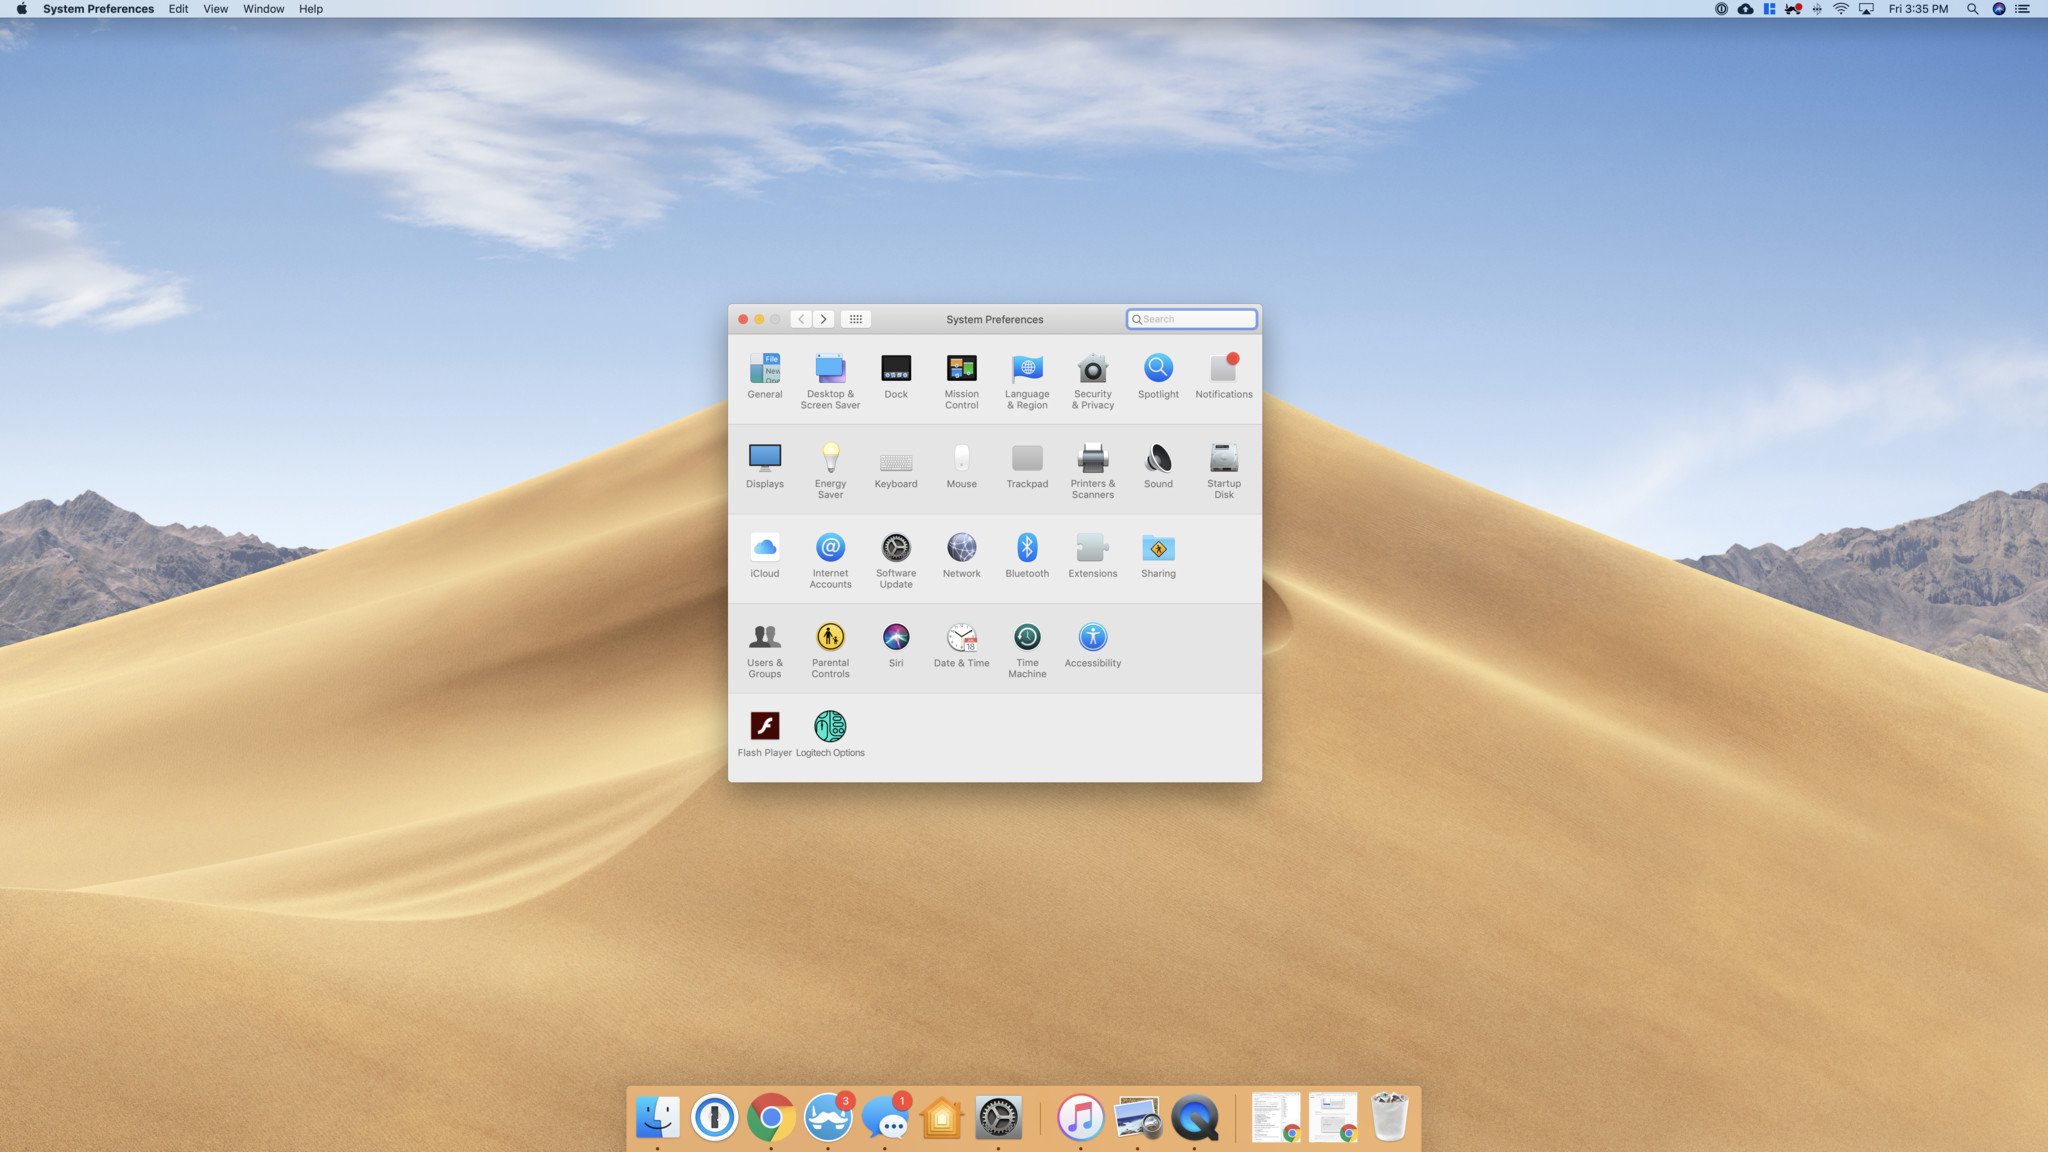
Click Open System Preferences.
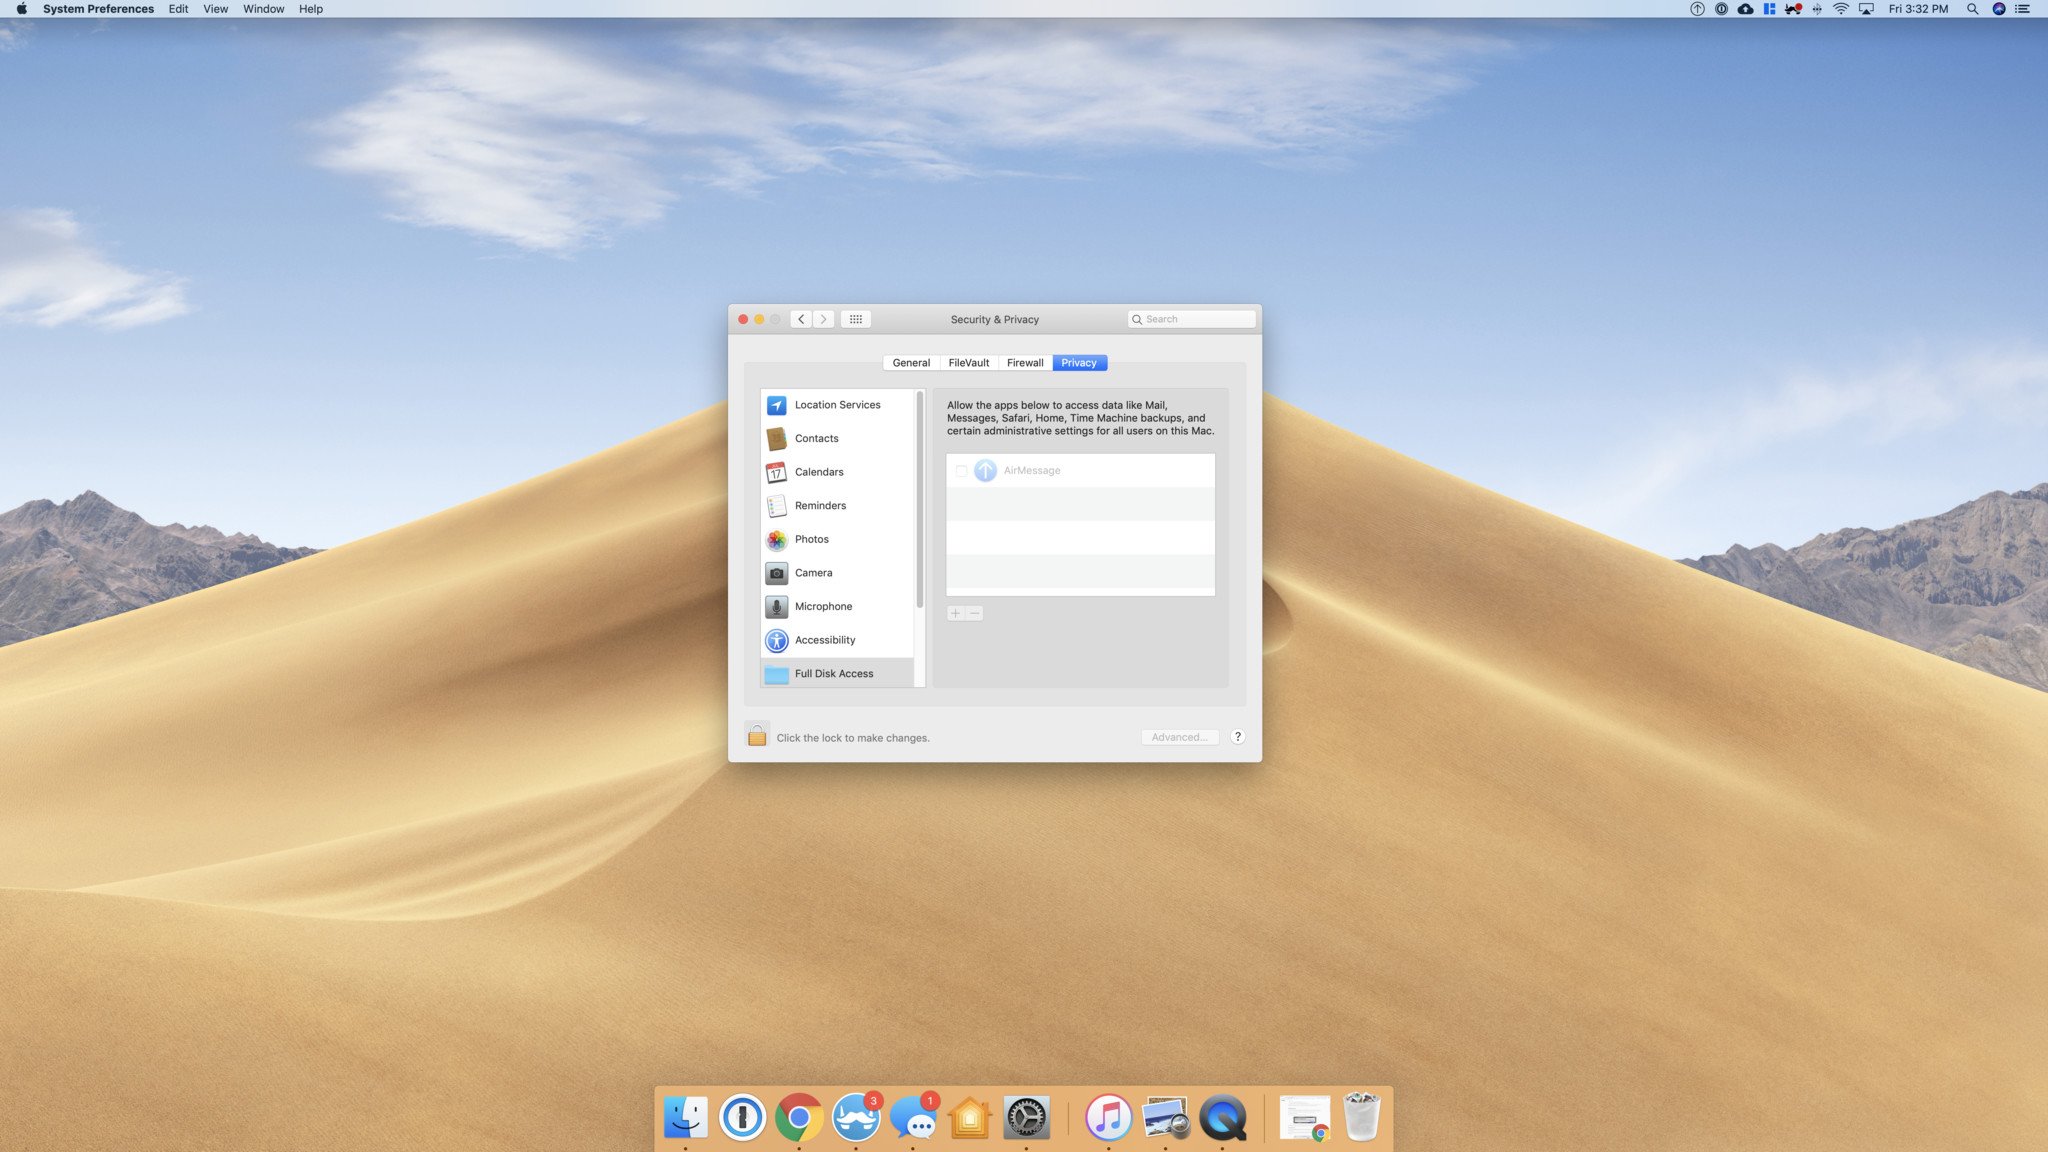
- Click the lock icon near the bottom left.
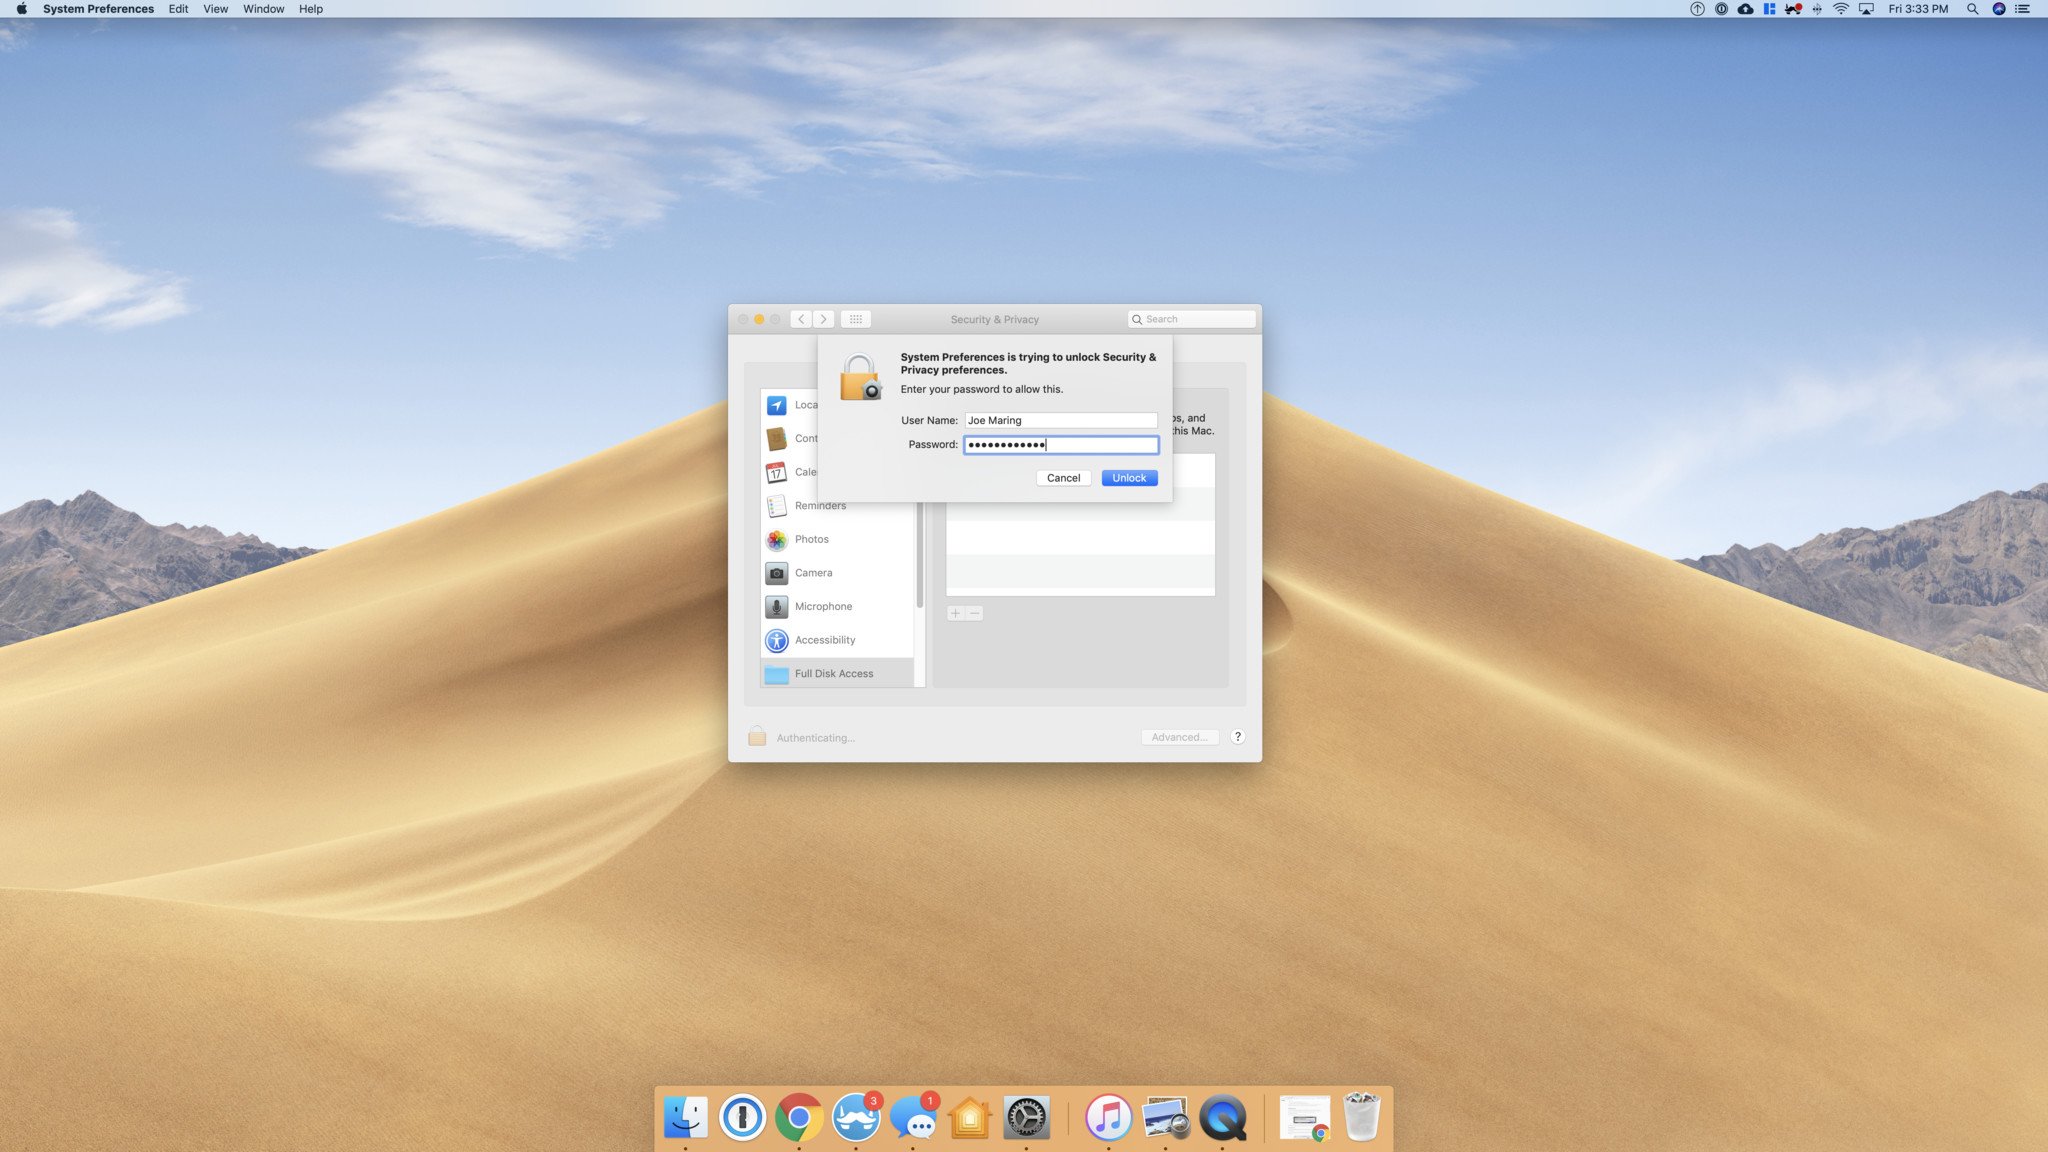
- Type in your password and click Unlock.
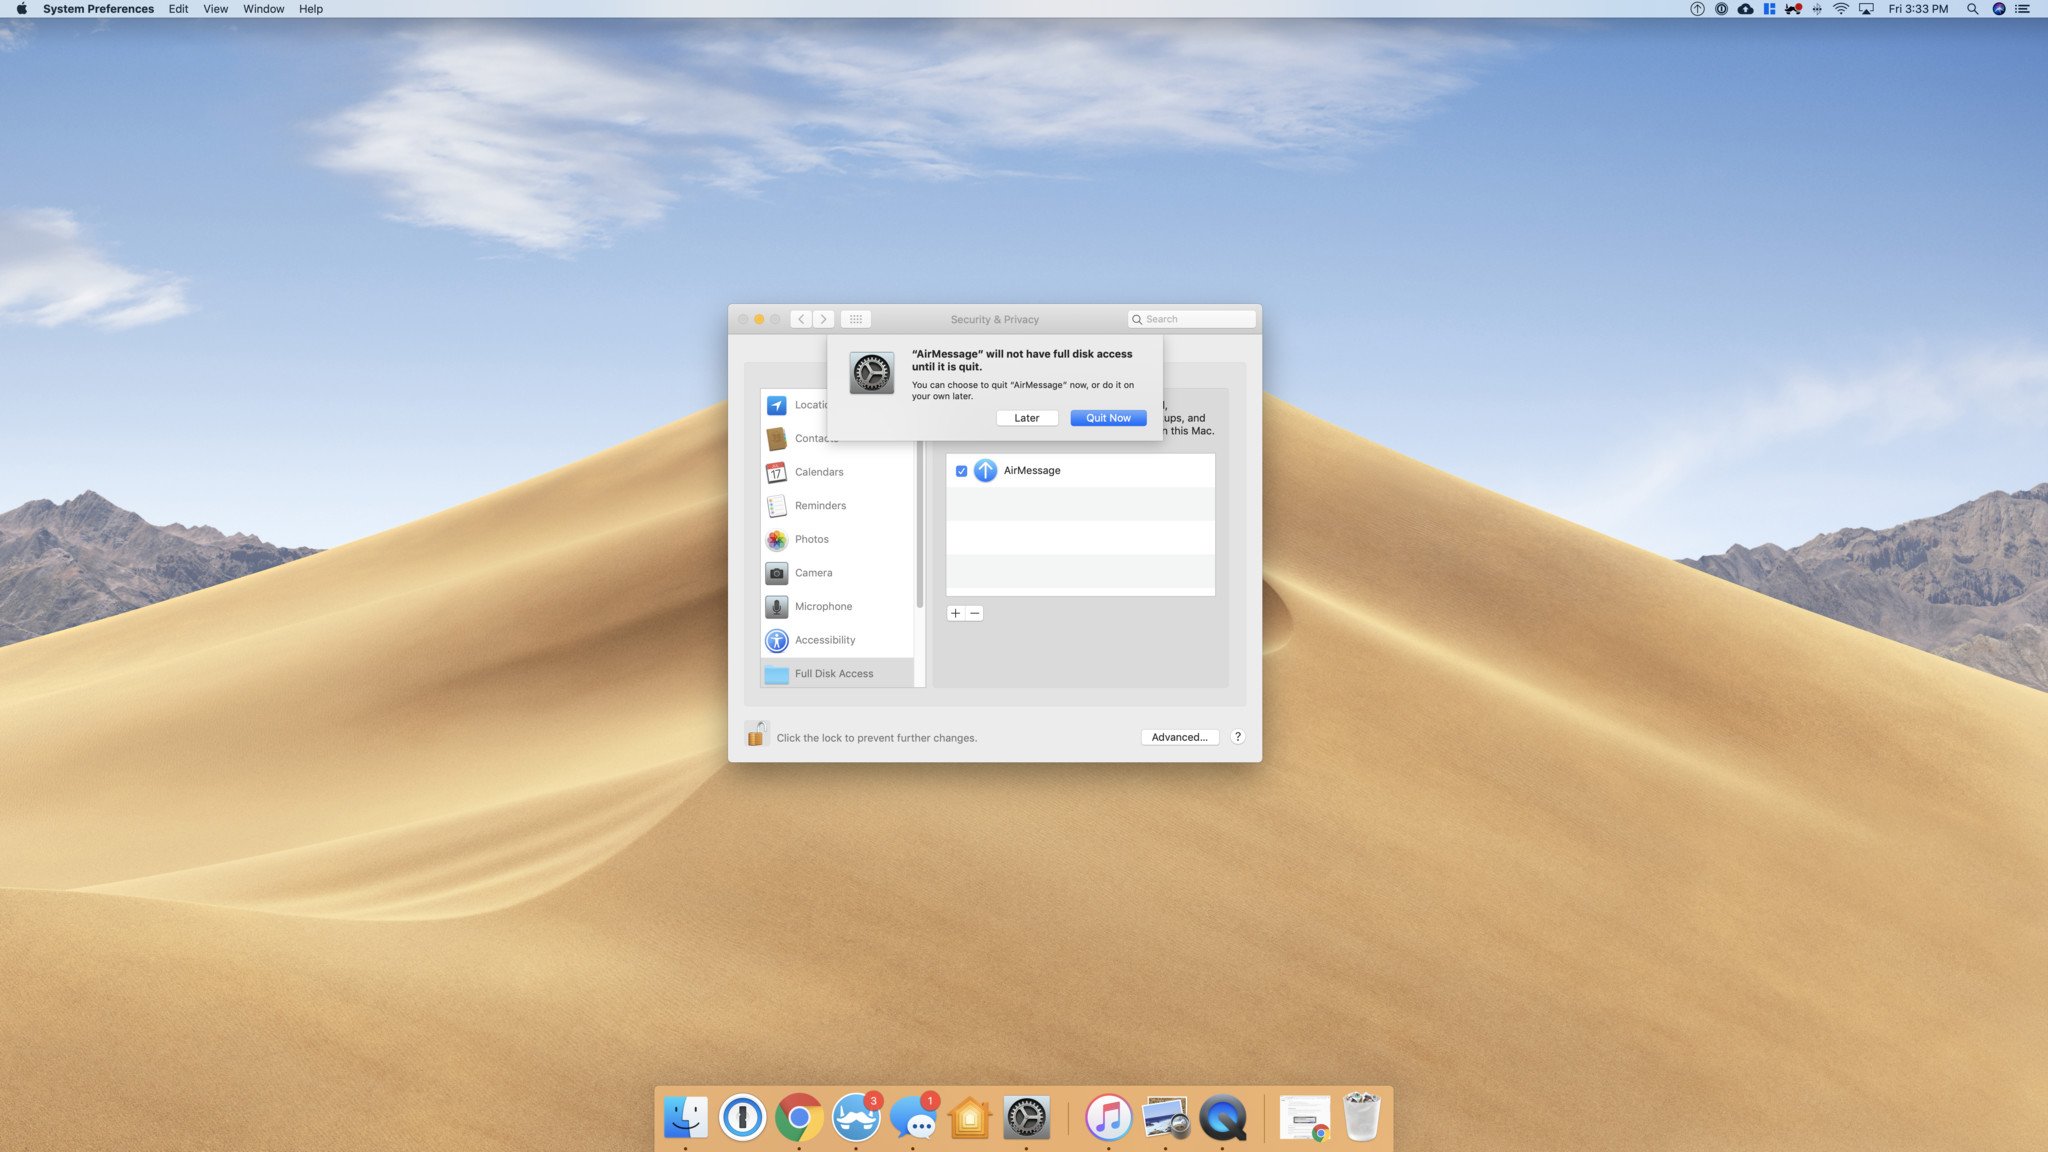
- Click the checkbox next to AirMessage.
-
Click Quit Now.
-
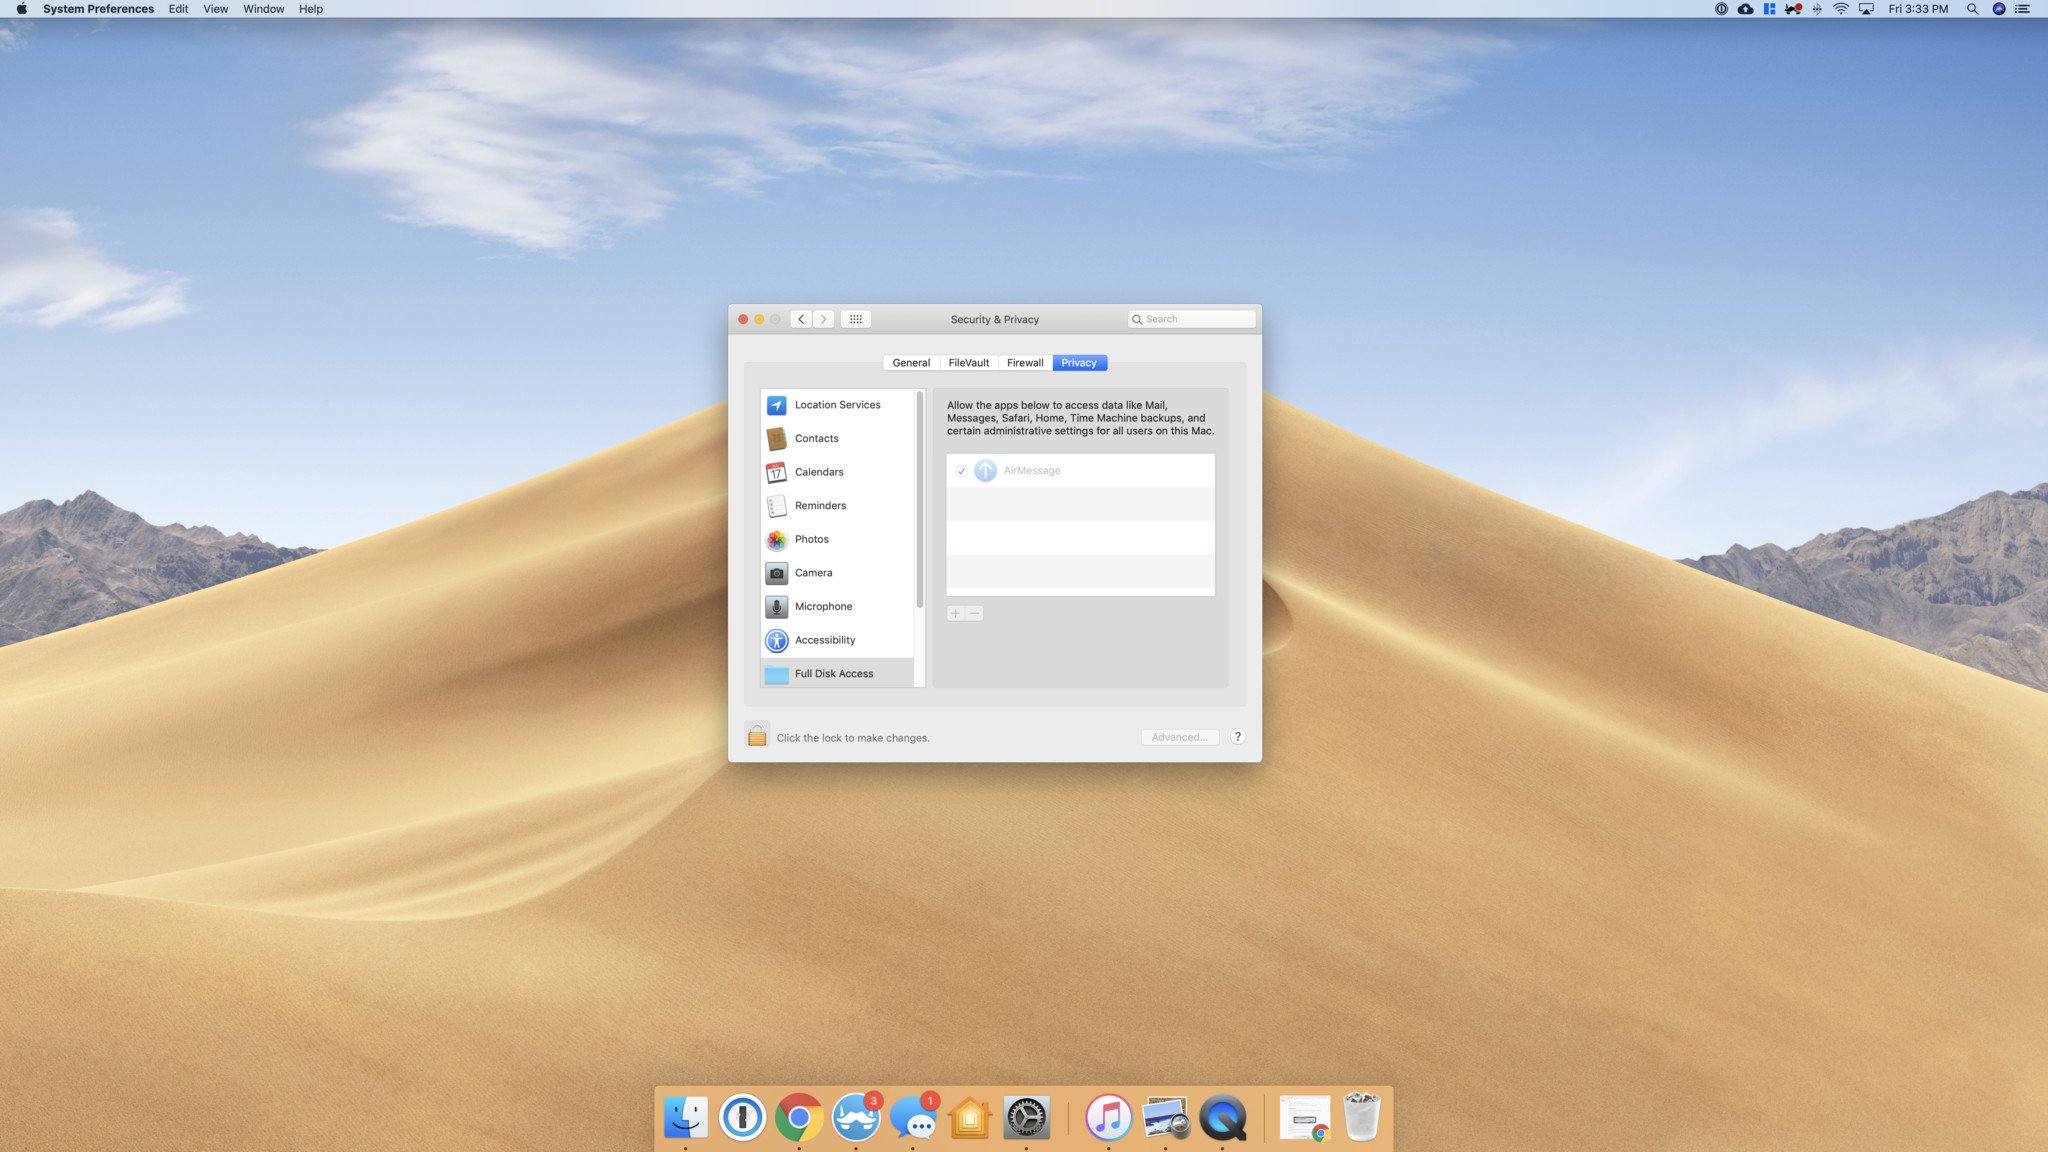
Click the lock icon again to prevent further changes.
How to change your macOS sleep settings
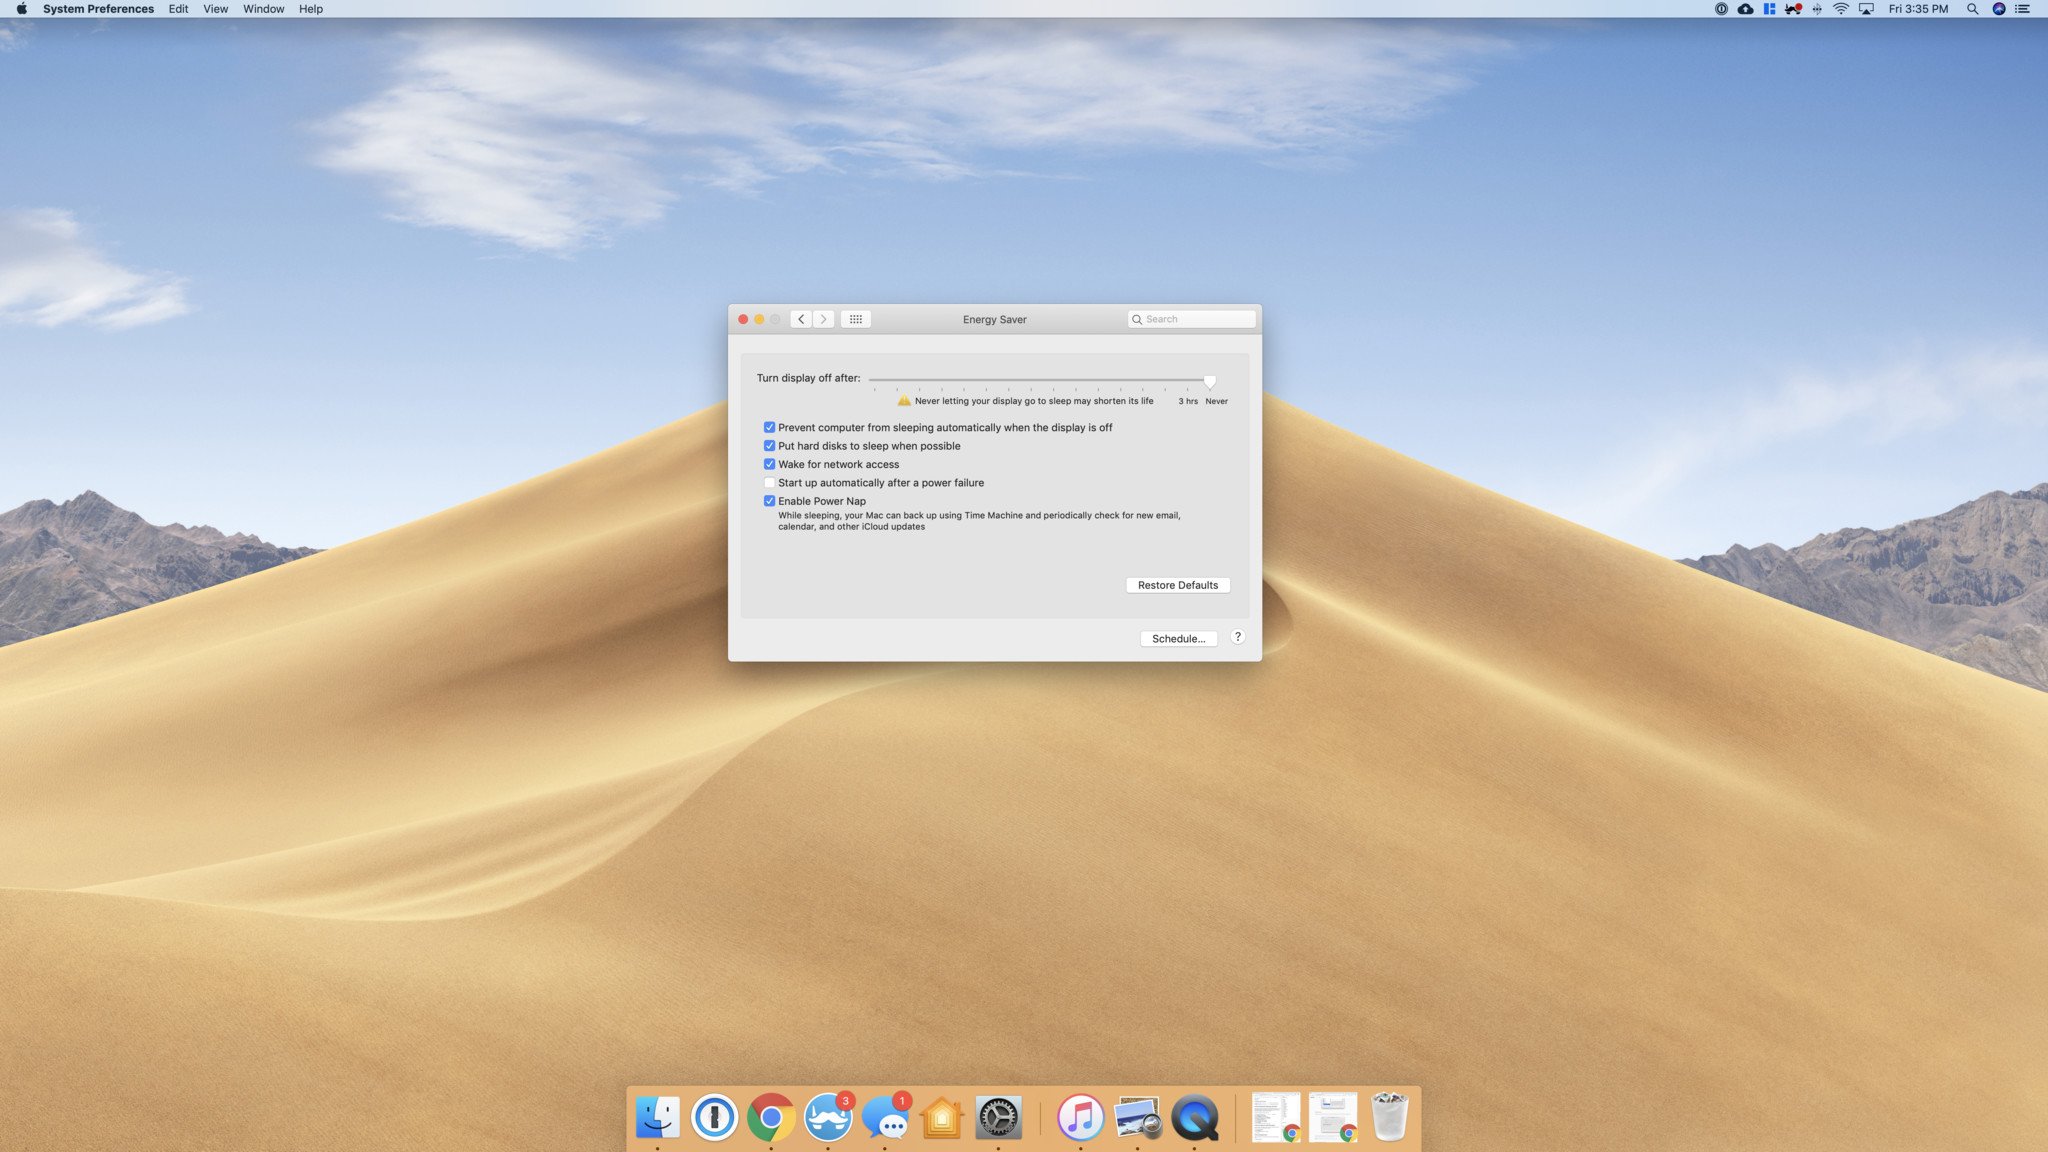
Now that AirMessage is downloaded, you'll want to adjust your macOS sleep settings so that it never goes to sleep. AirMessage recommends you do the following:
From my understanding, however, you can actually have the display turn off without breaking AirMessage. So long as "Prevent computer from sleeping automatically when the display is off" is checked, AirMessage should still work even if your Mac's screen is turned off.
It's also worth keeping in mind that I'm doing this with an iMac. If you have a MacBook, your settings might look slightly different.
What router are you using?
Now that the easy stuff is out of the way, it's time to have some fun with port forwarding and static IP addresses. Hooray!
I set up AirMessage using an OnHub router with the Google Wifi app, and my experience varied quite a lot compared to the instructions that are provided on the AirMessage website. As such, I've broken up the next few sections into two main groups — one set of instructions if you're using an OnHub router or Google Wifi, and another set that should work universally with anything else.
Google Wifi / OnHub routers
How to create a DHCP IP reservation
First thing's first, we need to create a DHCP IP reservation. Confused? Don't worry; it's pretty simple.
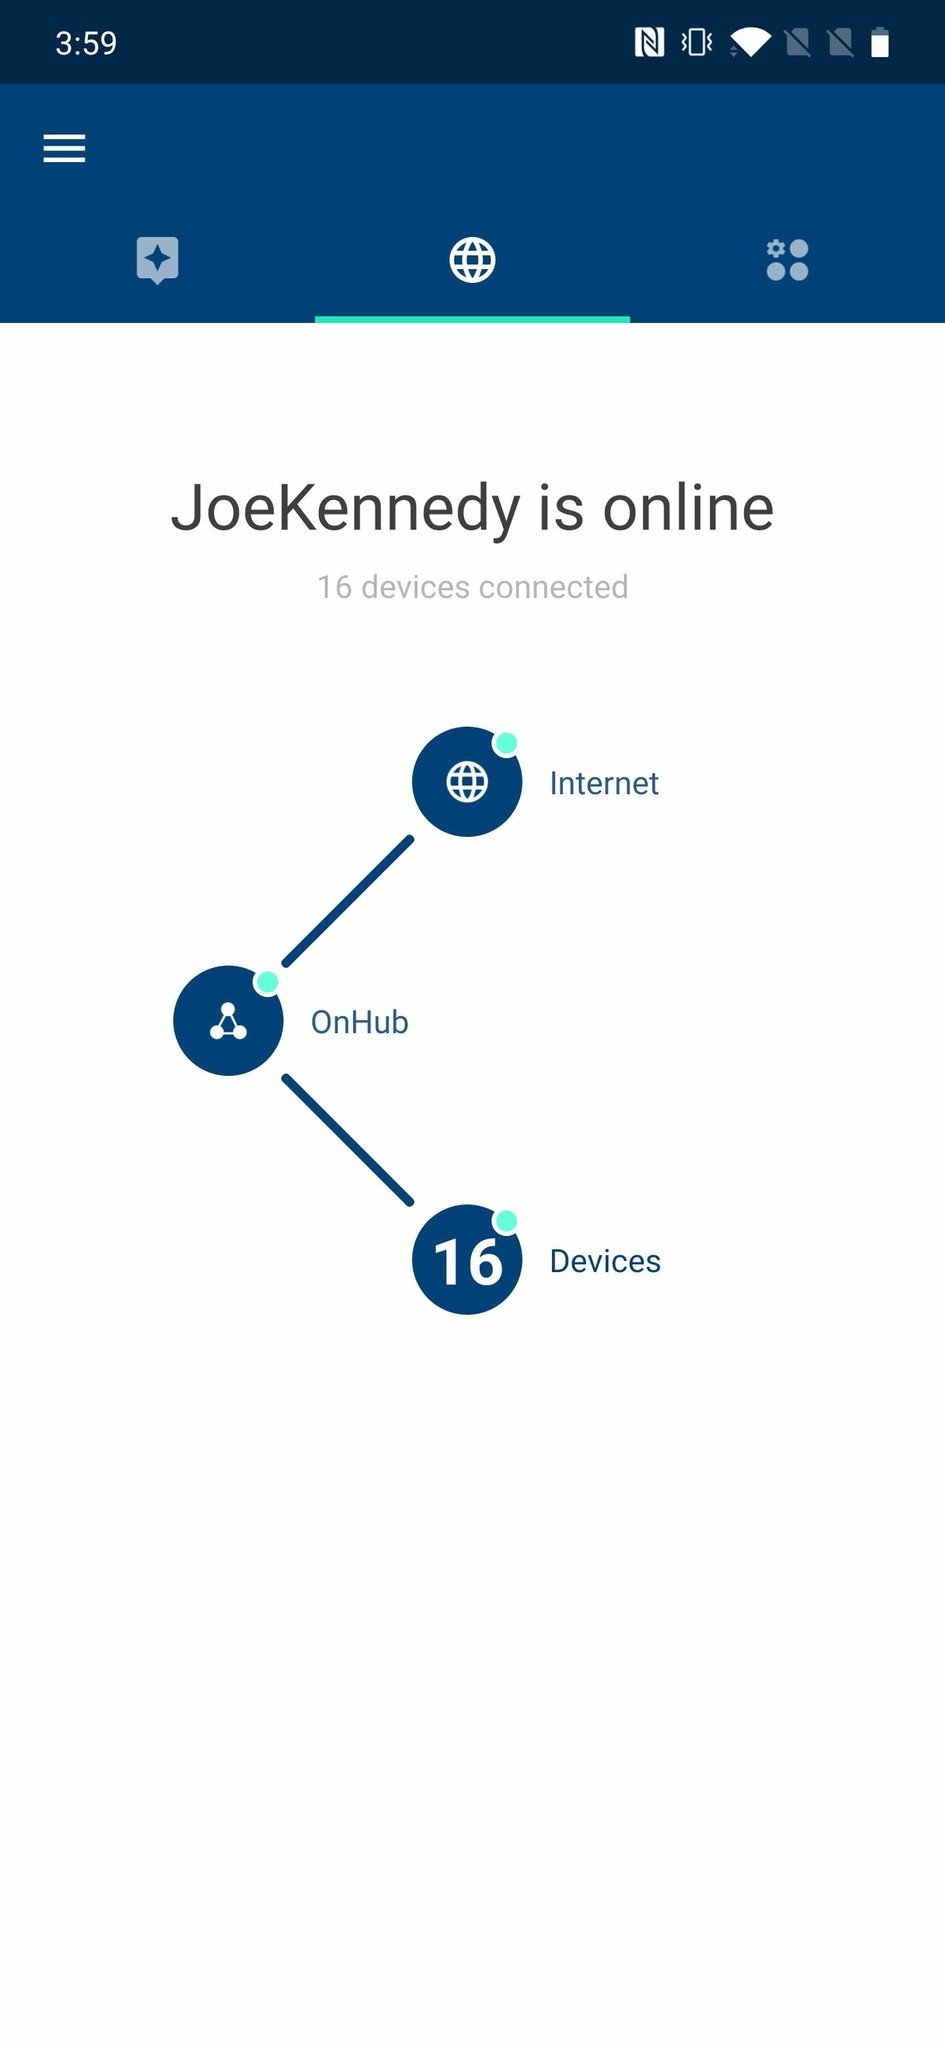
- Open the Google Wifi app on your phone.
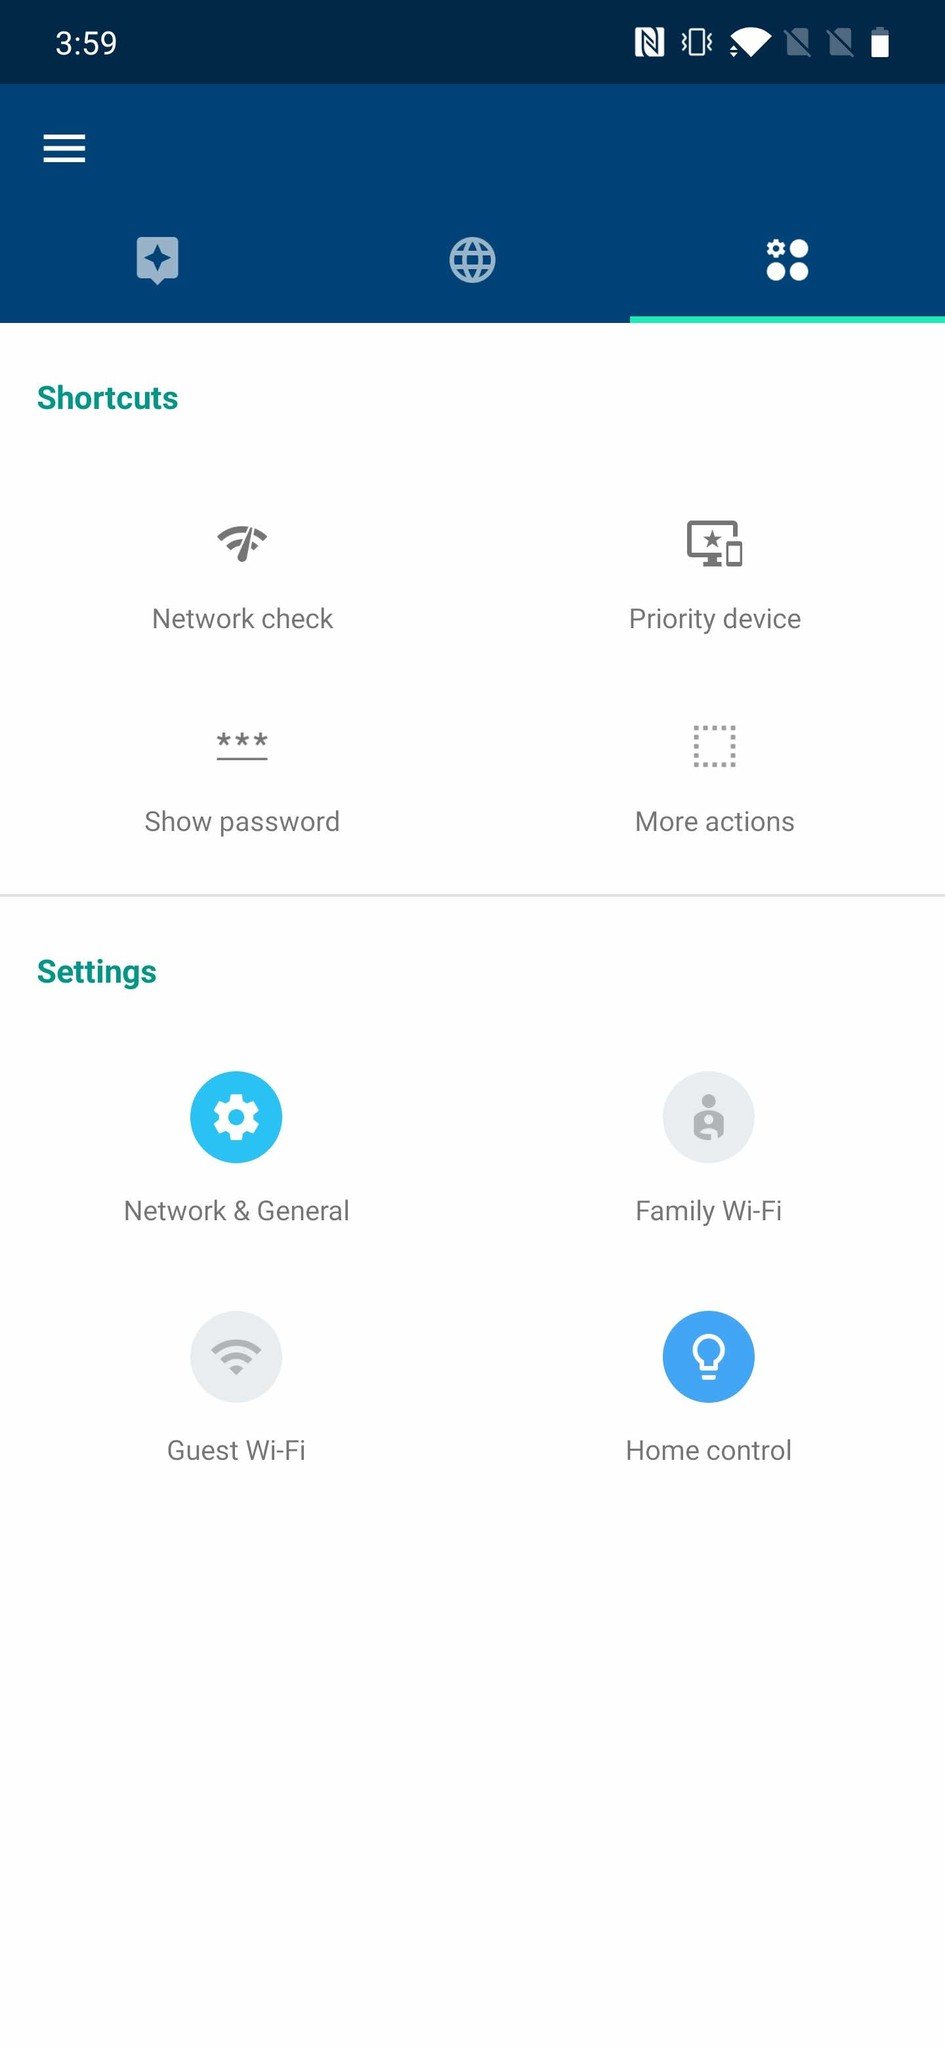
- Go to the right-most page.
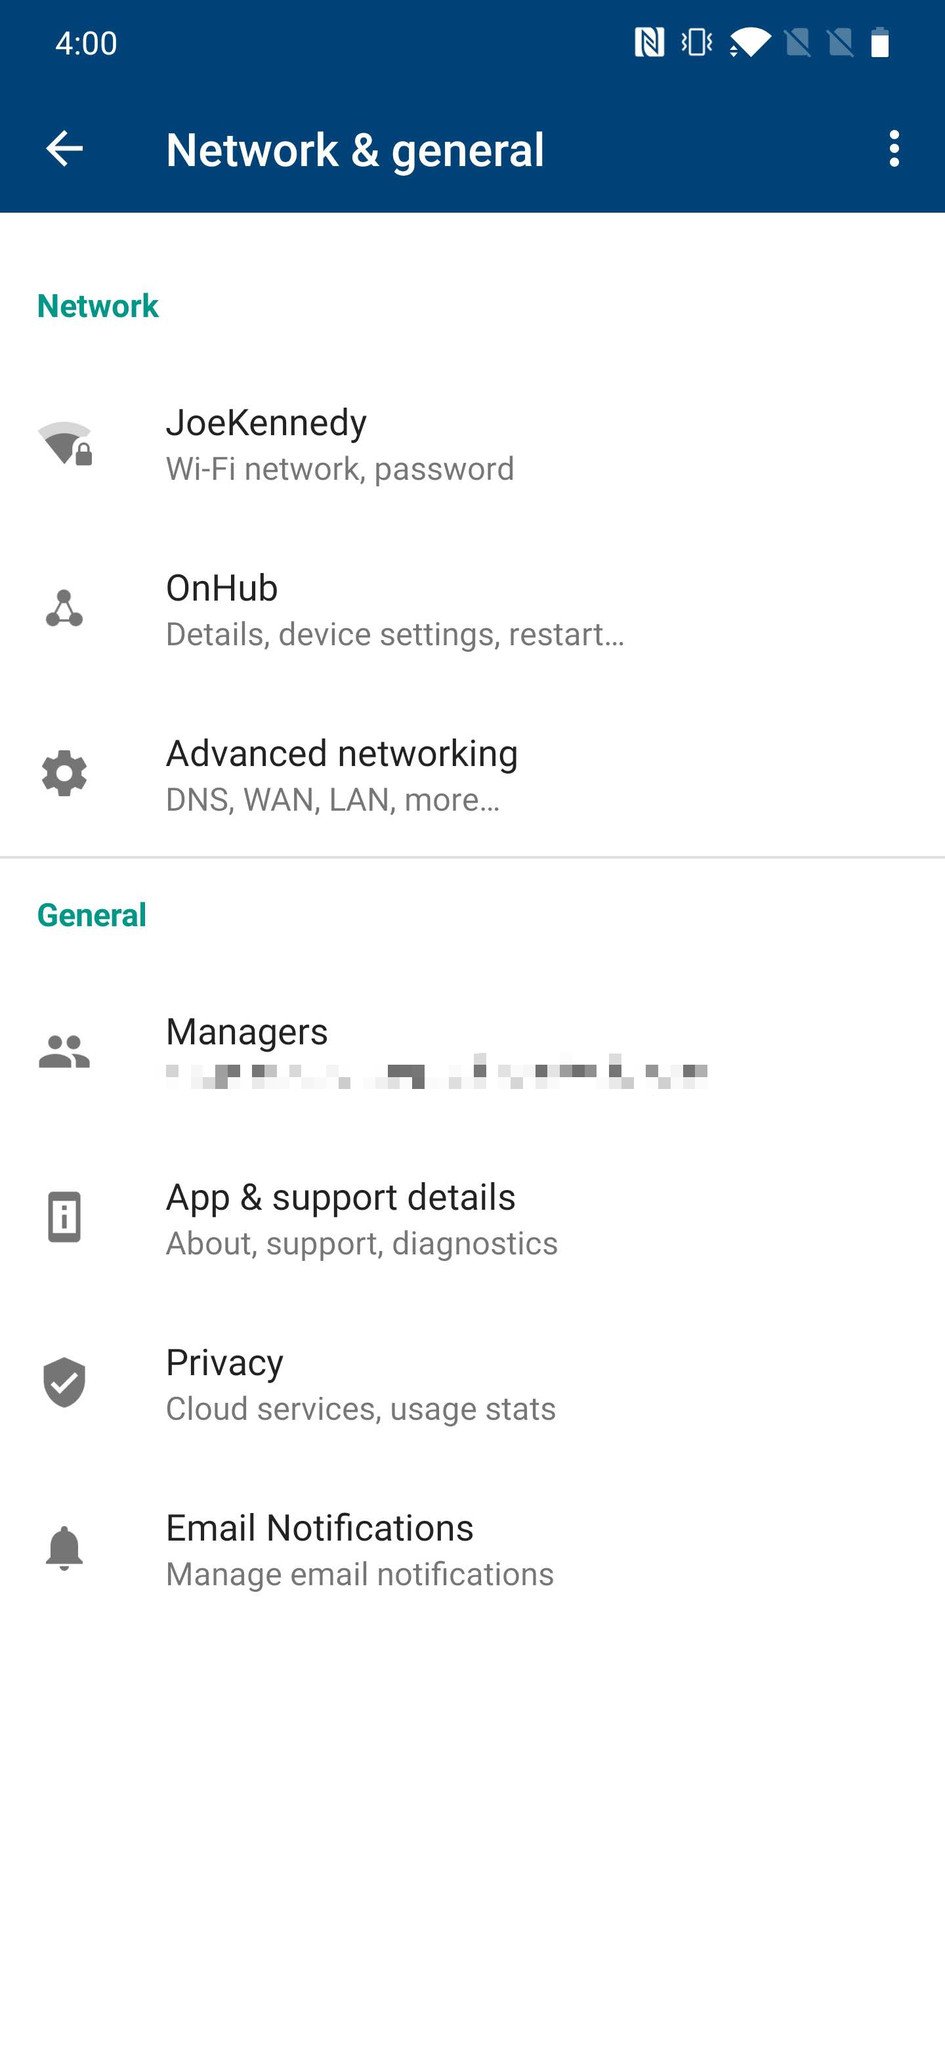
- Tap Network & general.
-
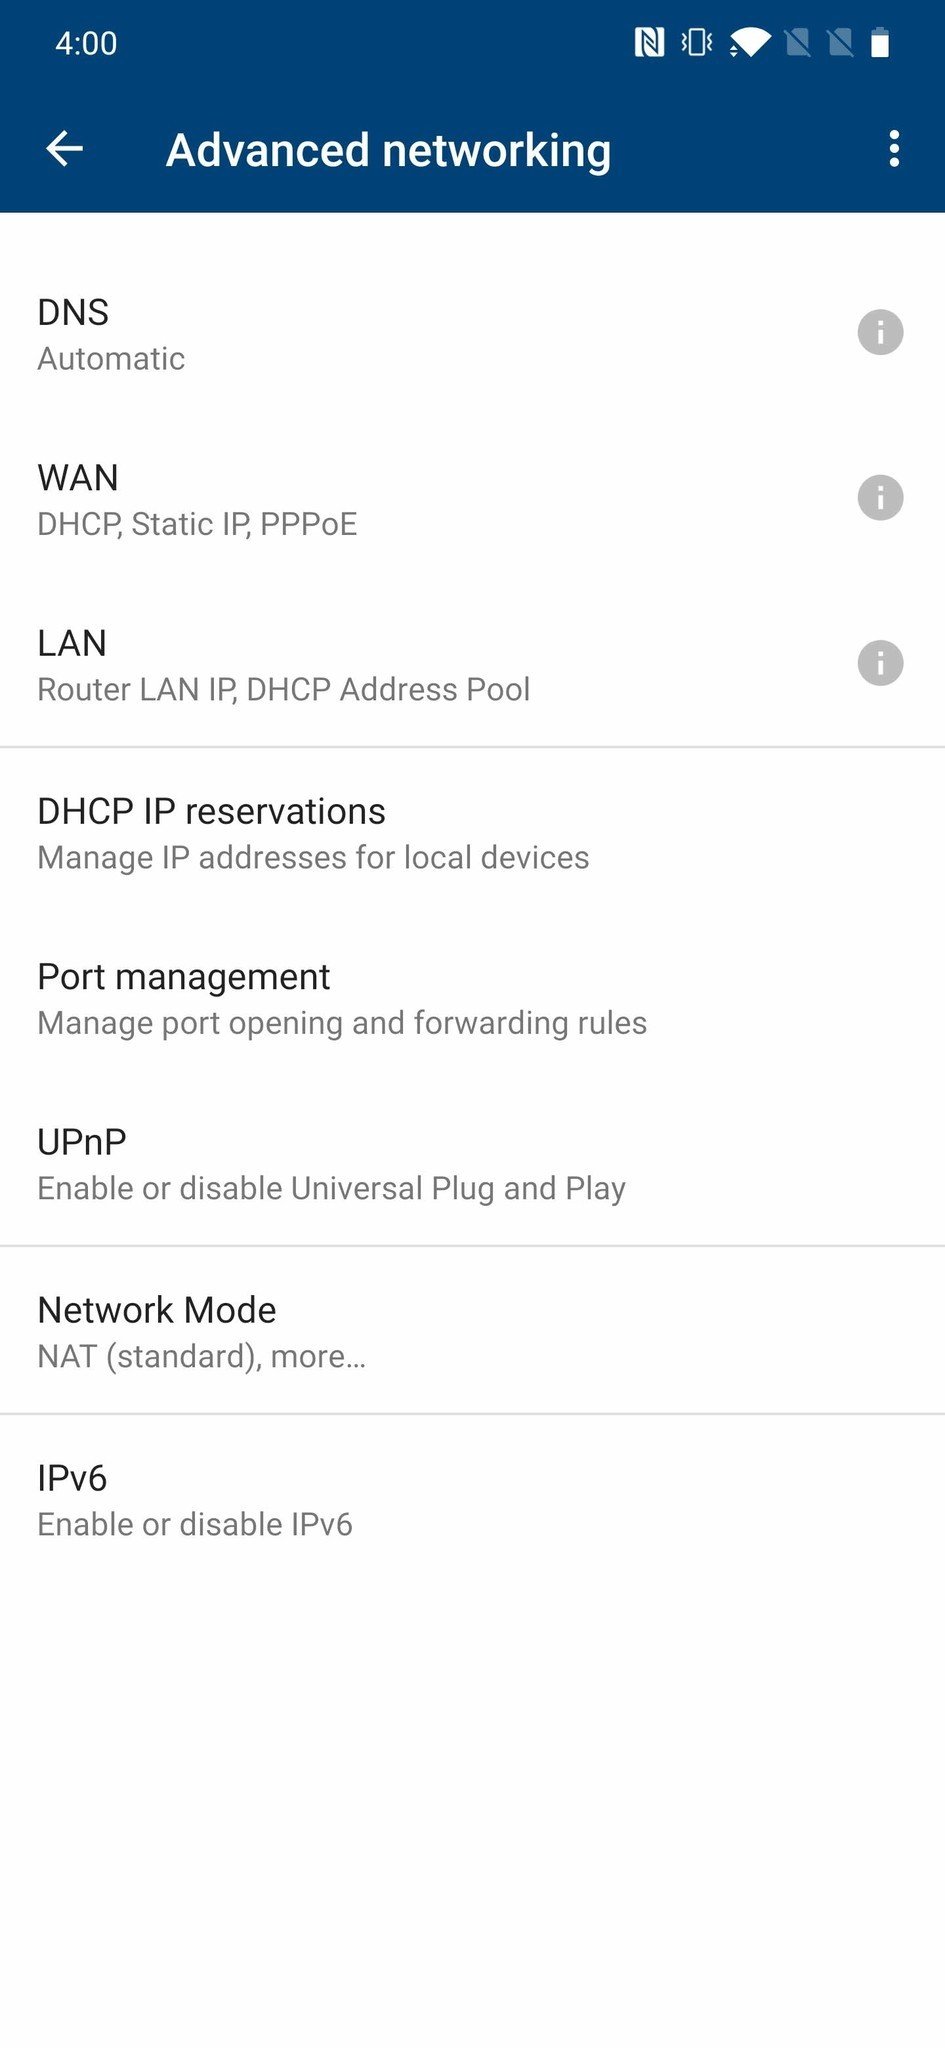
Tap Advanced networking.
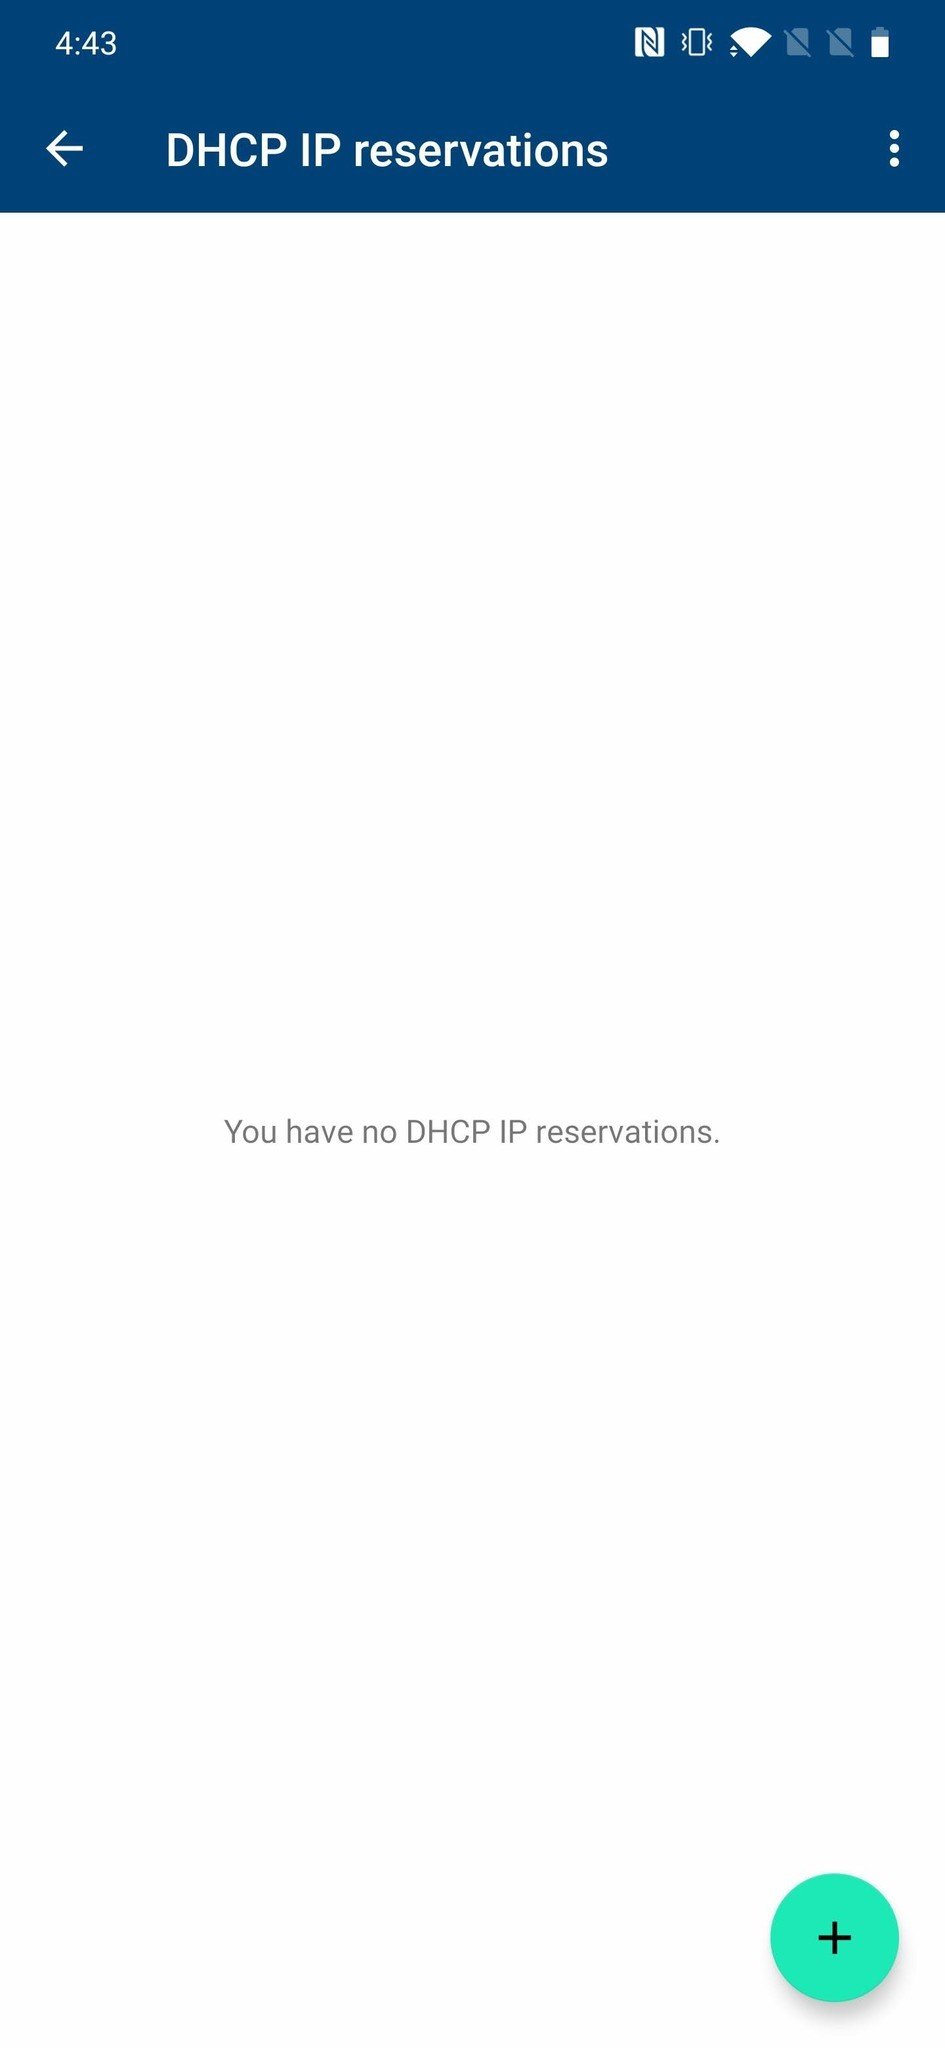
- Tap DHCP IP reservations.
- Tap the + button.
-
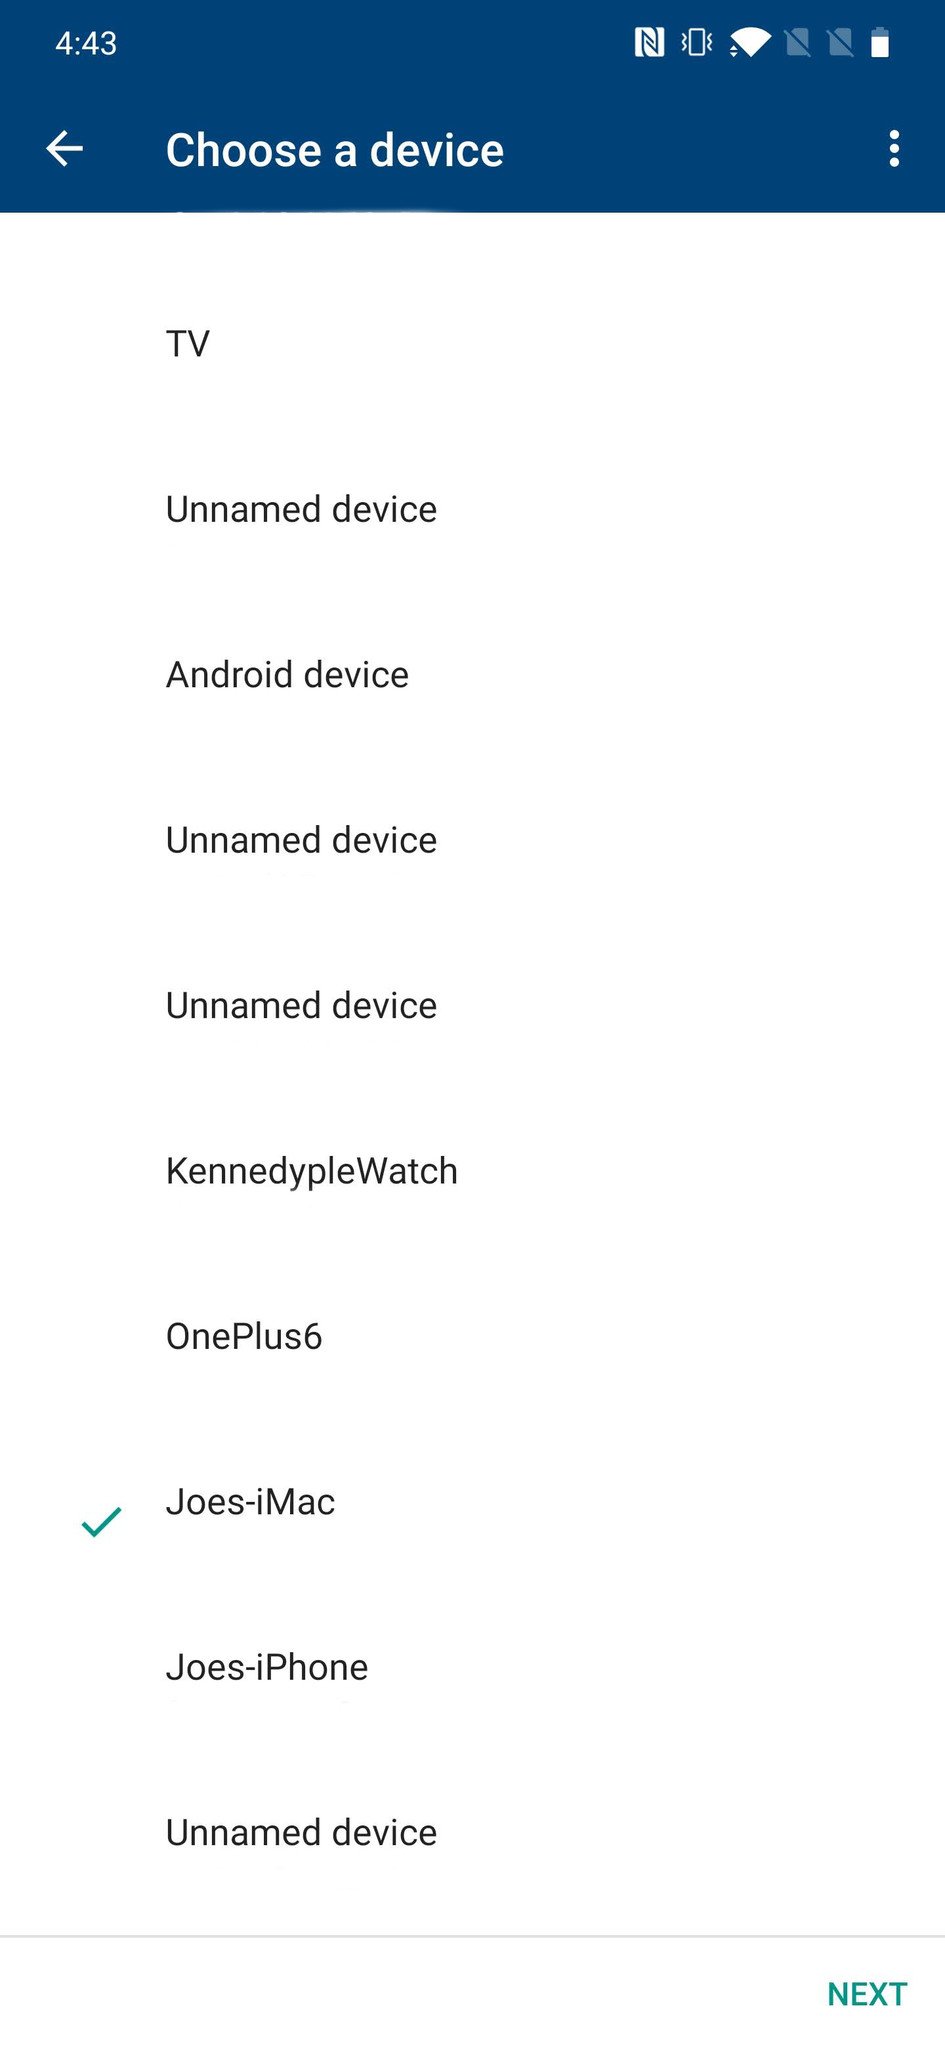
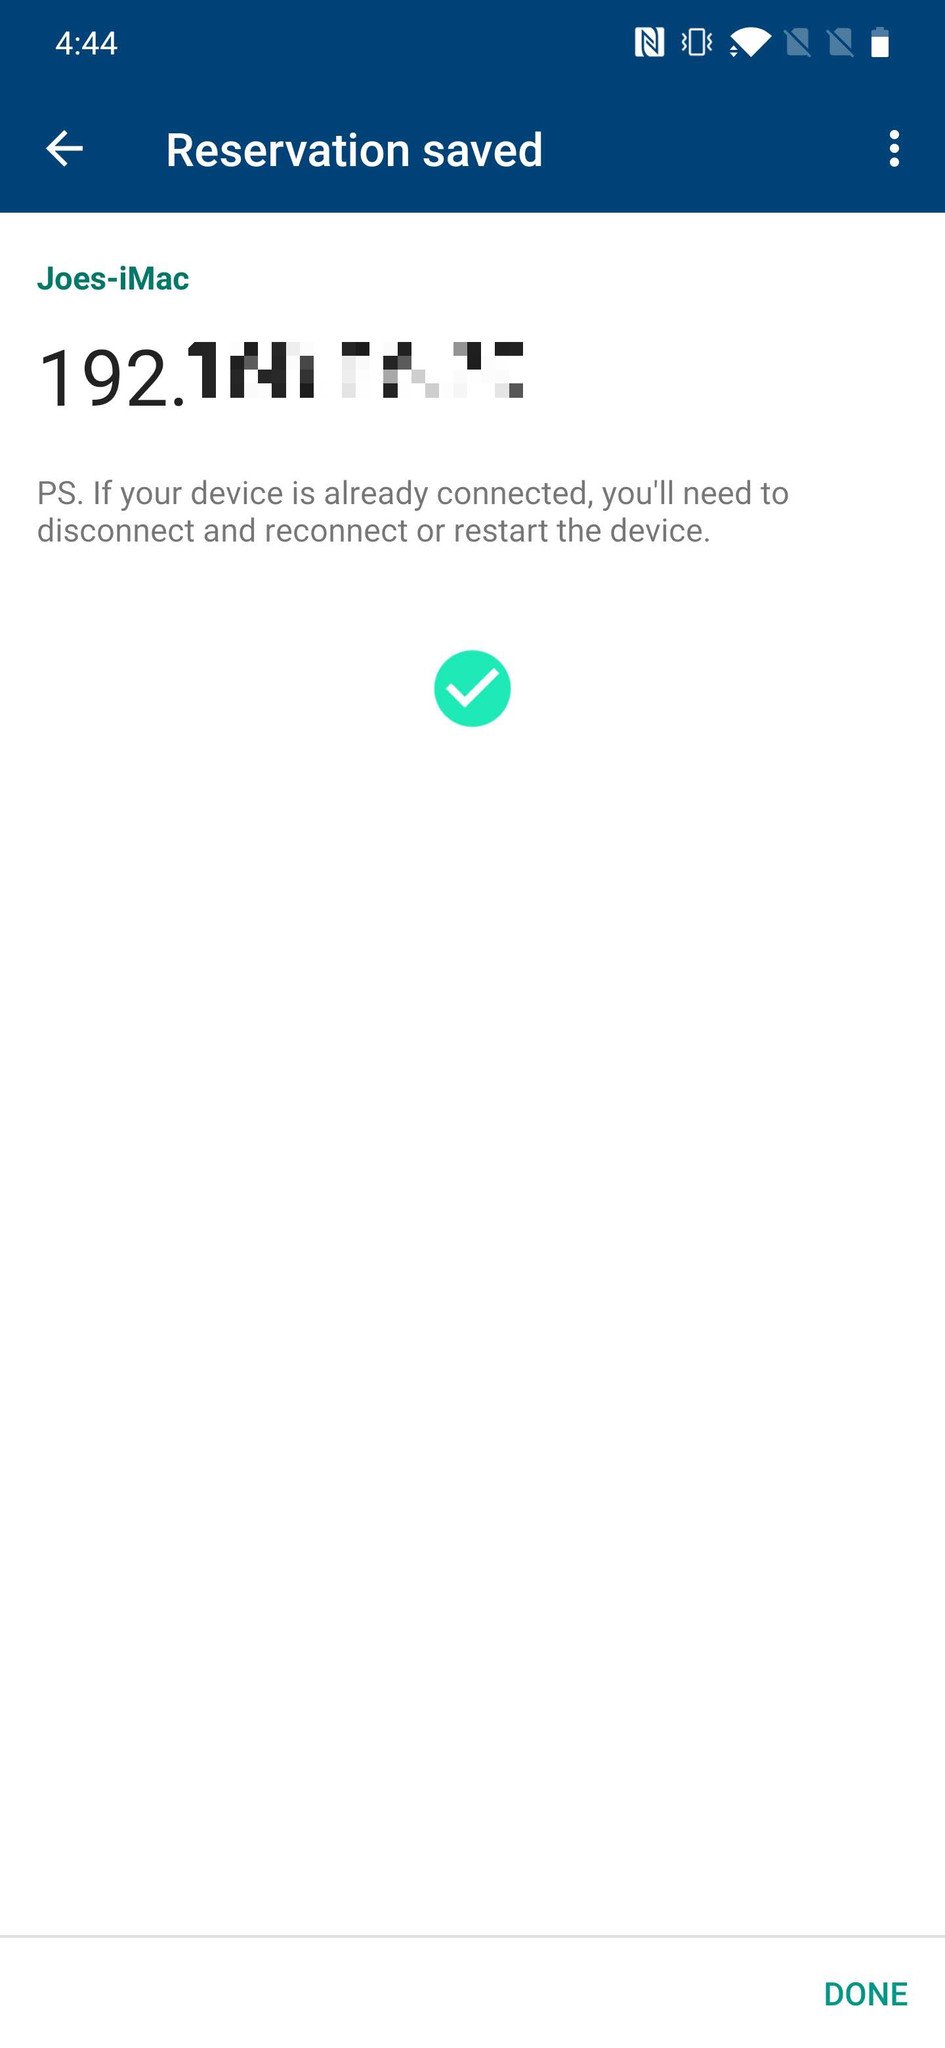
Tap your Mac (Joes-iMac in this example).
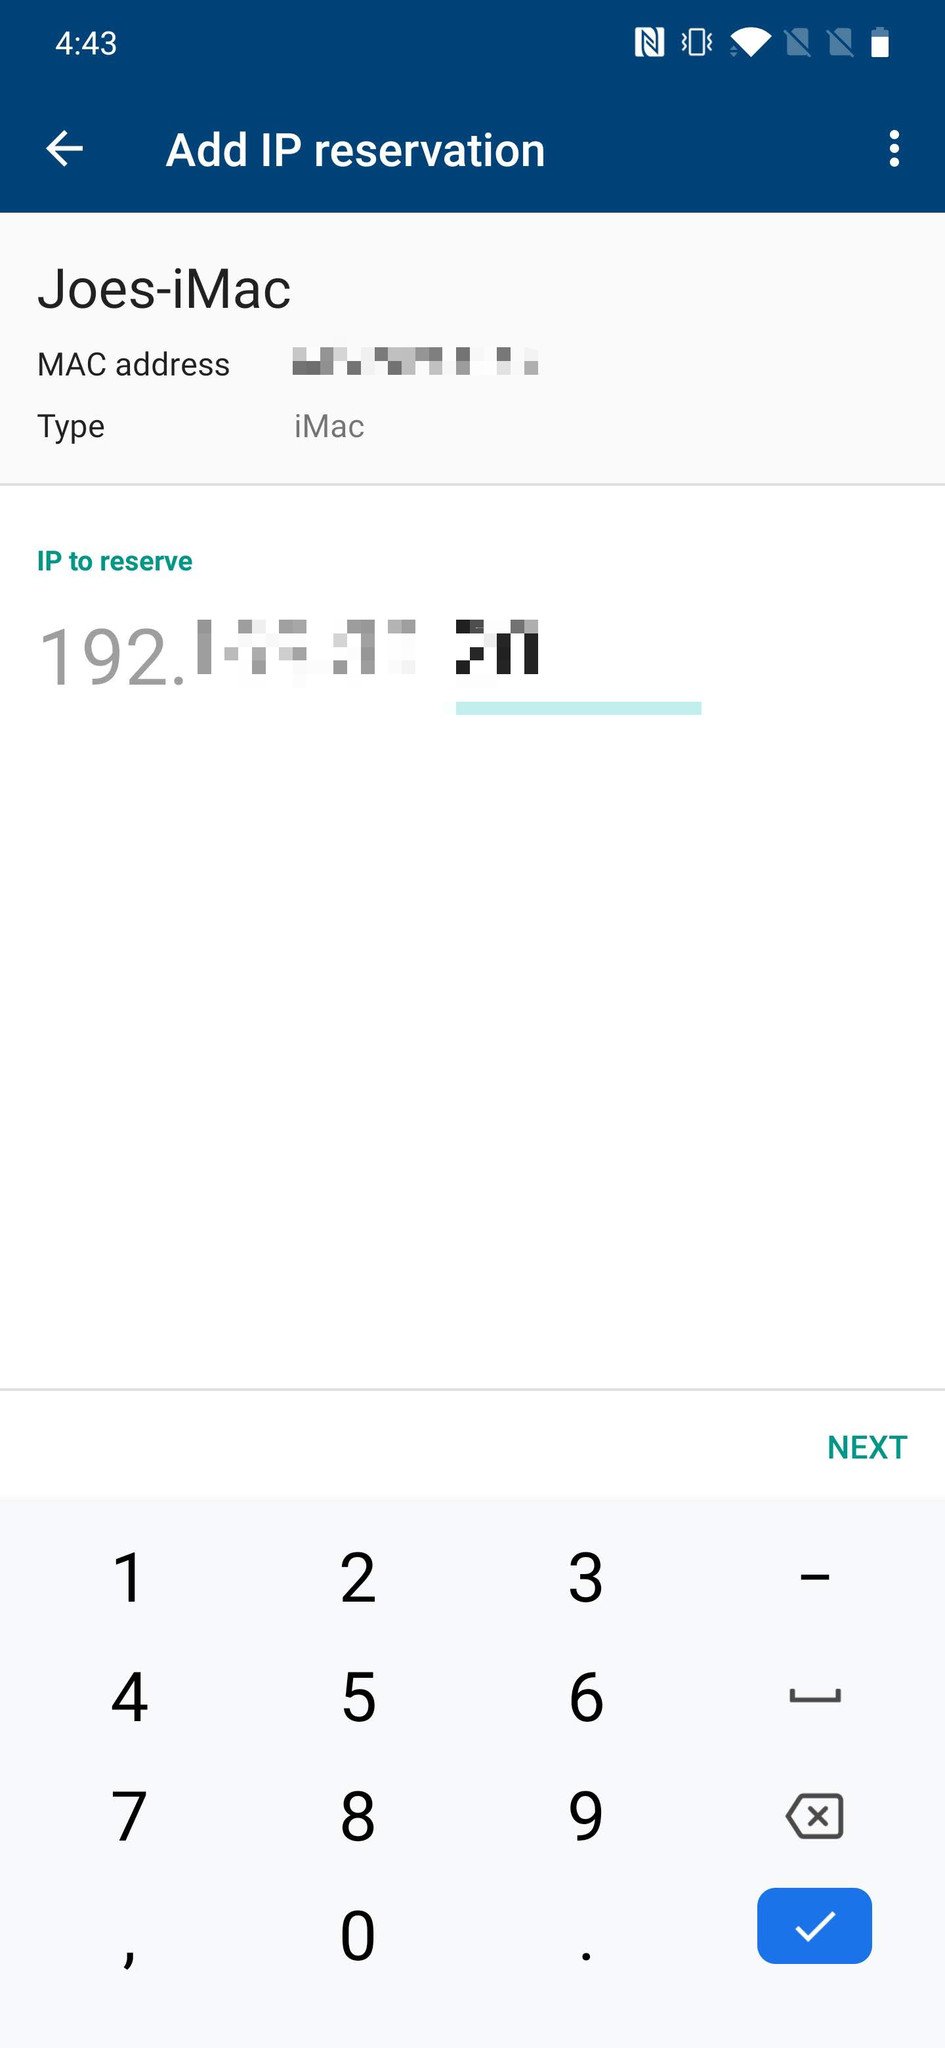
- Enter the IP you want.
- Tap Next.
-
Tap Done.
How to set up port forwarding
The next step in this process is to get port forwarding enabled on your router. This is what will let the AirMessage app on your Mac communicate with the app on your Android phone.
- Open the Google Wifi app on your phone.
- Go to the right-most page.
- Tap Network & general.
-
Tap Advanced networking.
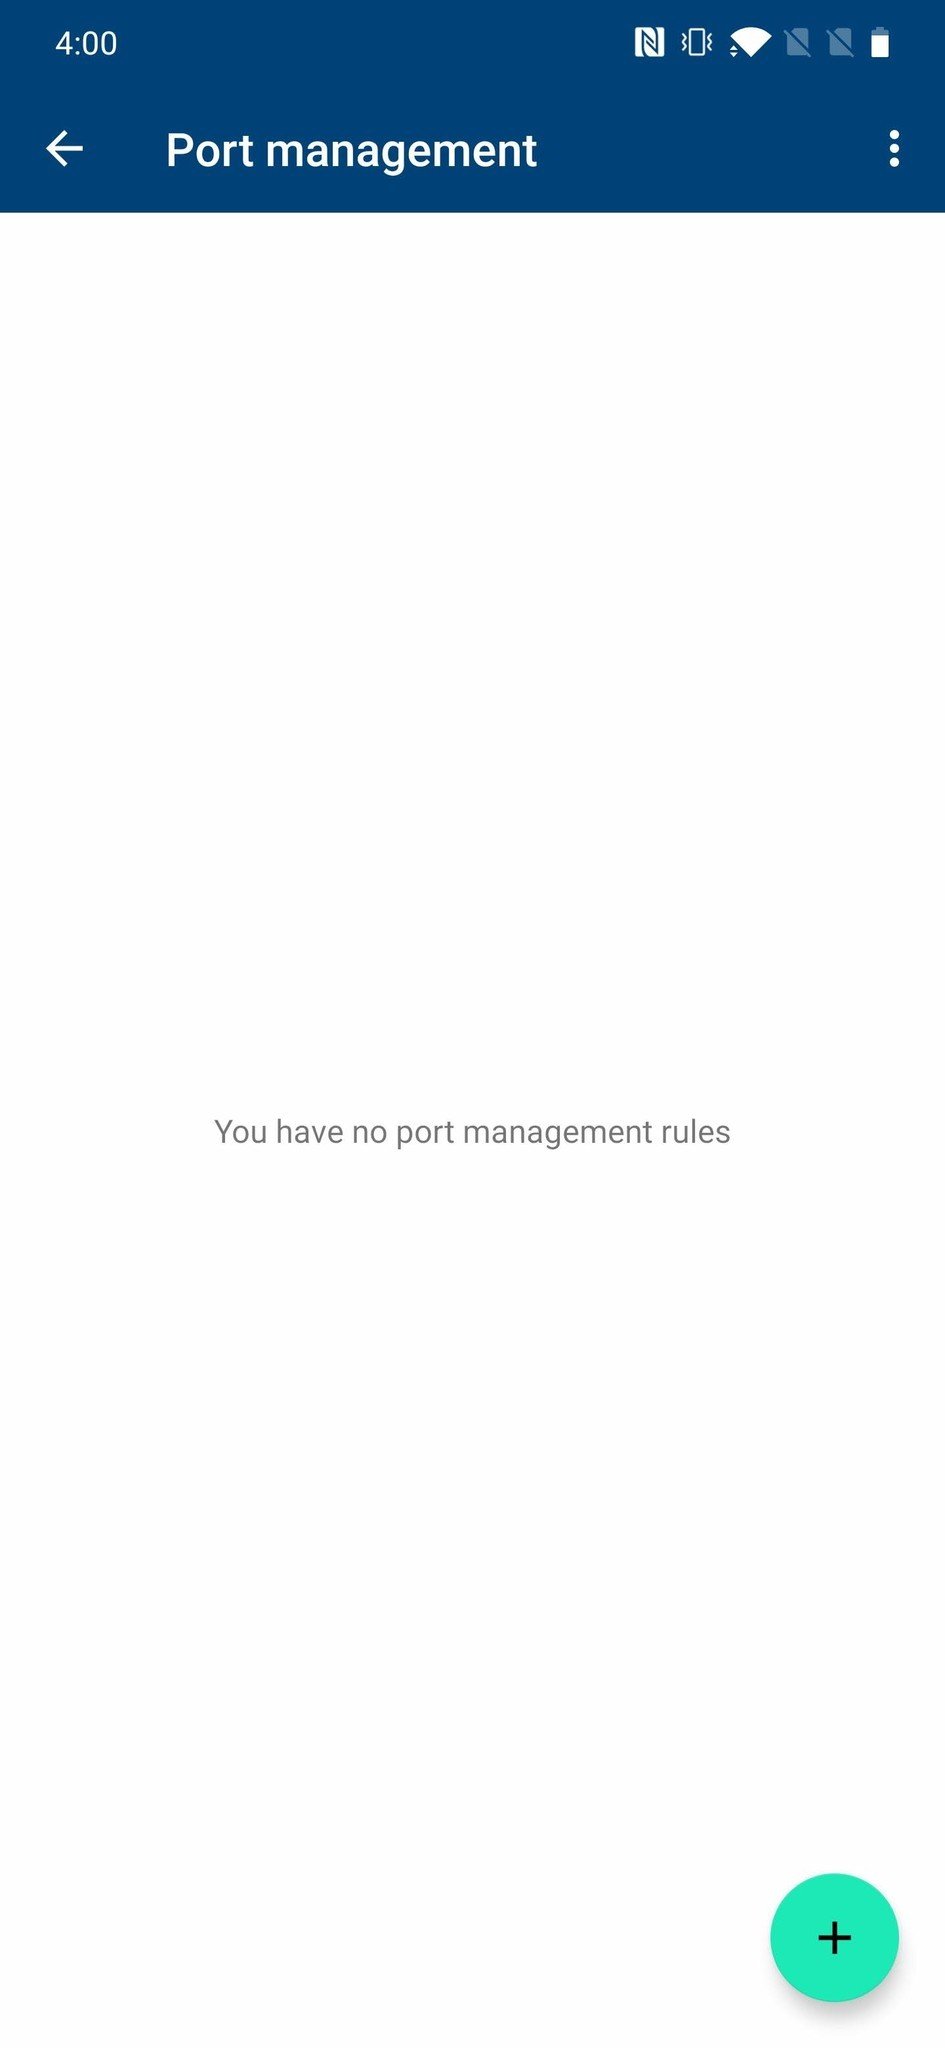
- Tap port management.
- Tap the + icon.
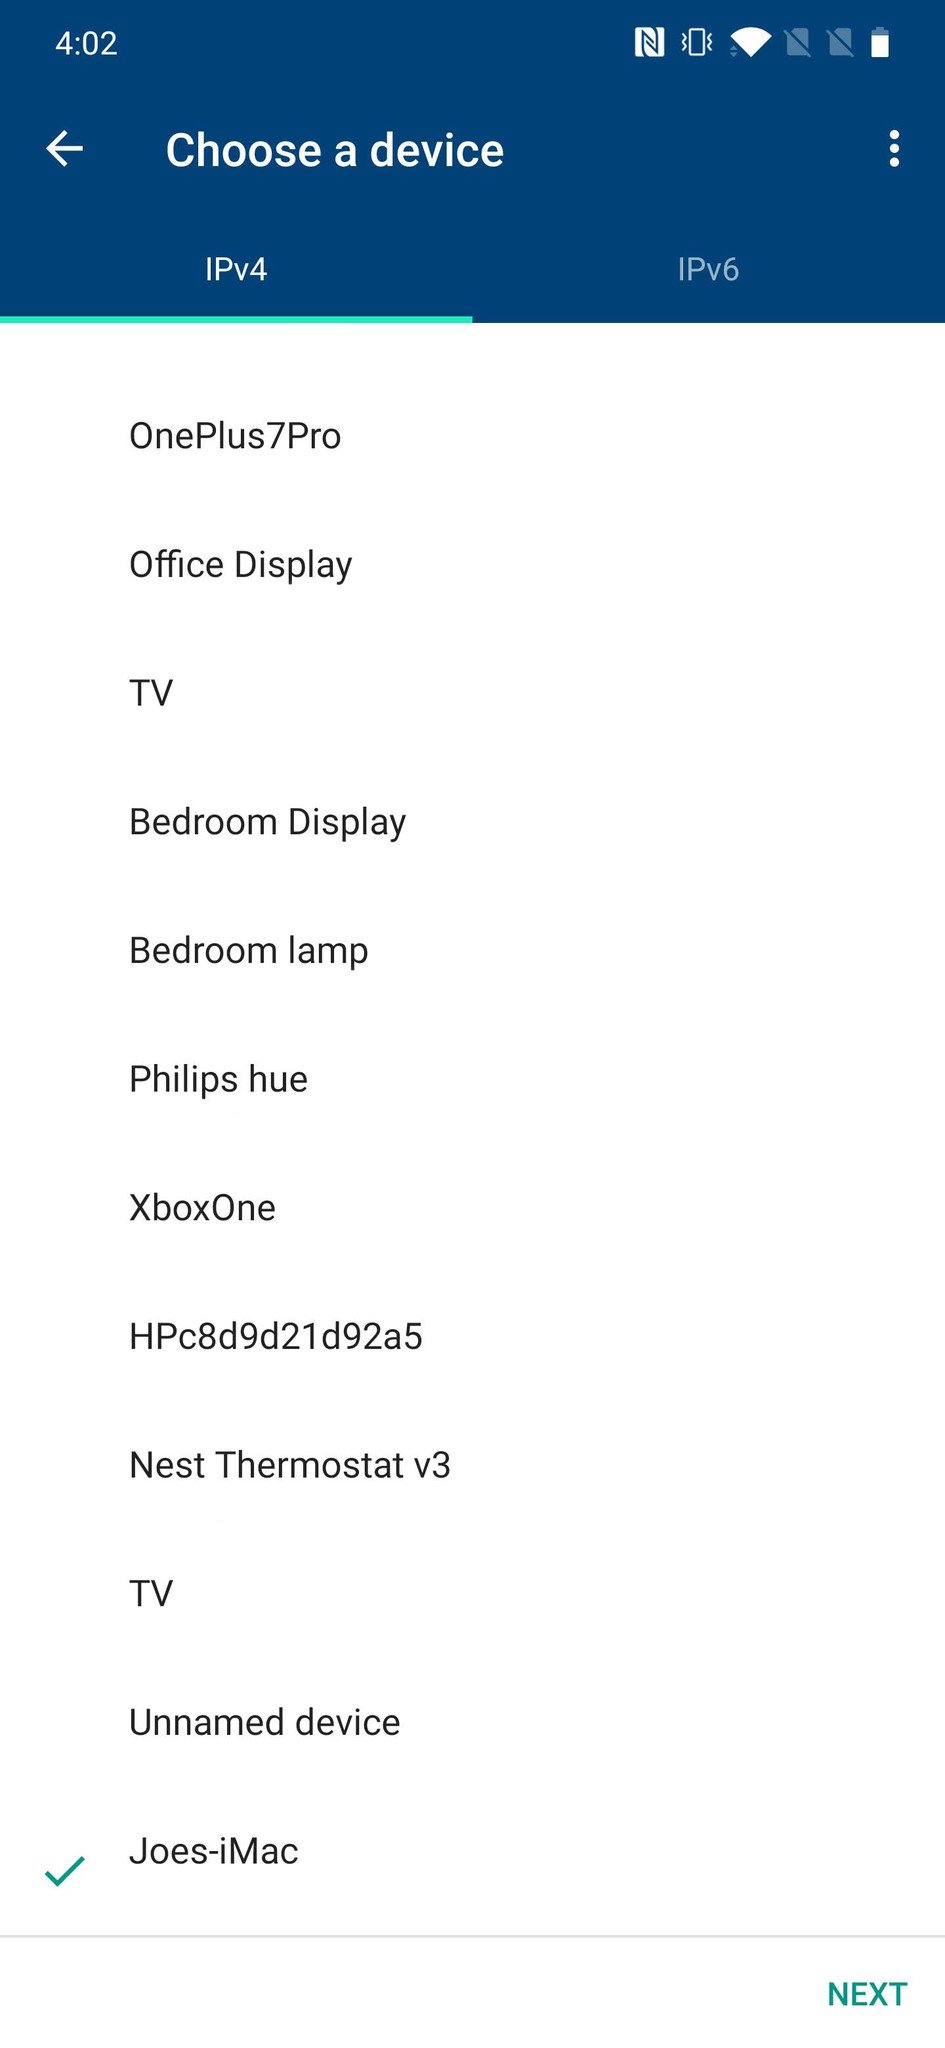
- Tap your Mac (Joes-iMac in this example).
-
Tap Next.
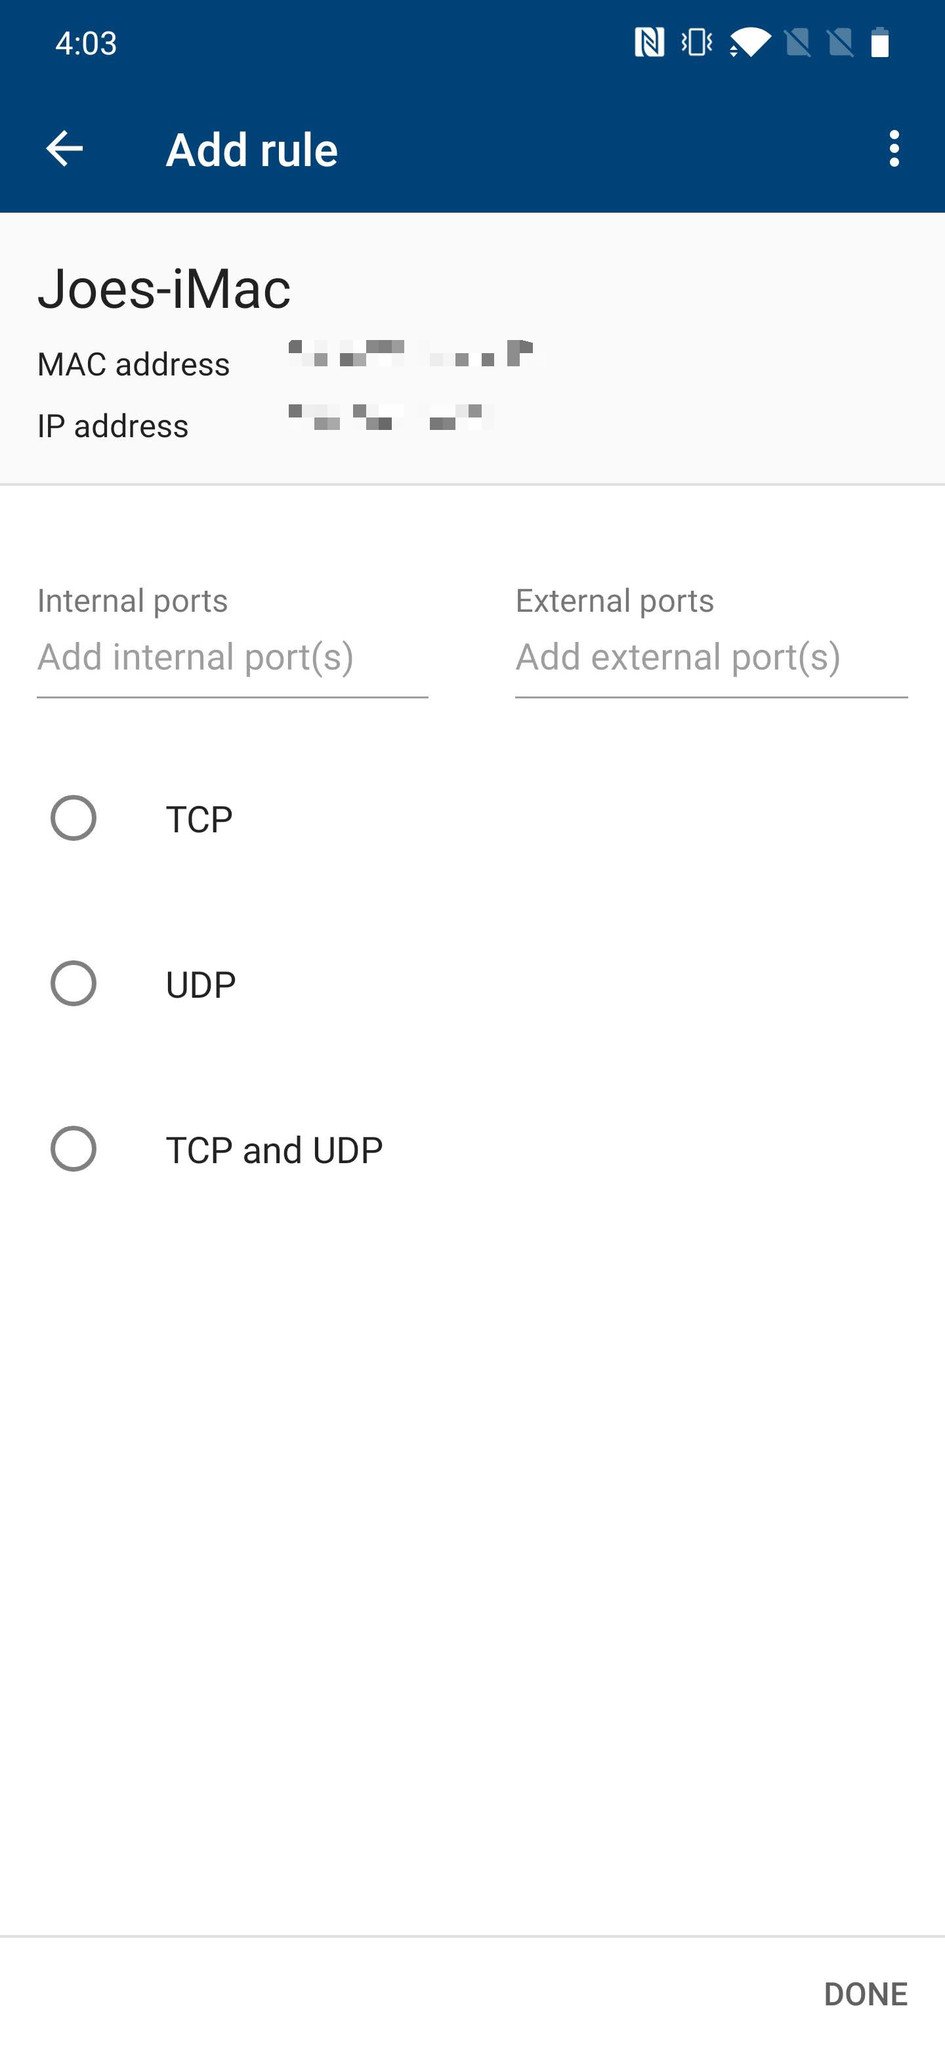
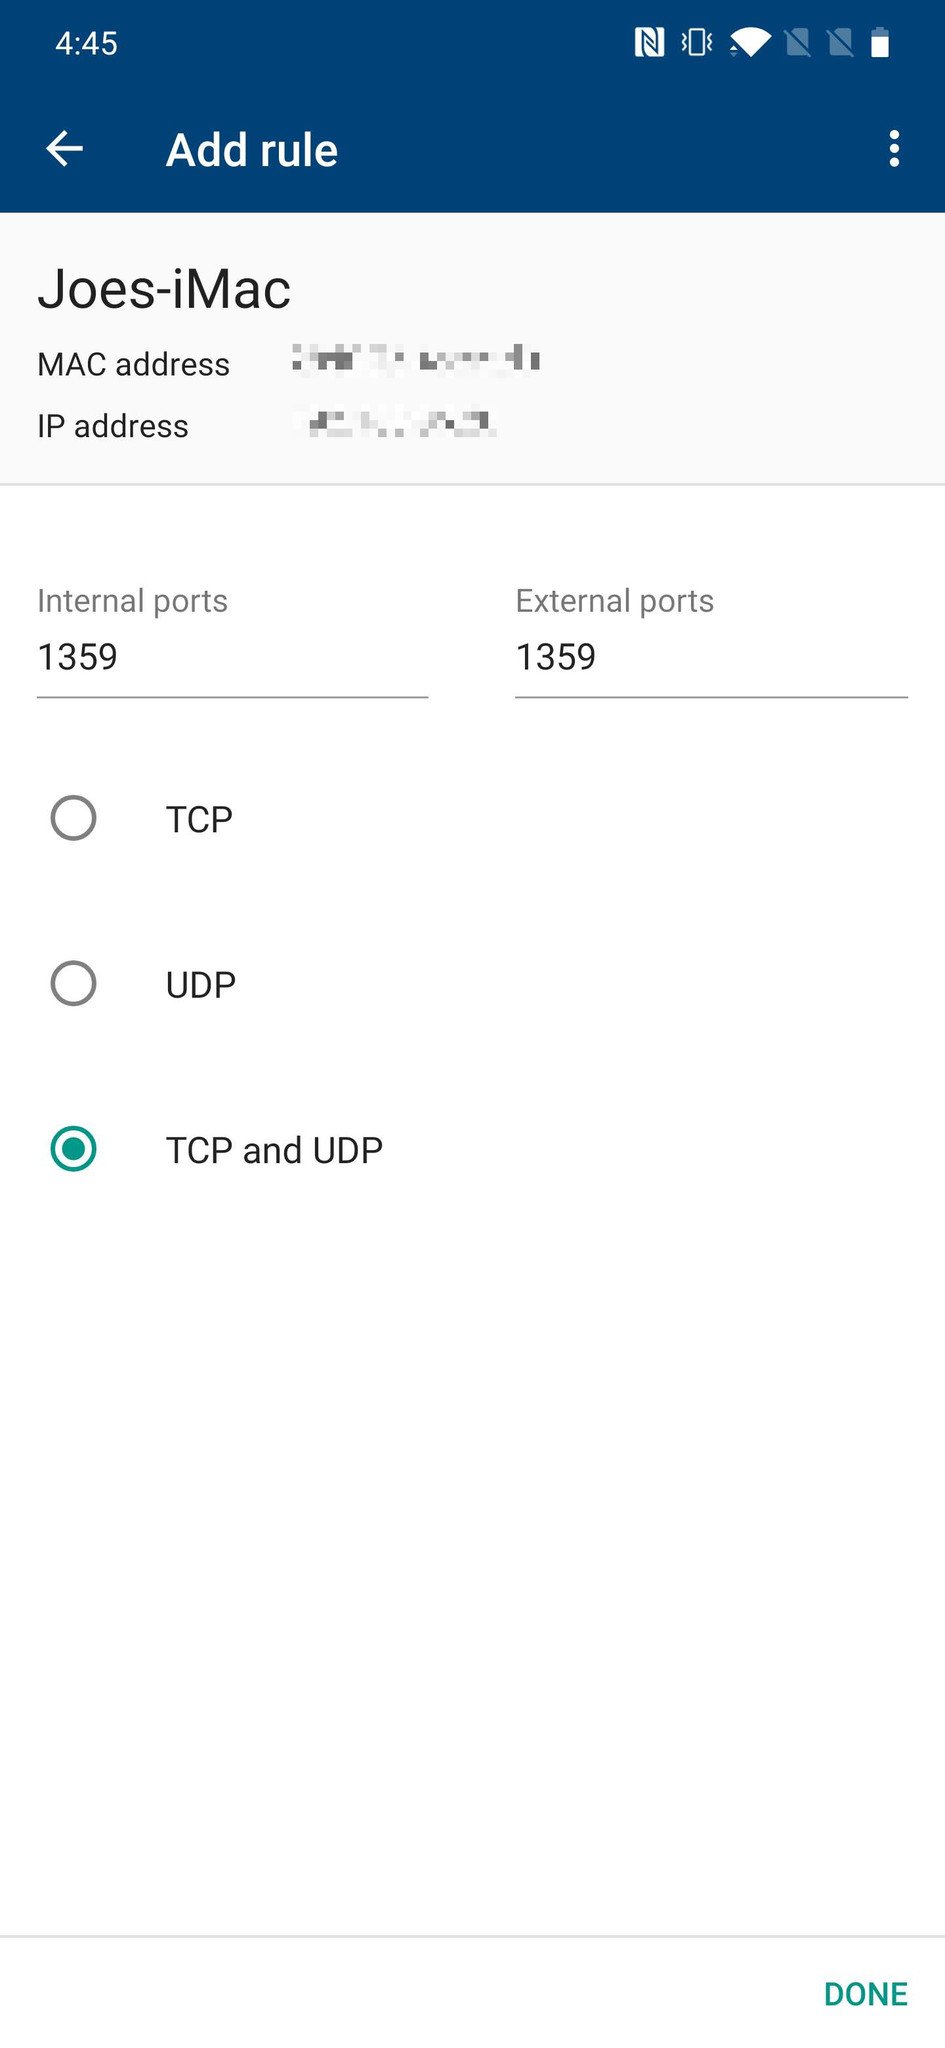
- Enter 1359 as the start and endge range (internal and external ports).
- Tap TCP and UDP.
-
Tap Done.
All other routers
How to find your local IP address
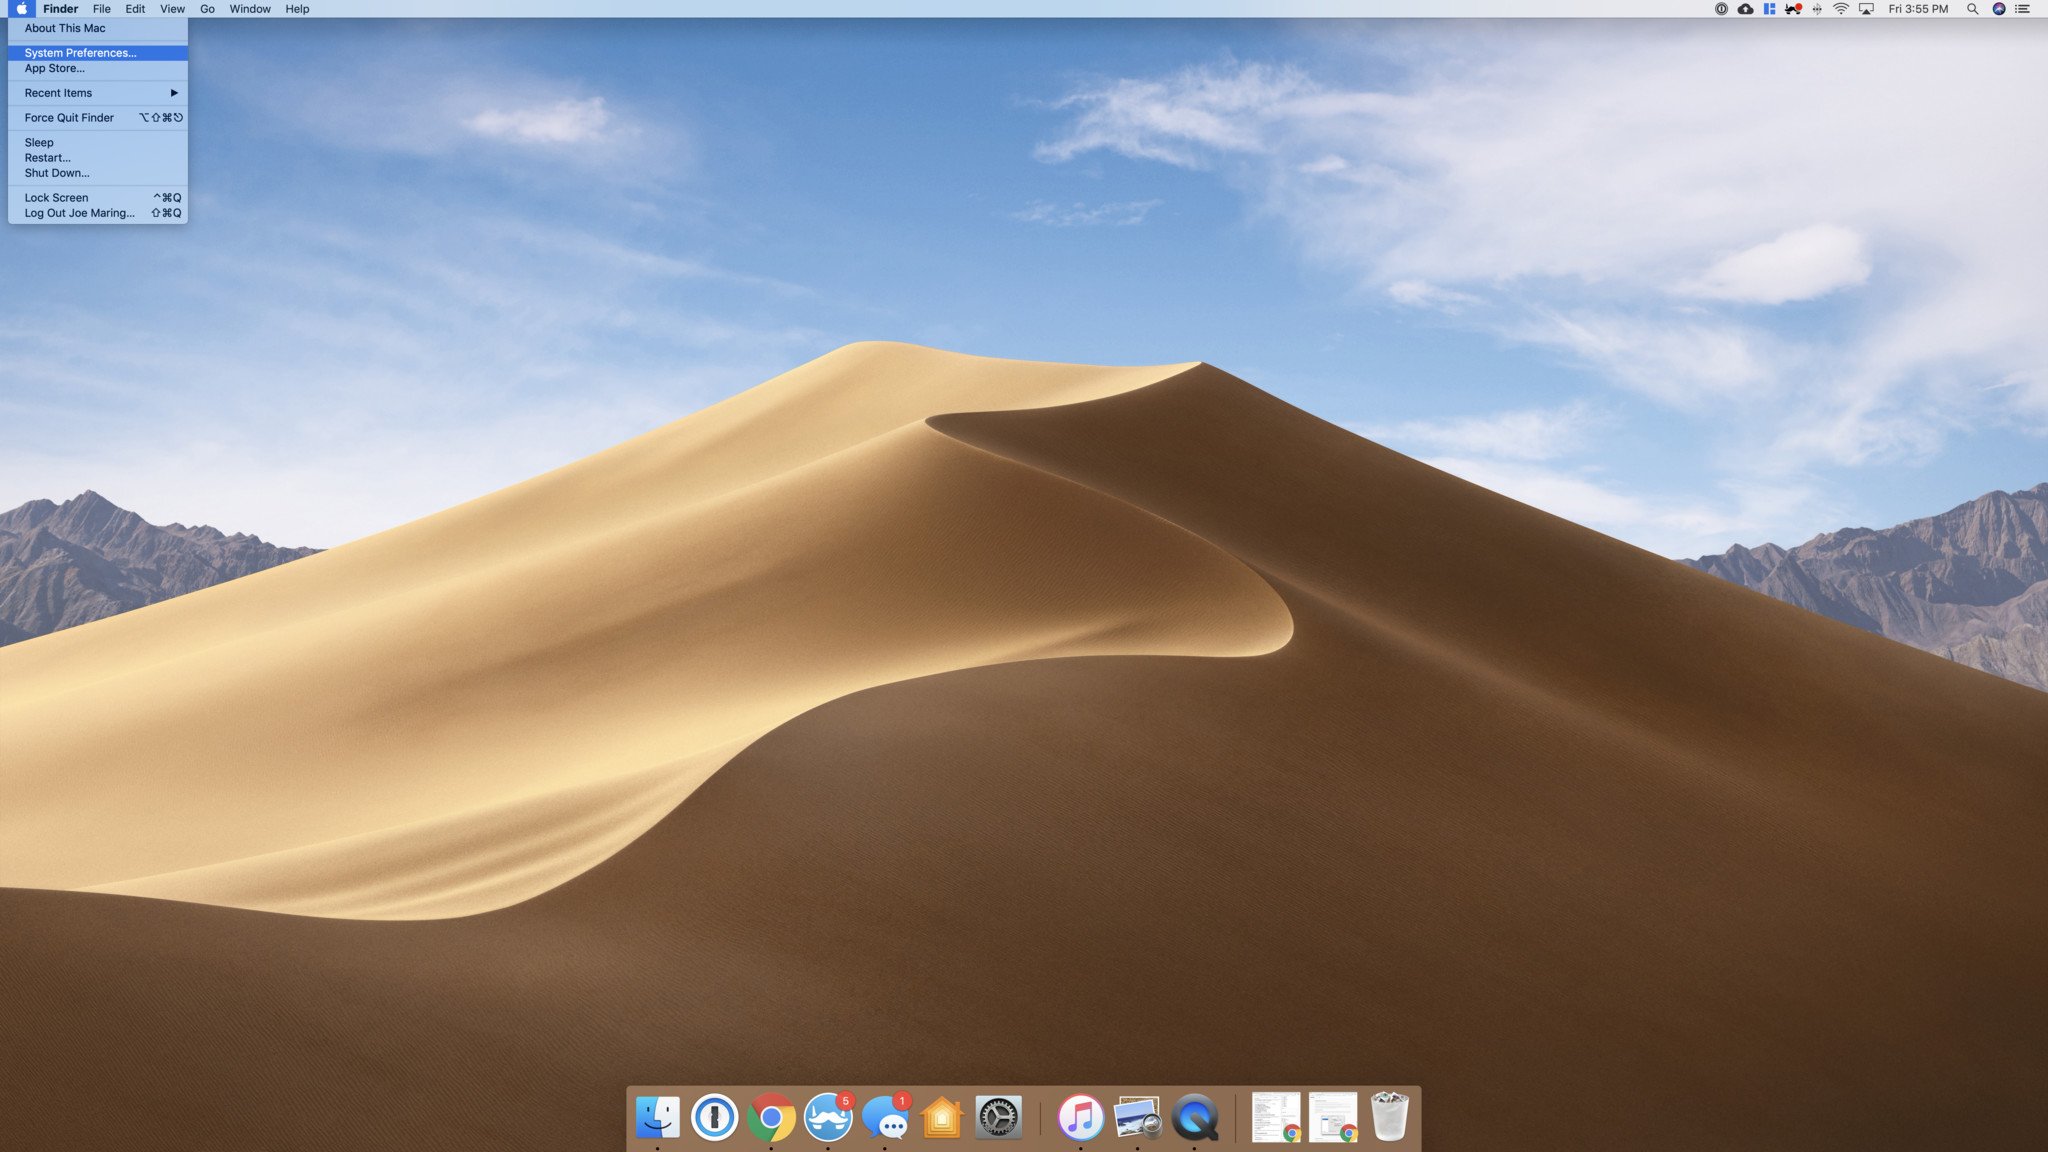
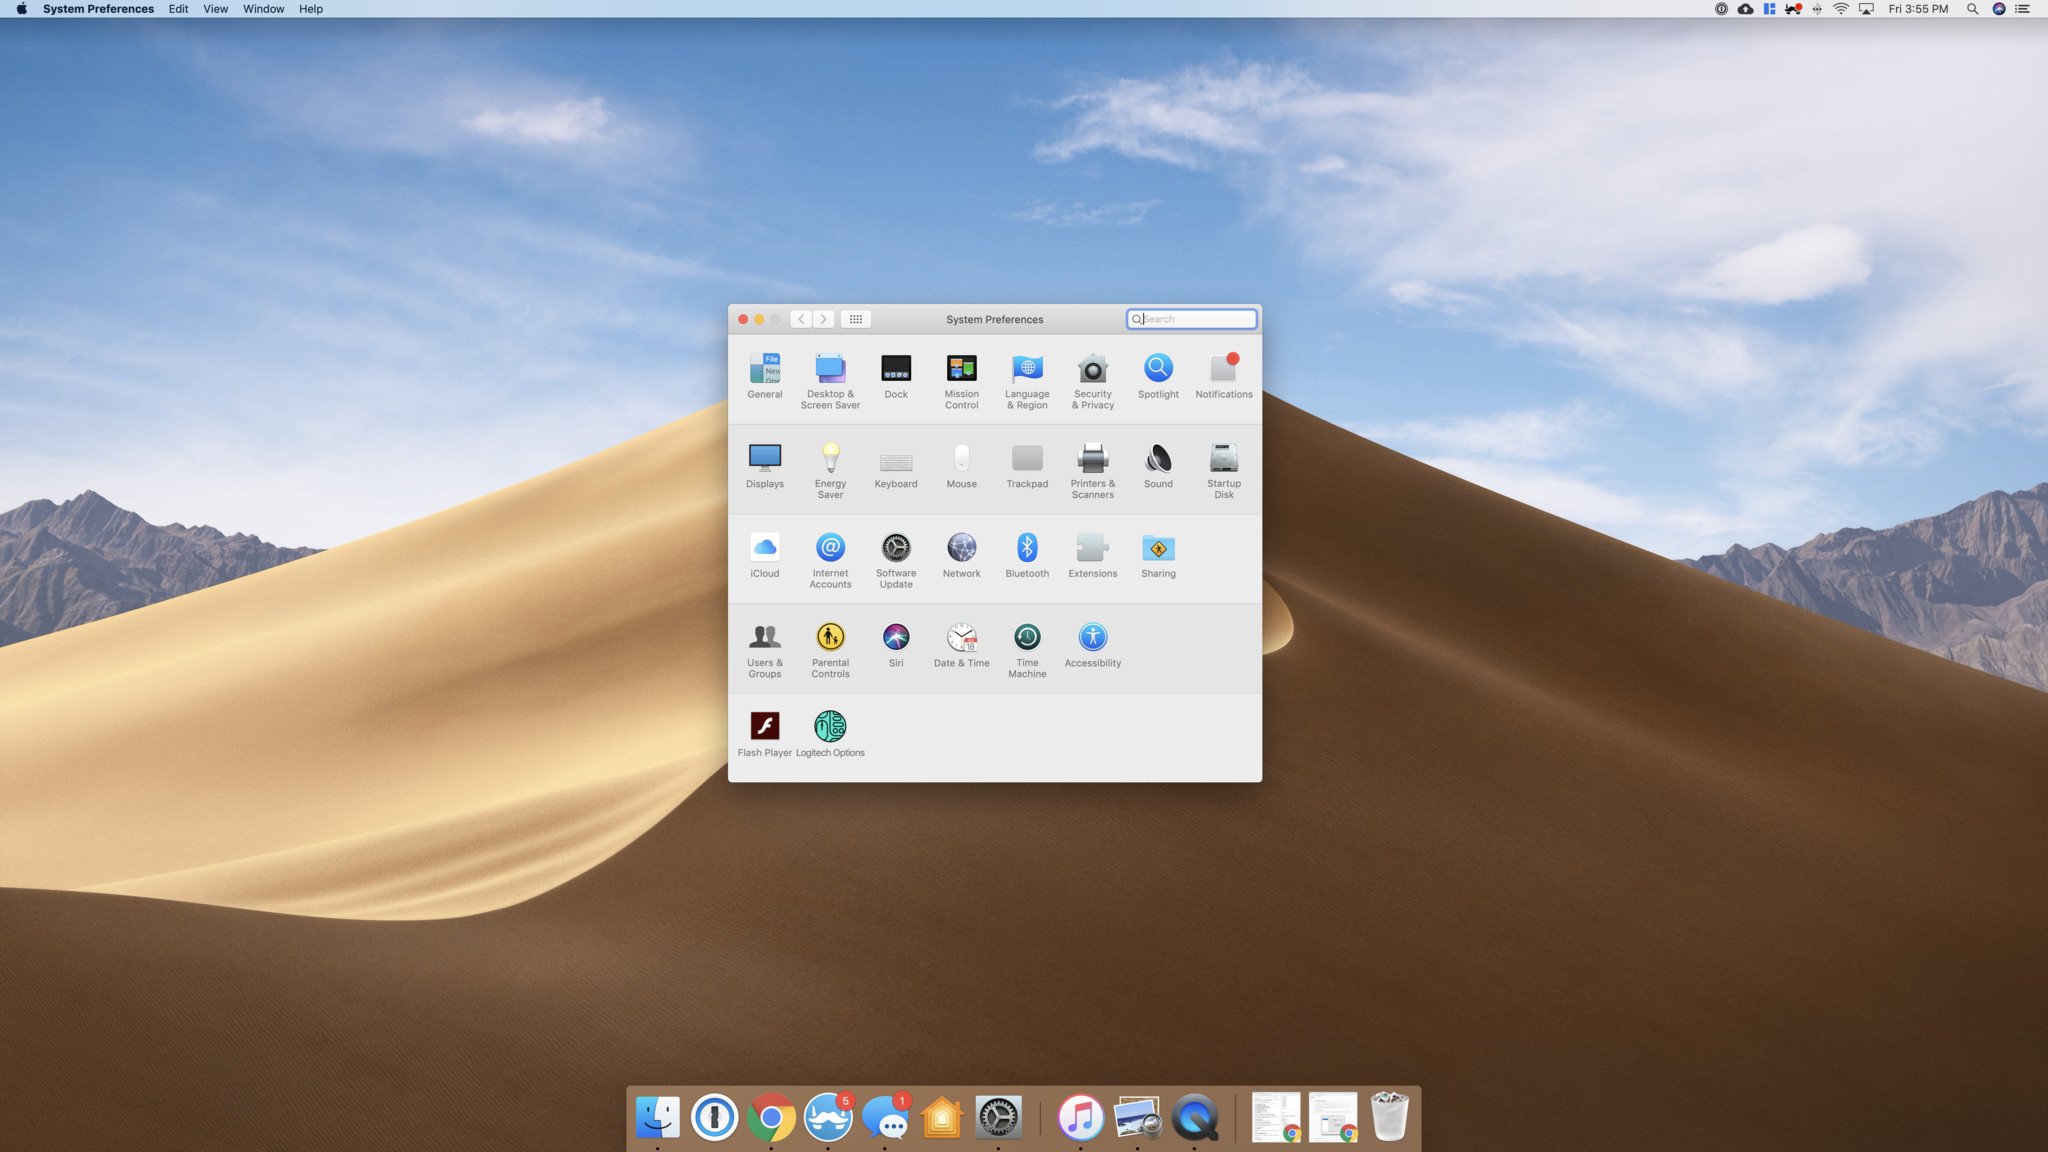
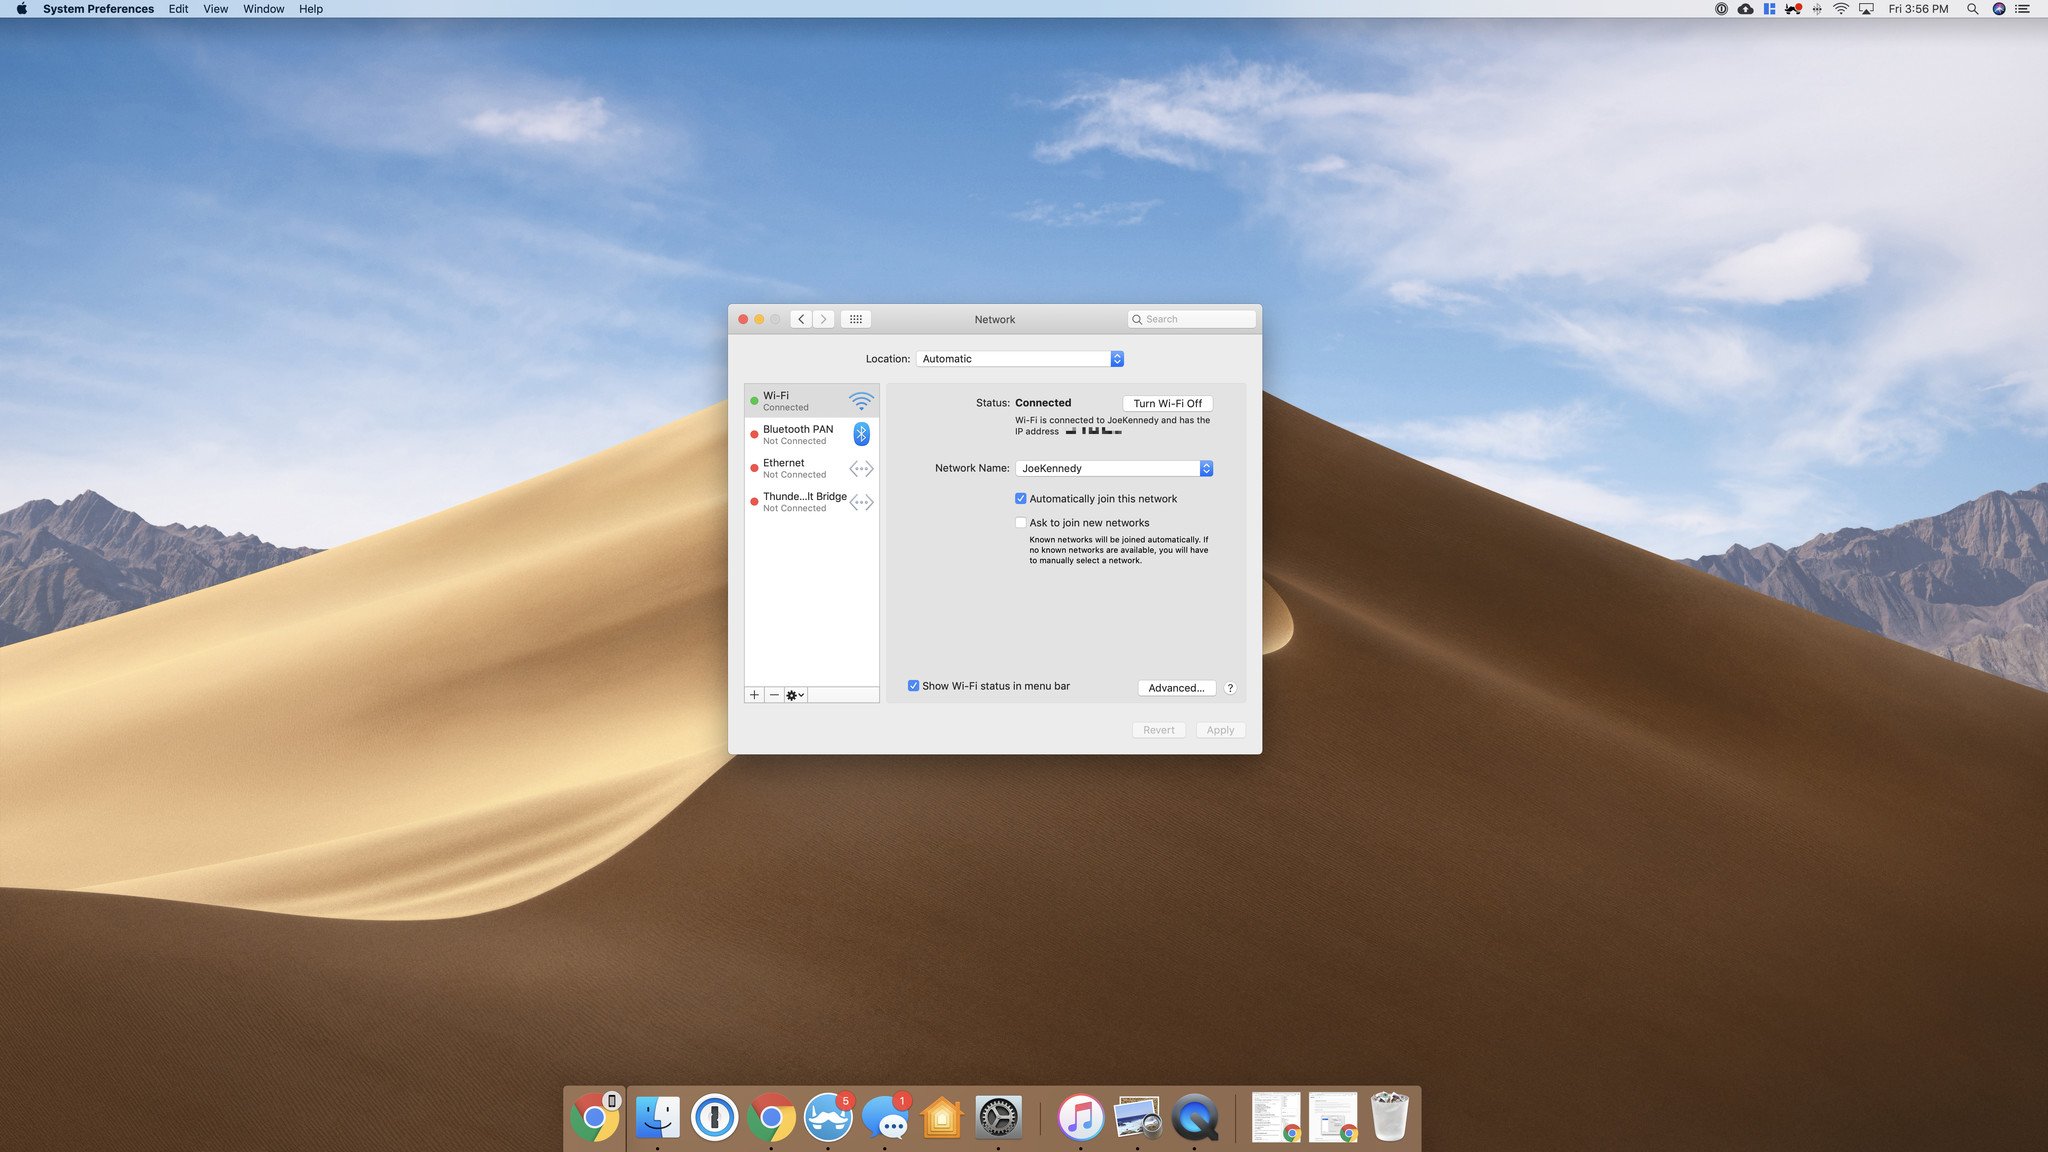
Before we set up port forwarding (the part of this whole process that allows AirMessage to work), we need to find your Mac's local IP address. To do this:
On this page, you'll find your IP address under the "Status: Connected" text (hint: it starts with 192).
How to set up port forwarding
The next step in this process is to get port forwarding enabled on your router. This is what will let the AirMessage app on your Mac communicate with the app on your Android phone.
This exact process for this can vary quite a bit depending on what router you have, but in this example, we're using a Google OnHub router with the Google WiFi app. Also, while AirMessage says to use TCP, I've only had luck using TCP and UDP.
- Open the Google Wifi app on your phone.
- Go to the right-most page.
- Tap Network & general.
-
Tap Advanced networking.
- Tap port management.
- Tap the + icon.
- Tap your Mac (Joes-iMac in this example).
-
Tap Next.
- Enter 1359 as the start and endge range (internal and external ports).
- Tap TCP and UDP.
-
Tap Done.
Again, this process is bound to look different based on what router you're using. If you're having trouble finding the port forwarding settings for your router, we recommend taking a look at the owner's manual.
How to set up a dynamic DNS
We're almost there! There's just one more thing to check.
After you enable port forwarding, you can use PortCheckTool.com or CanYouSeeMe.org to make sure your port forwarding is working. If it's not, you may need to set up a dynamic DNS service.
A lot of networking setups change the IP address of your computer, meaning that port forwarding can be easily broken. When you set up a dynamic DNS service, you're essentially making sure that your IP stays the same no matter what.
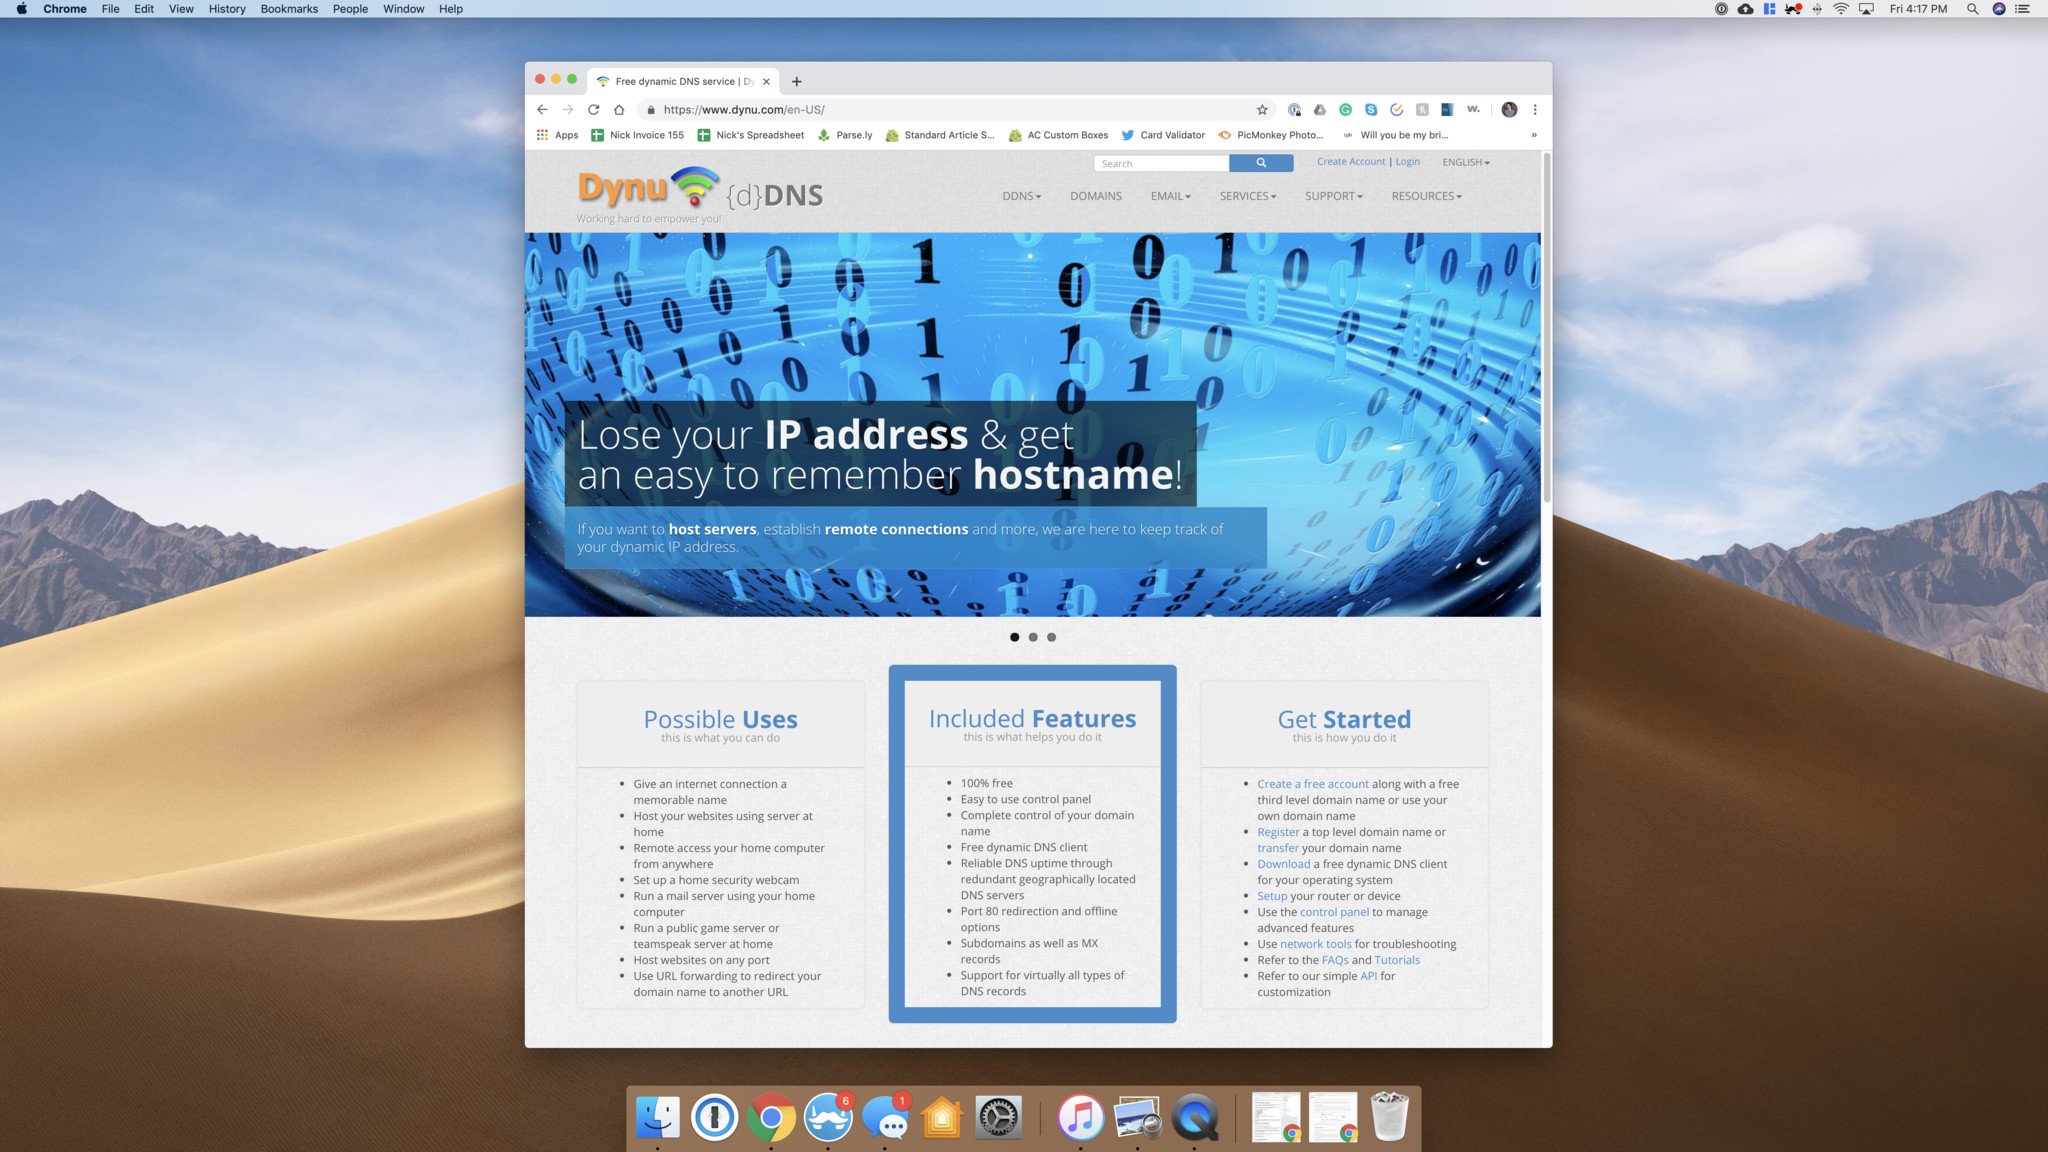
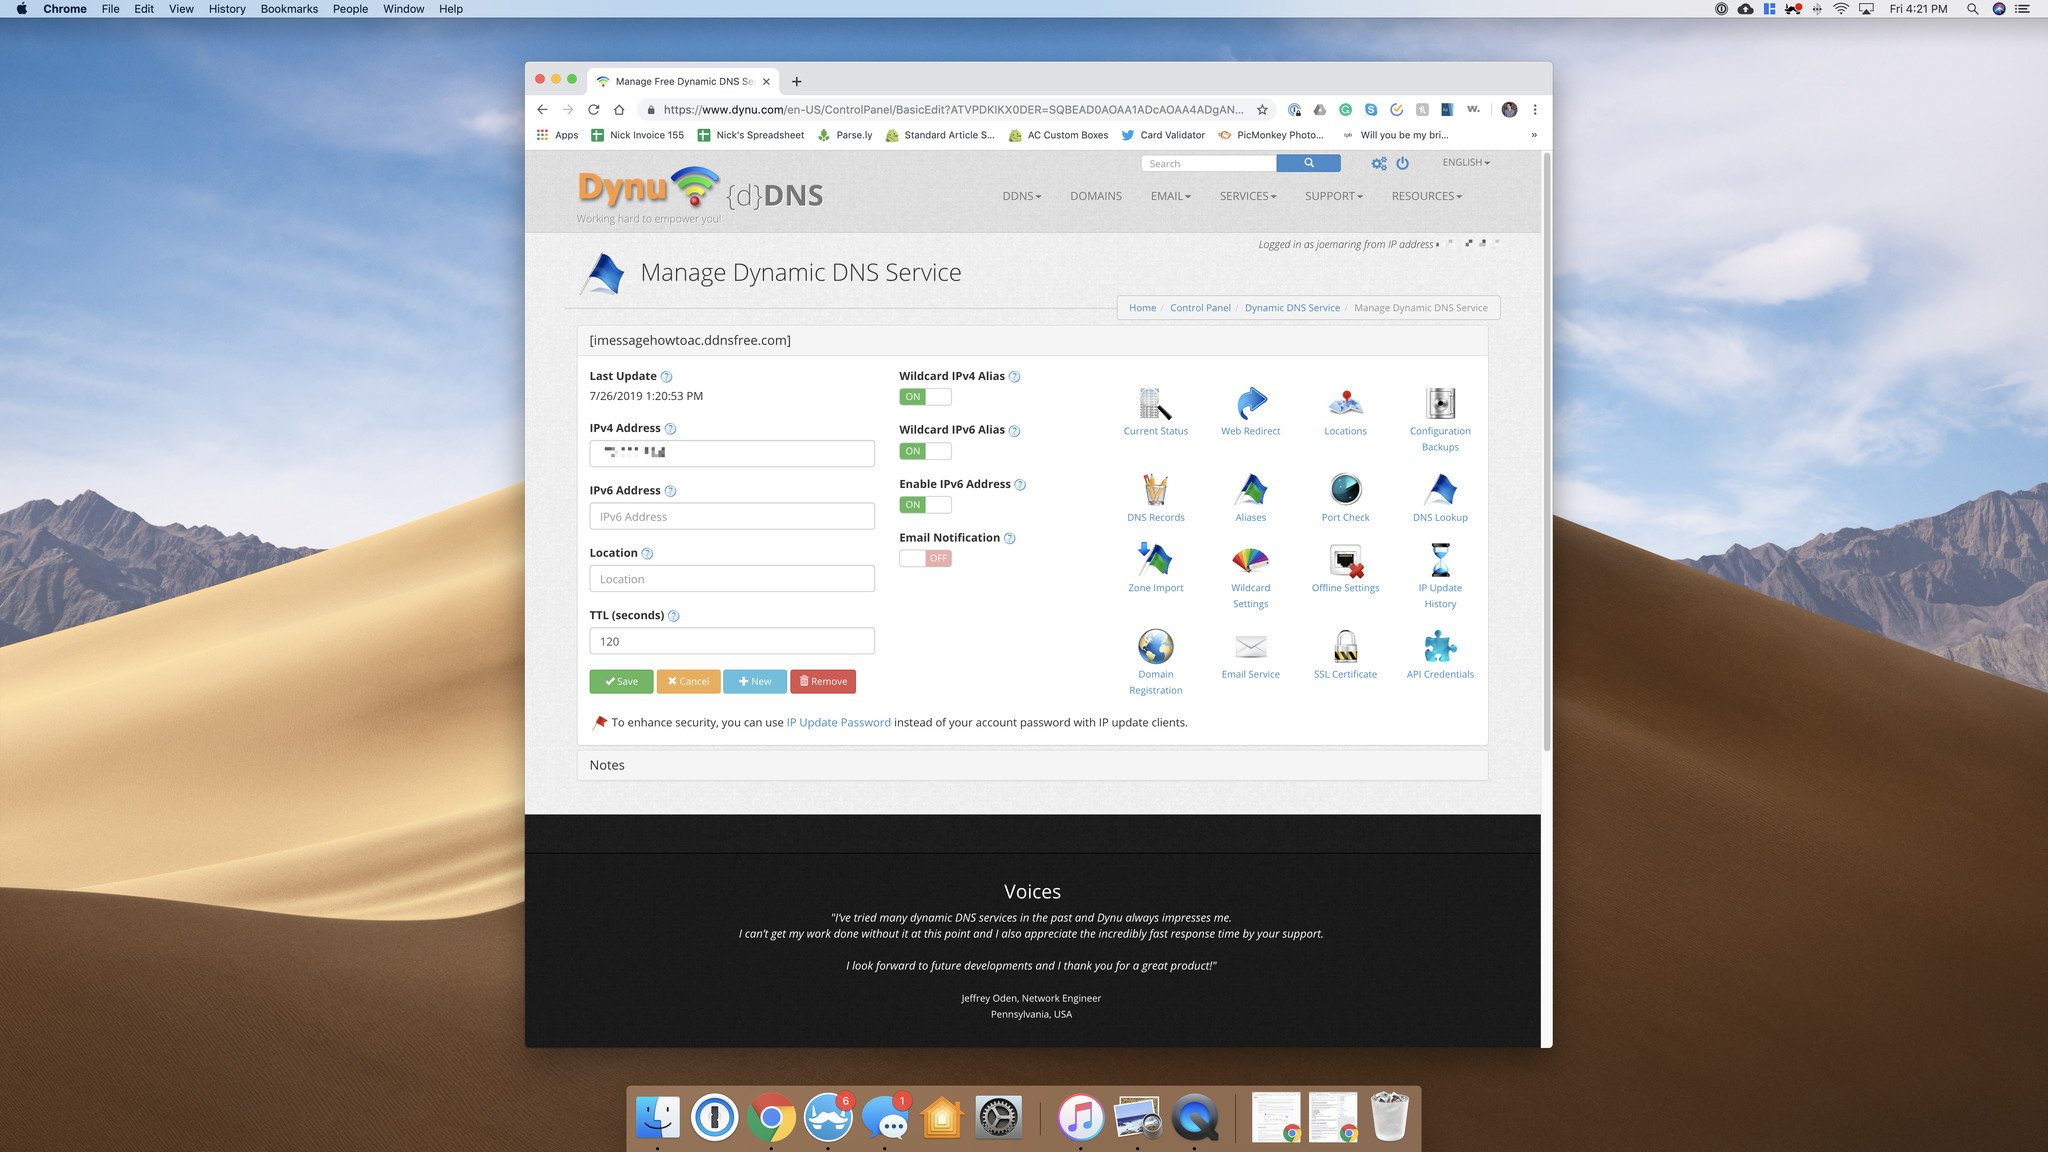
AirMessage recommends a few different options for dynamic DNS services, but for this example, we're going to be using Dynu DNS.
- Go to www.dynu.com
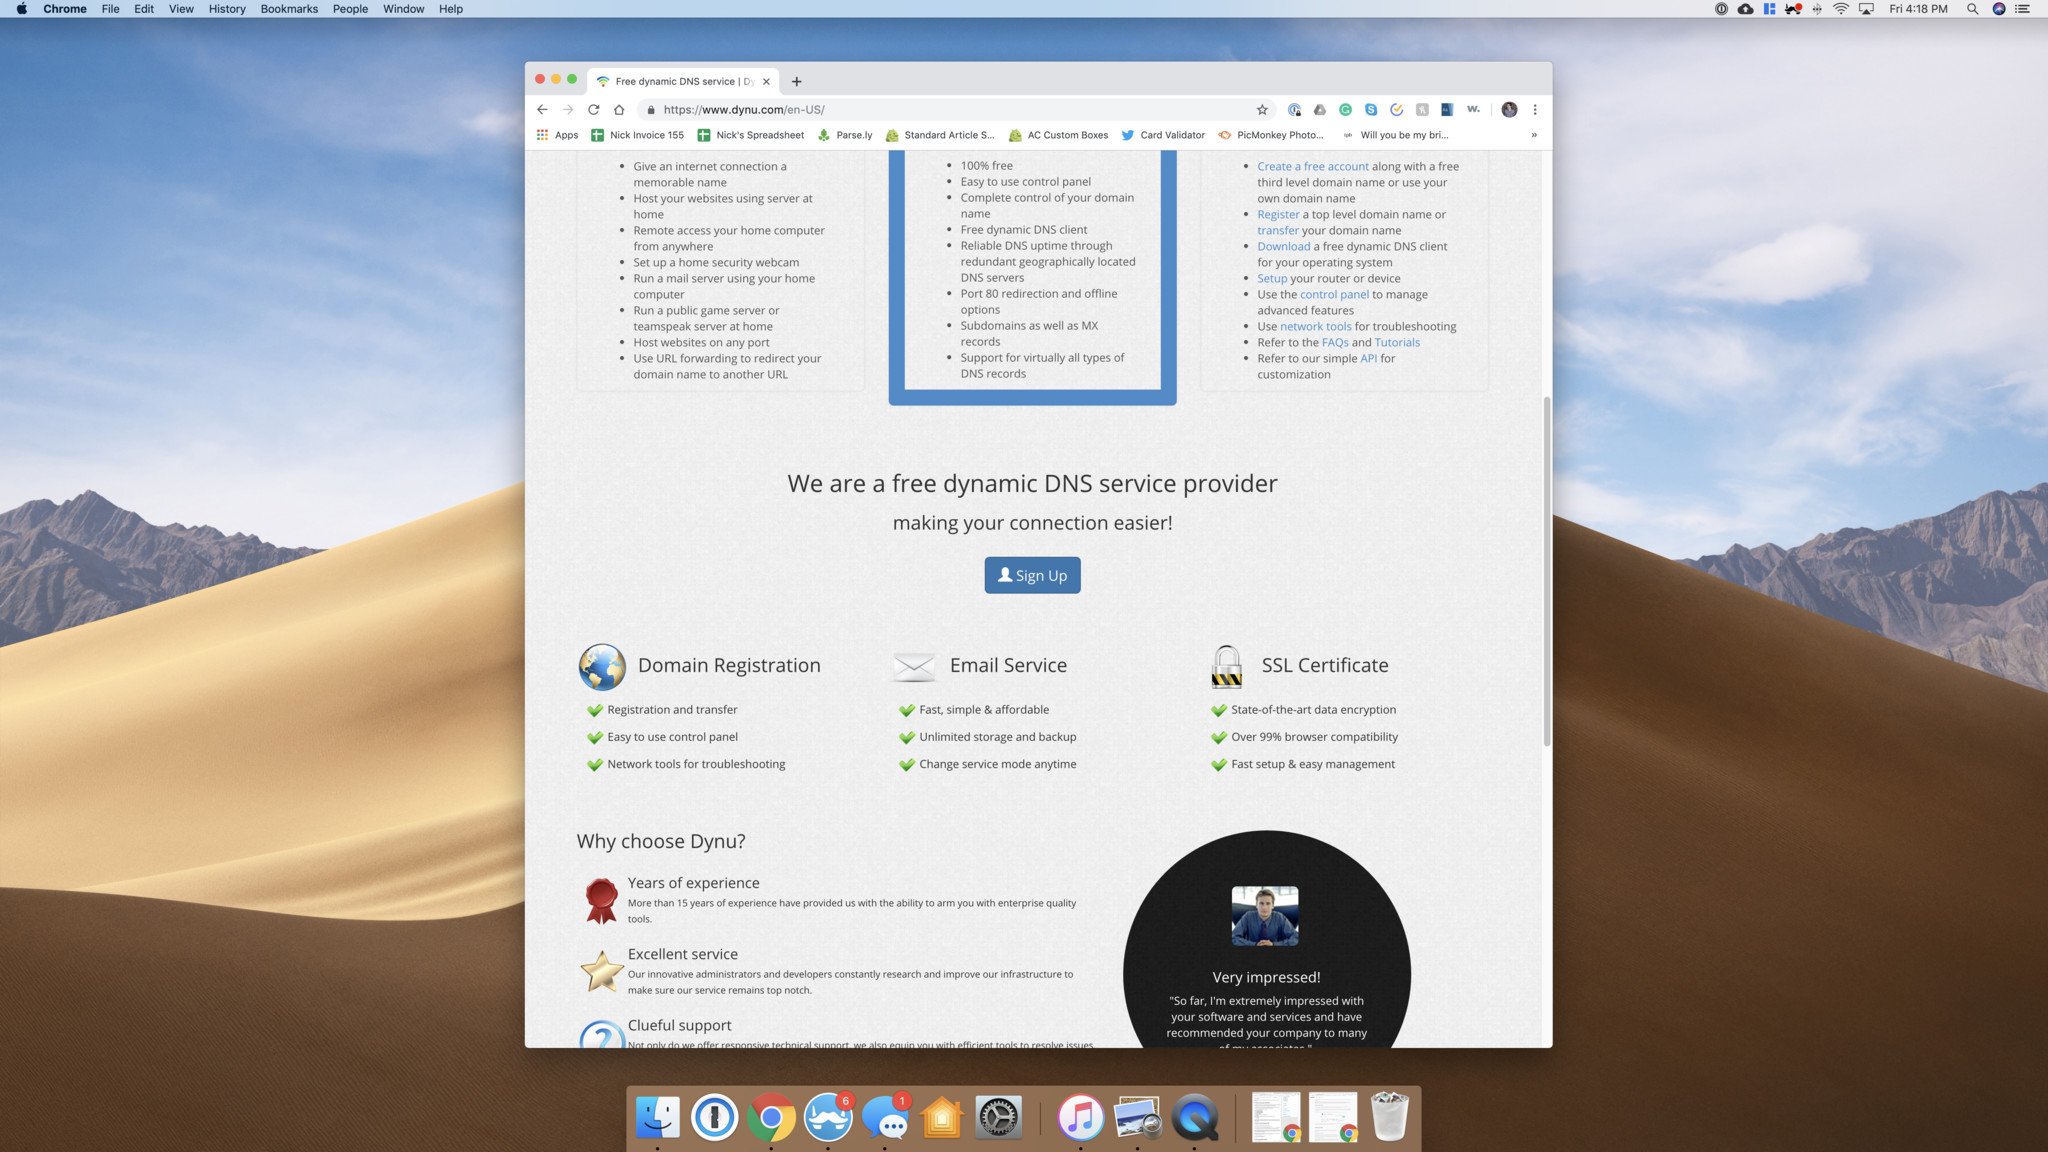
- Scroll down and click Sign Up.
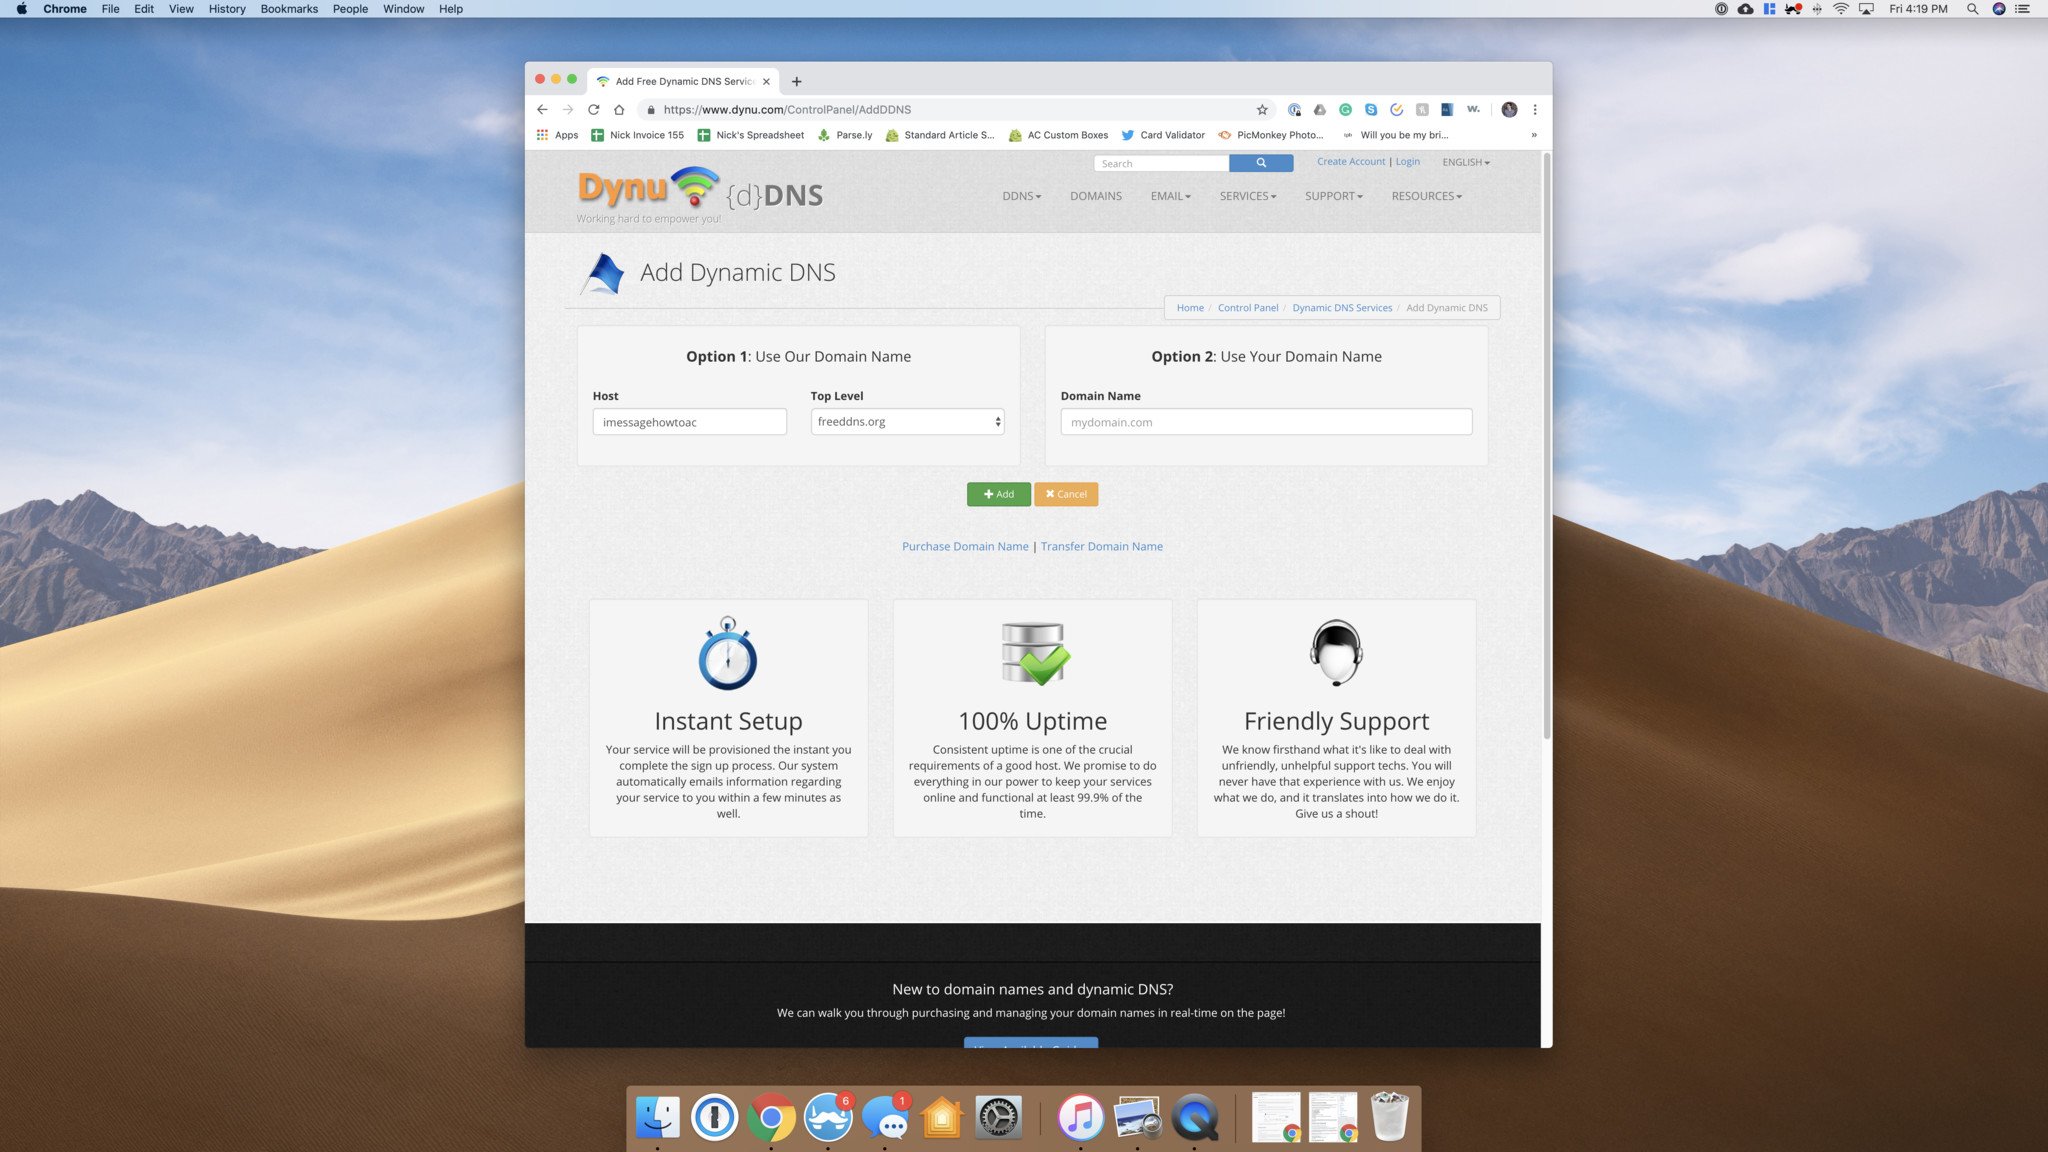
- Enter your hostname (this can be whatever you want).
-
Click Add.
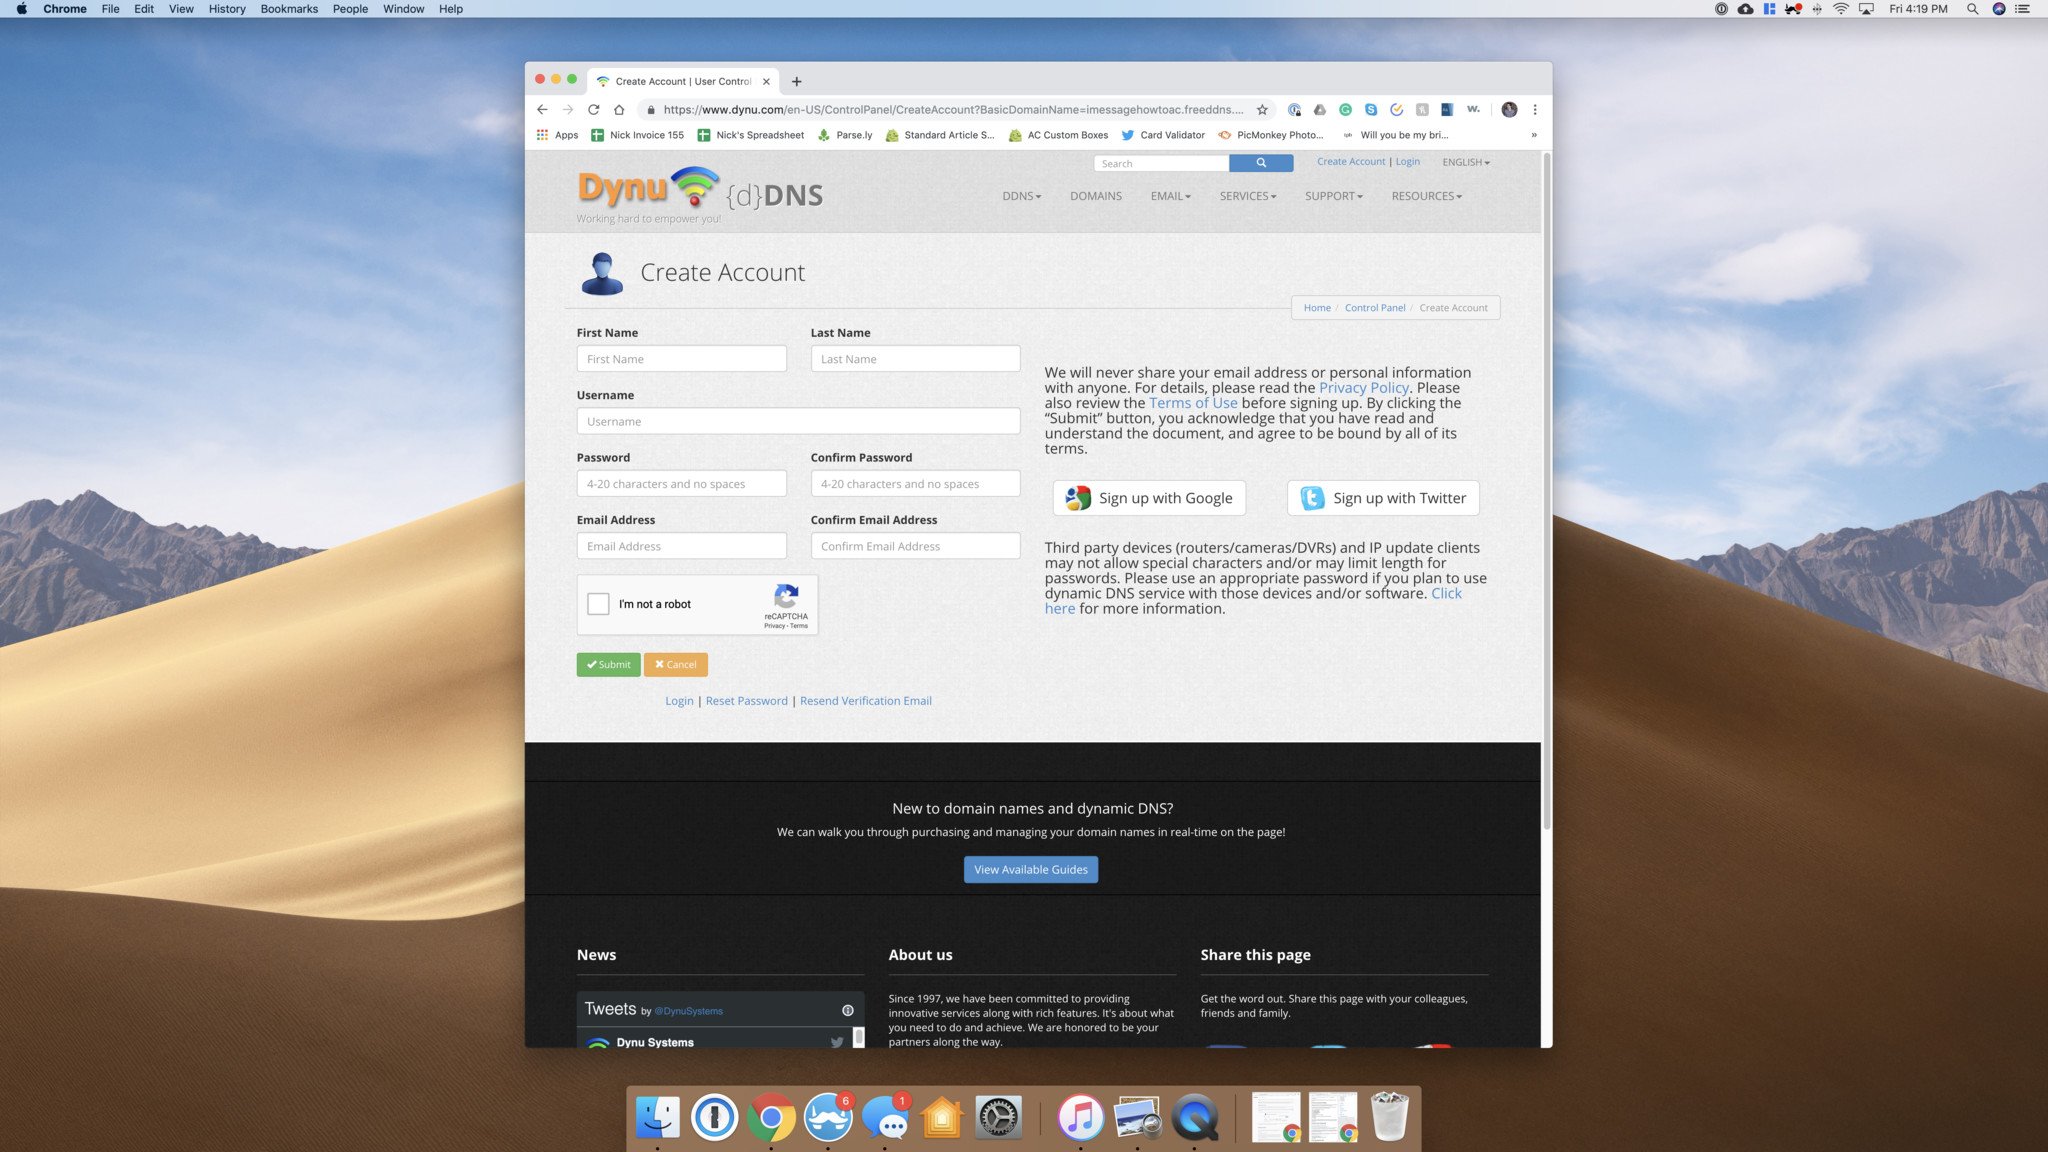
- Create a free Dynu account.
-
On the next page showing your hostname, click Save.
How to set up AirMessage on your phone
Now that our Mac and router are both setup and ready to go, the last step is to get AirMessage running on our Android phone. First thing's first, we need to download the app.
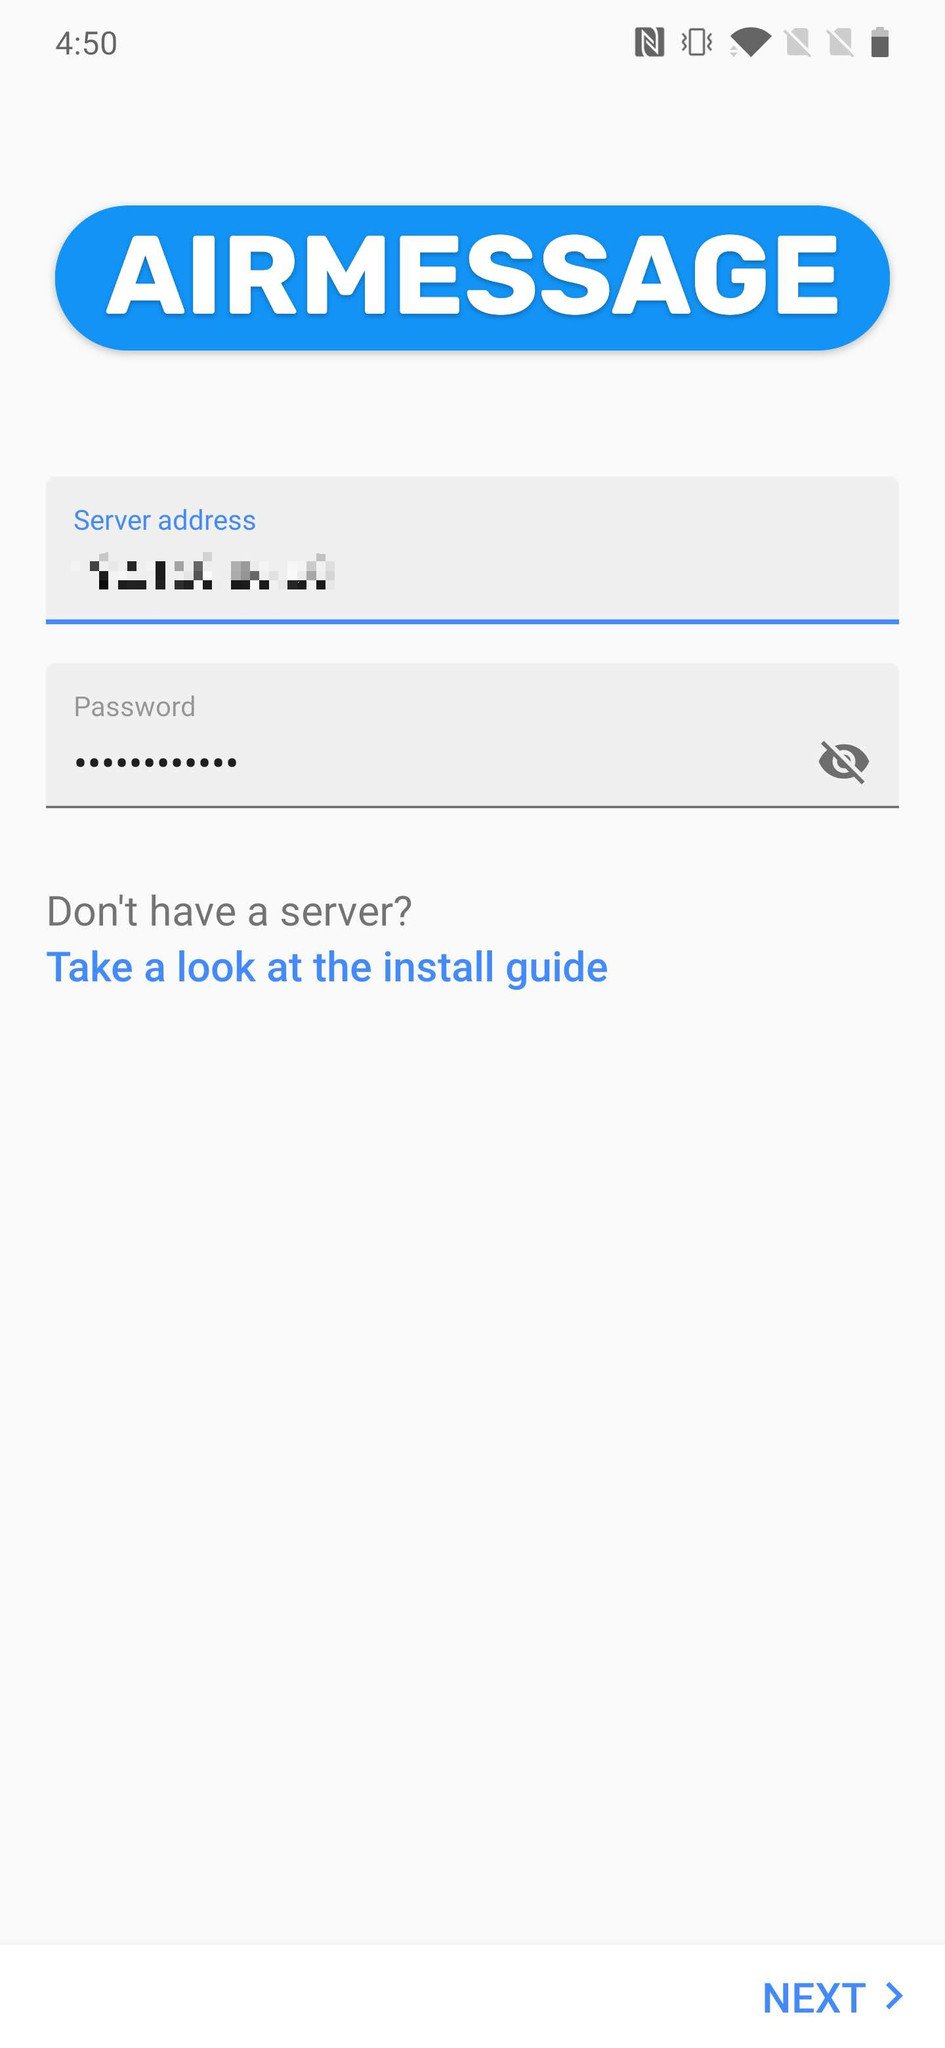
One quick note — the server address you'll be asked to enter is your IP address if you used Google Wifi. Otherwise, enter the hostname you created with the Dynu. Also, the default password for AirMessage is "cookiesandmilk." If you want to change this, click the AirMessage icon on your Mac's top menu bar and then click Preferences.
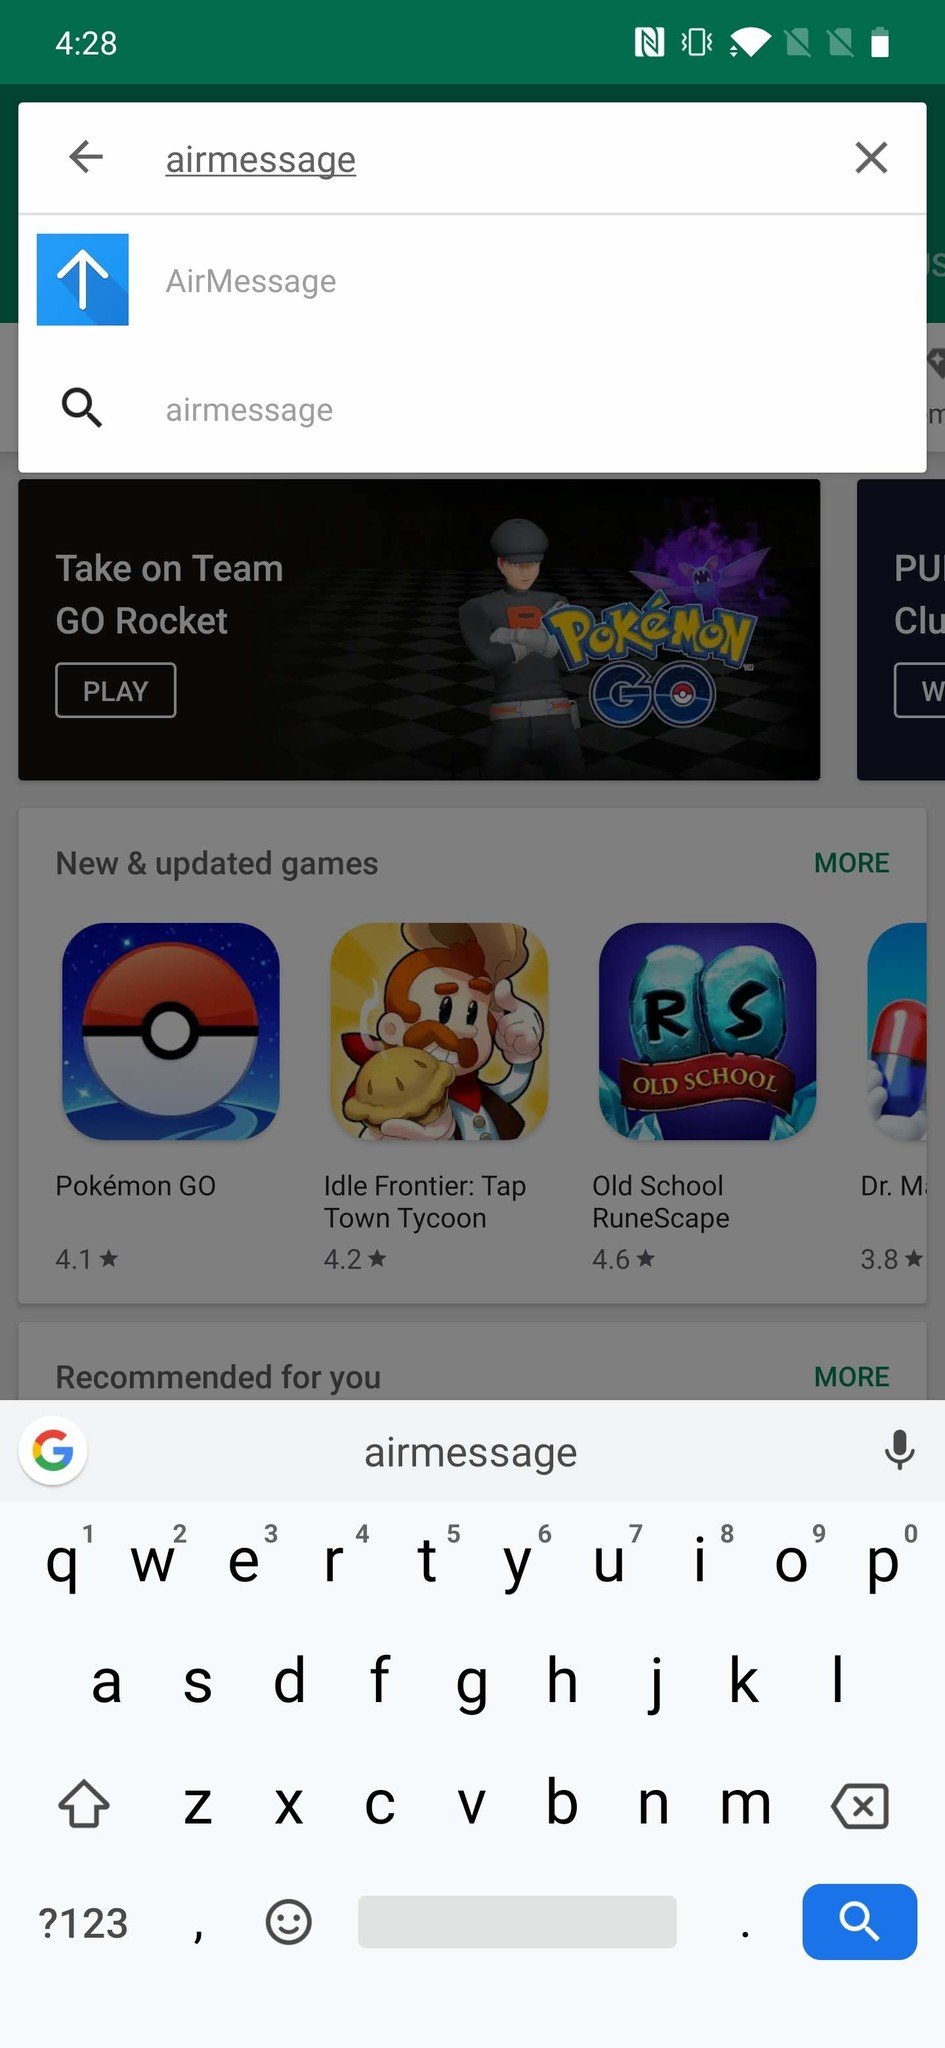
- Open the Google Play Store on your Android phone.
- Search AirMessage.
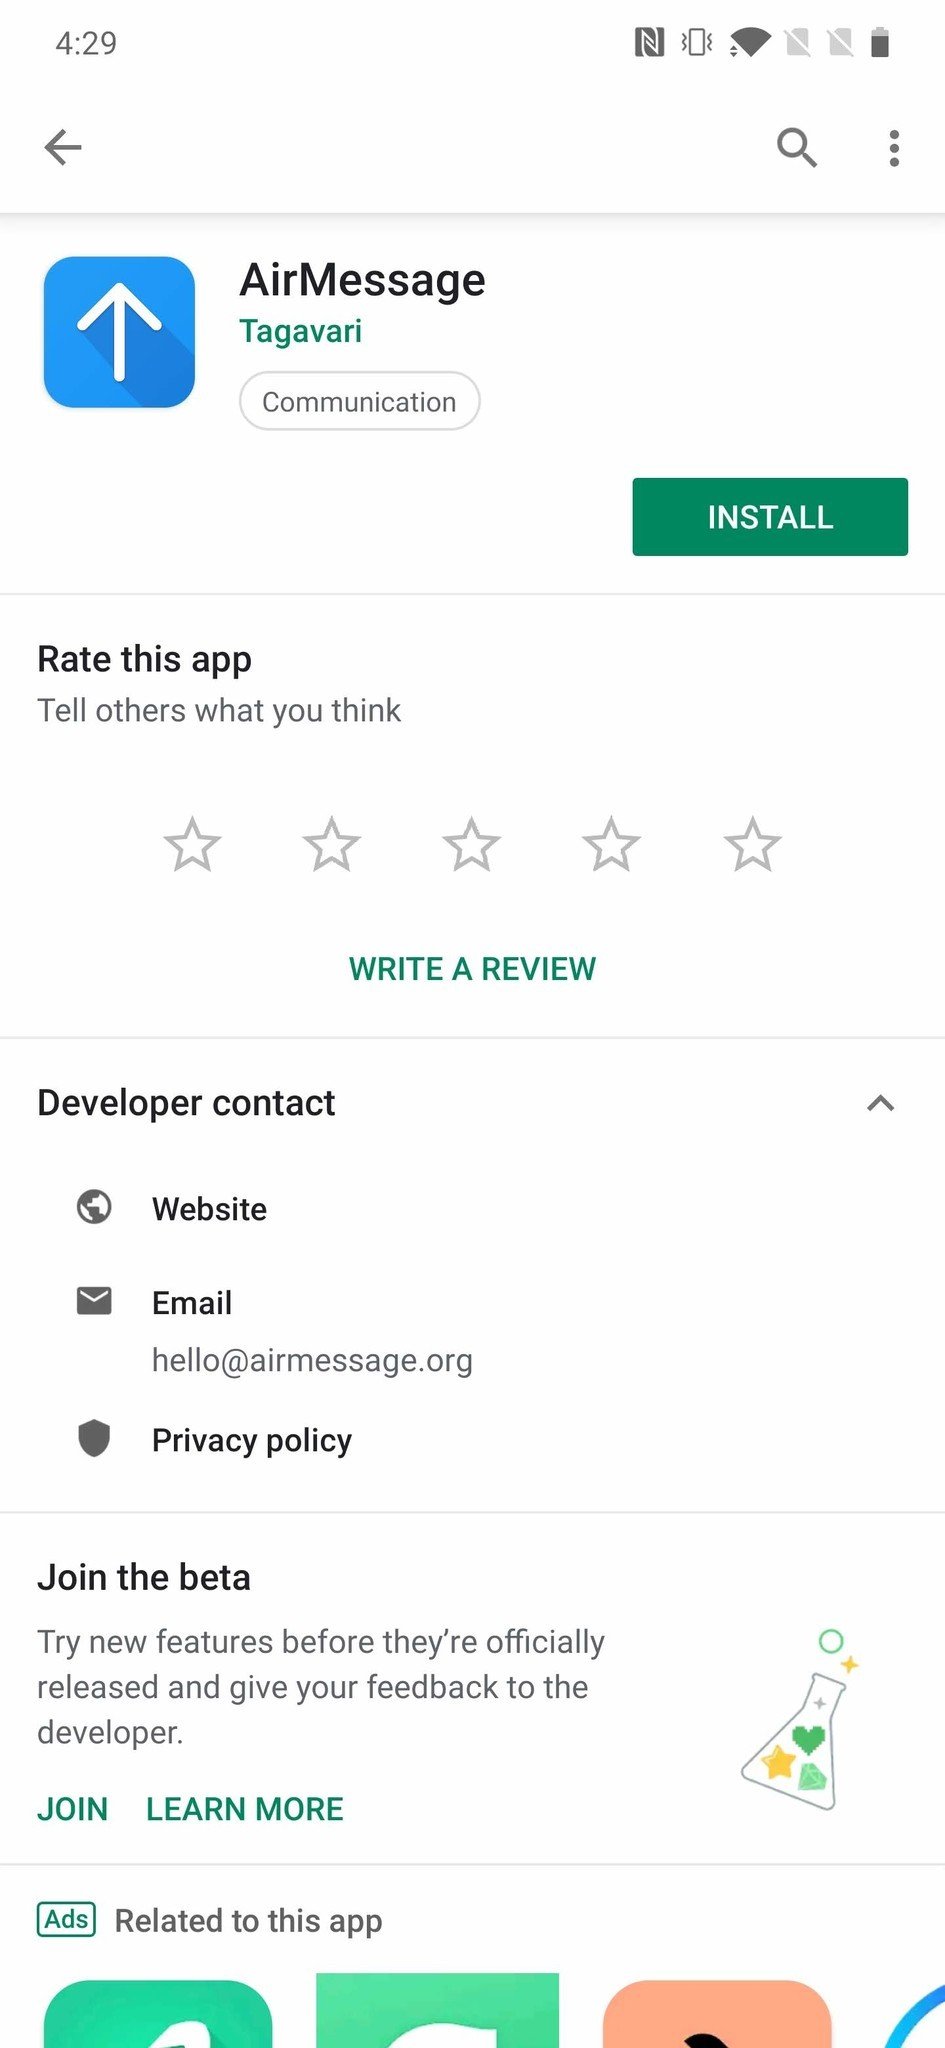
- Tap the first result.
- Tap Install.
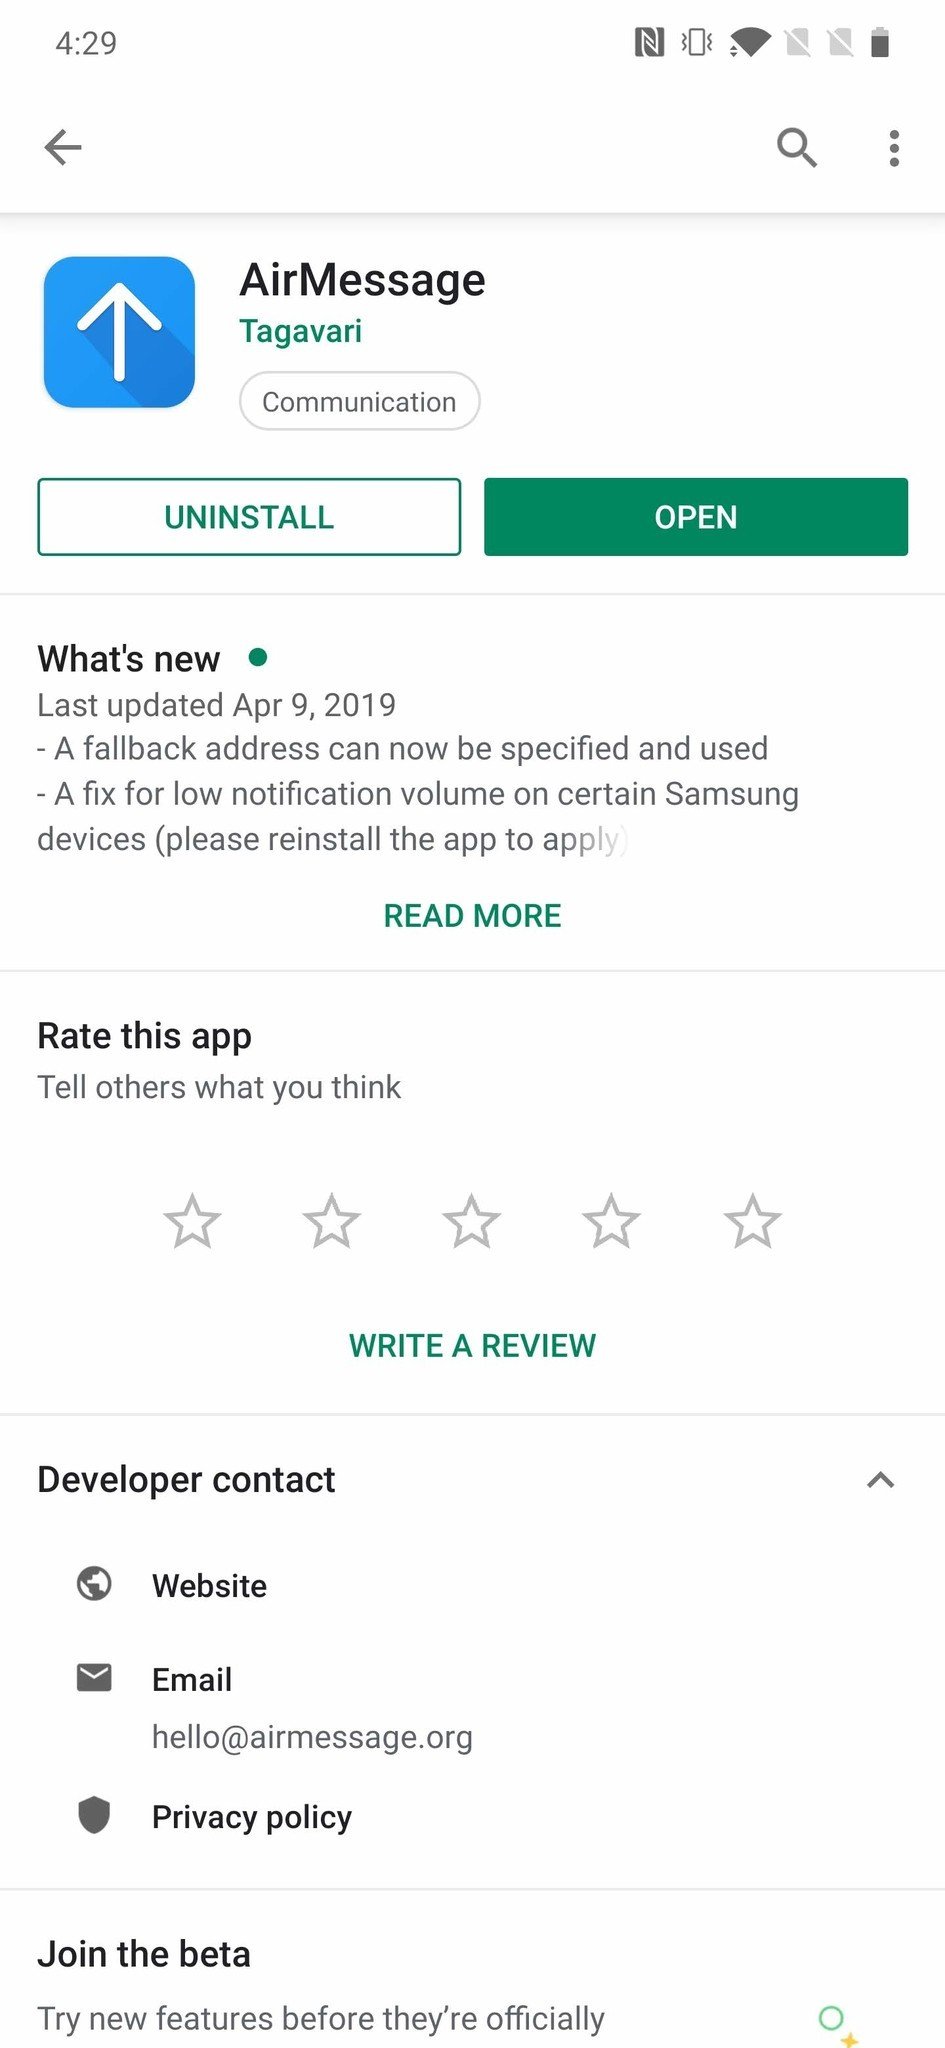
-
Tap Open once it's done downloading.
- Type in your server address and password.
- Tap Next.
-
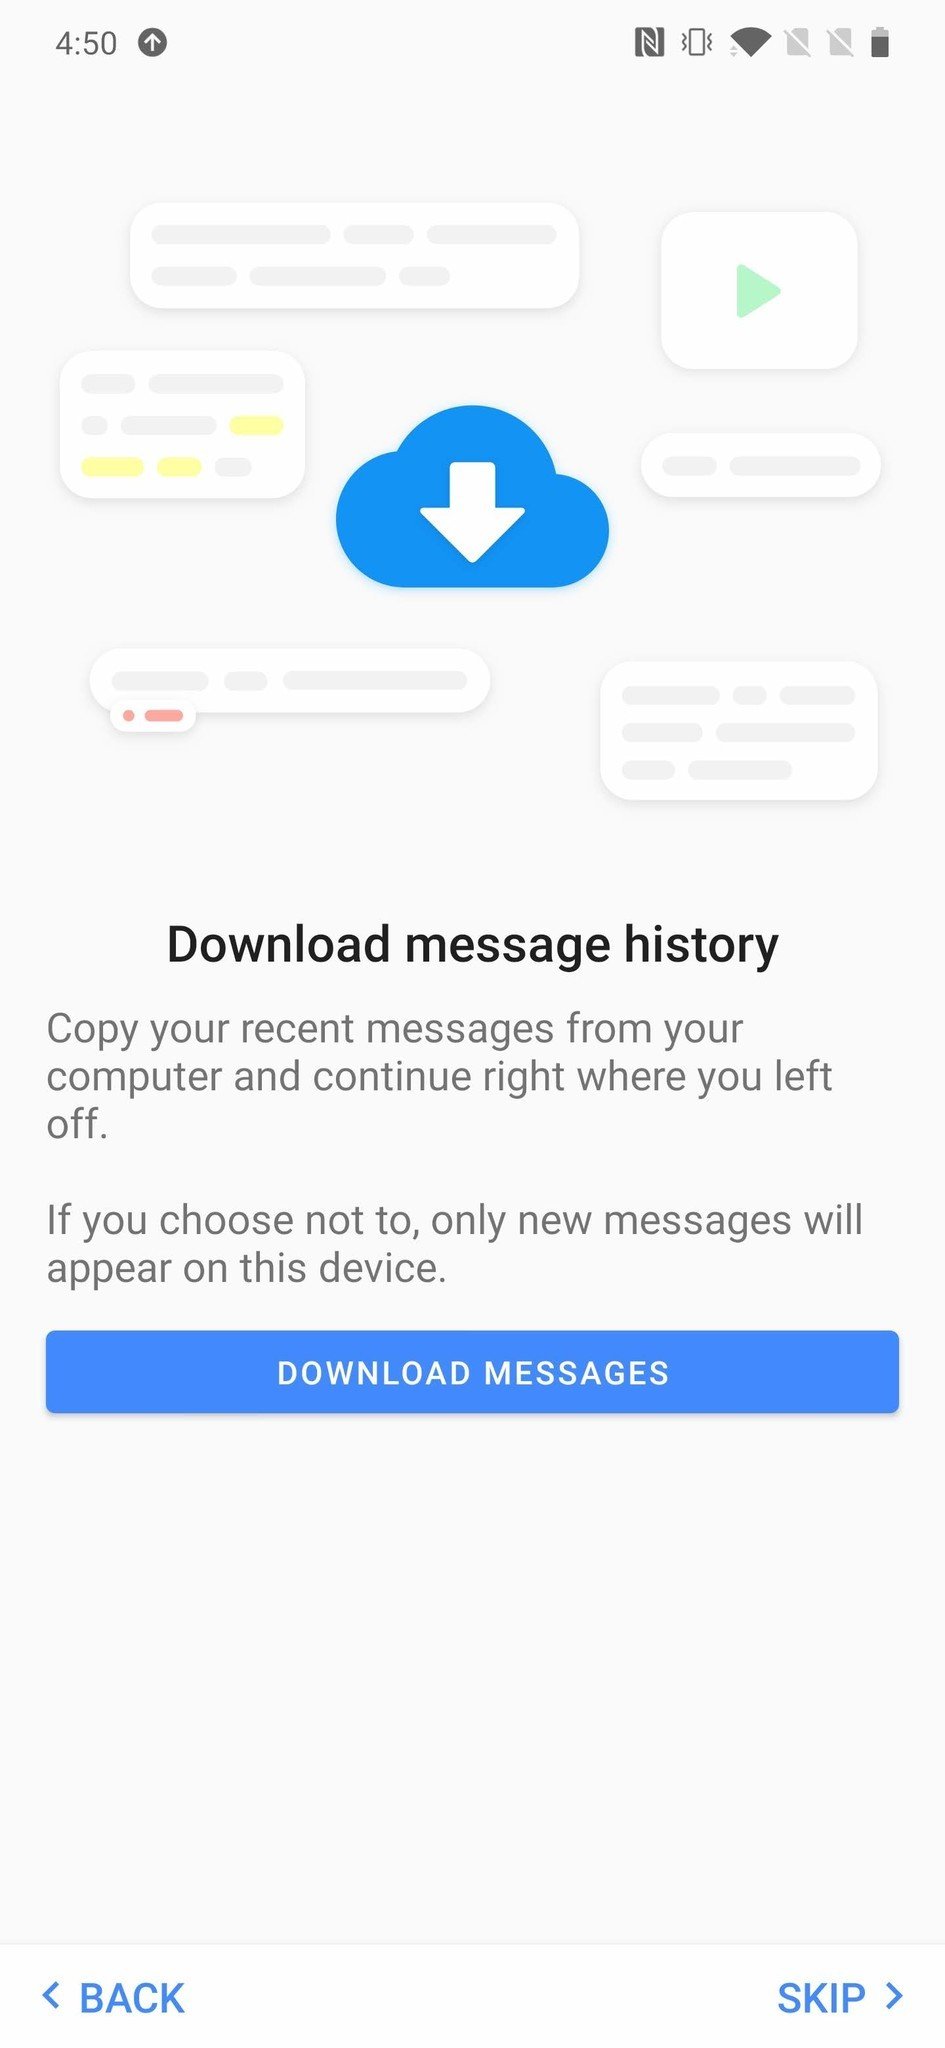
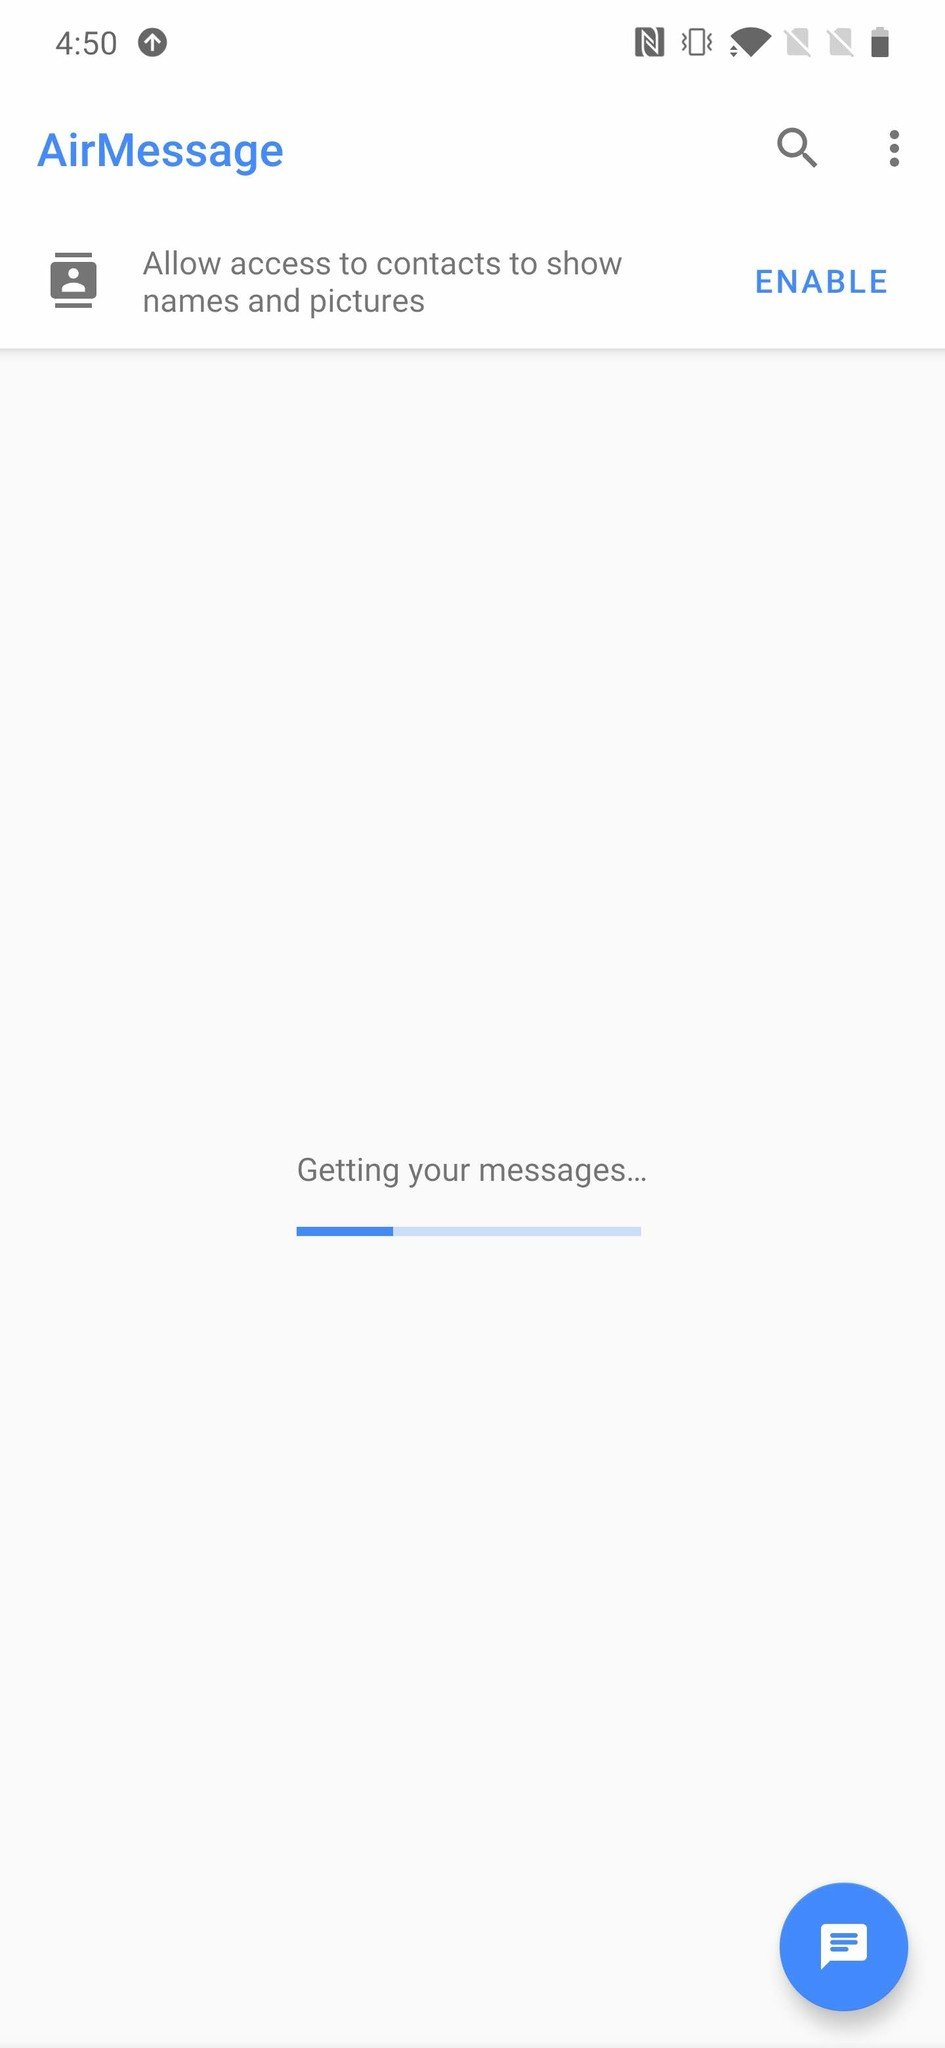
Tap Download Messages
-
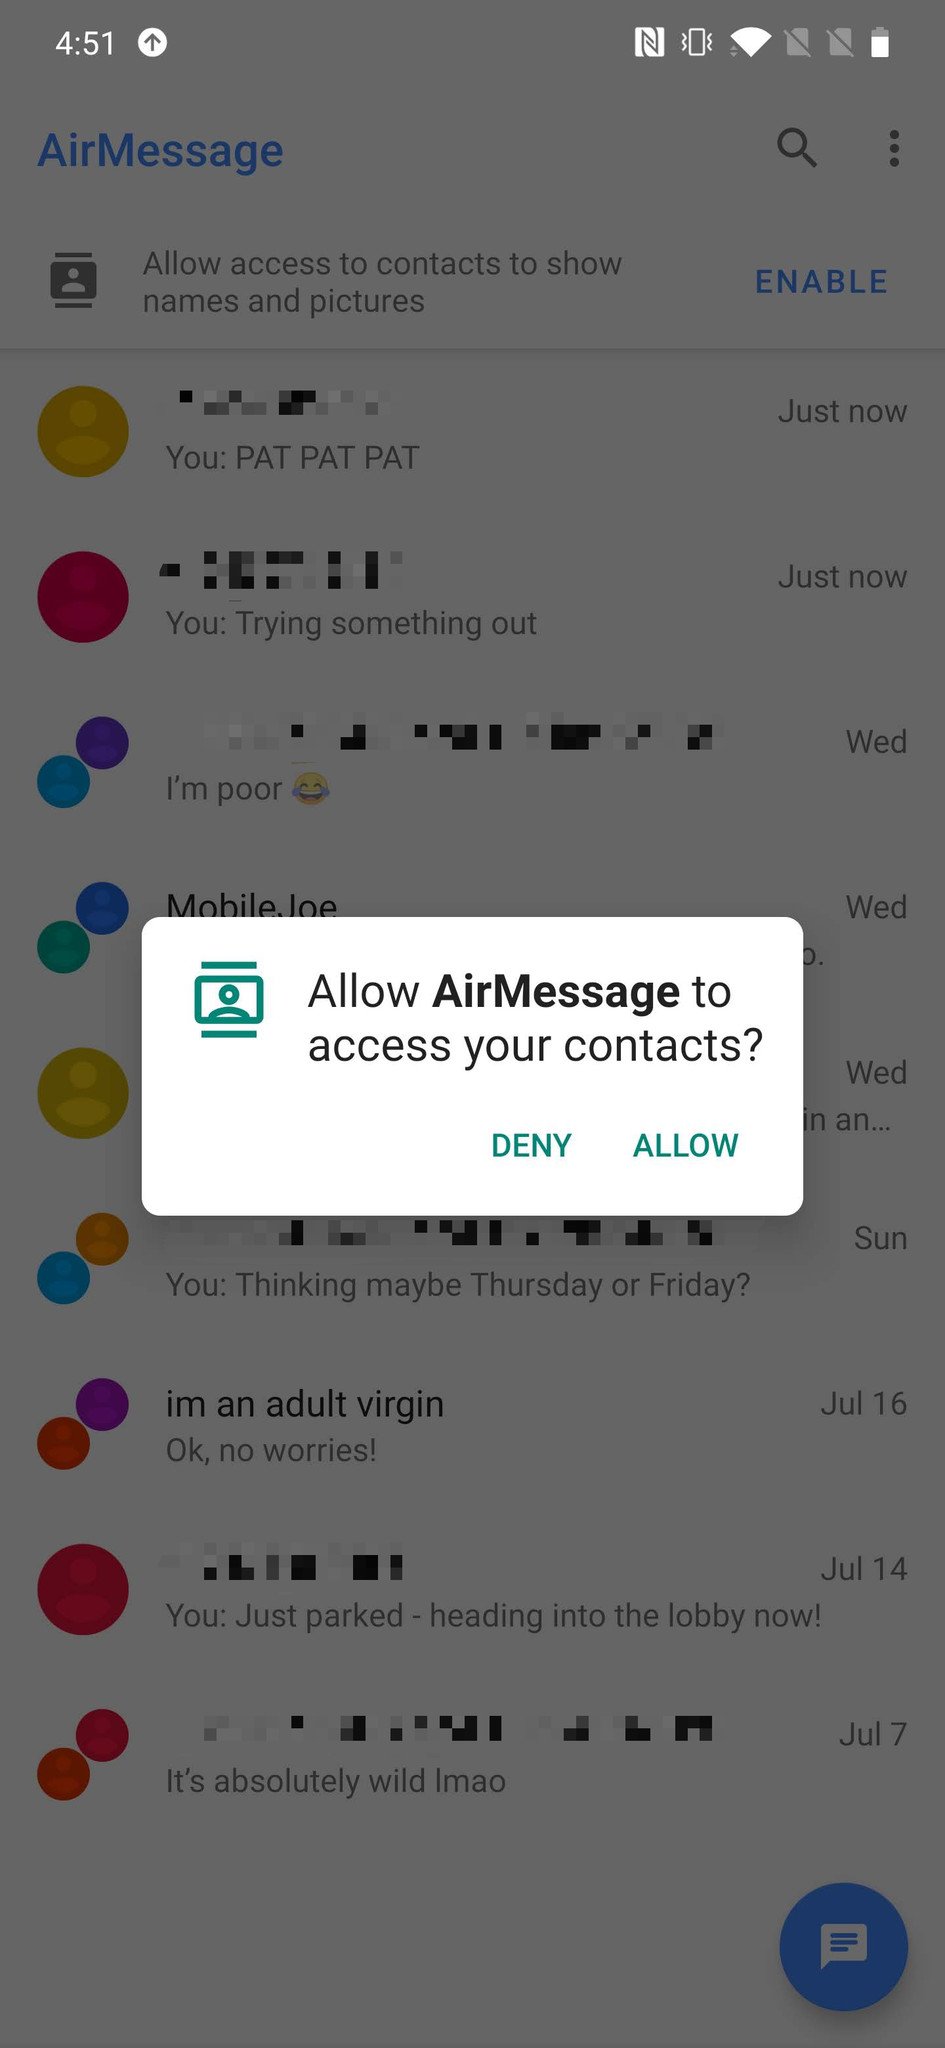
Tap Allow to grant access to your contacts.
You did it!
Hooray!! With all of that done, you now have iMessage on your Android phone. Yes, the process for getting everything set up is a pain in the butt, but considering this is something Apple will likely never offer, it's pretty incredible that this is a thing that exists in the first place.
Now, grab a drink, put your feet up, and start enjoying iMessage on whatever Android phone you'd like 👏.
Our top equipment picks
AirMessage will work with any Android and Mac combo, but this the setup I used to get things up and running.
iPhone who?
OnePlus 7 Pro
A stunning and powerful Android phone.
The OnePlus 7 Pro is a joy to use. It has a truly gorgeous design with a breathtaking 90Hz AMOLED display, blazing-fast performance, and capable rear cameras. Its clean software is wonderful, and with AirMessage on it, you get one of the biggest draws to owning an iPhone.
Messaging server
Apple iMac
Sleek computer and messaging server in one.
The iMac has been my computer of choice for a few years now. It's built like a tank, has a 5K display that's wonderfully easy on the eyes, and is plenty powerful for just about any workflow. If you want iMessage on your Android phone, it's a crucial component to making it work.
Ties it all together
AirMessage
The key to getting iMessage on an Android phone.
Apple may not ever make iMessage for Android, but we don't need an official app. Thanks to AirMessage and a little patience, you can bring iMessage to any Android phone — all for the low price of free.



Tidak ada komentar:
Posting Komentar