Quick steps to get your phone up and running in great shape.
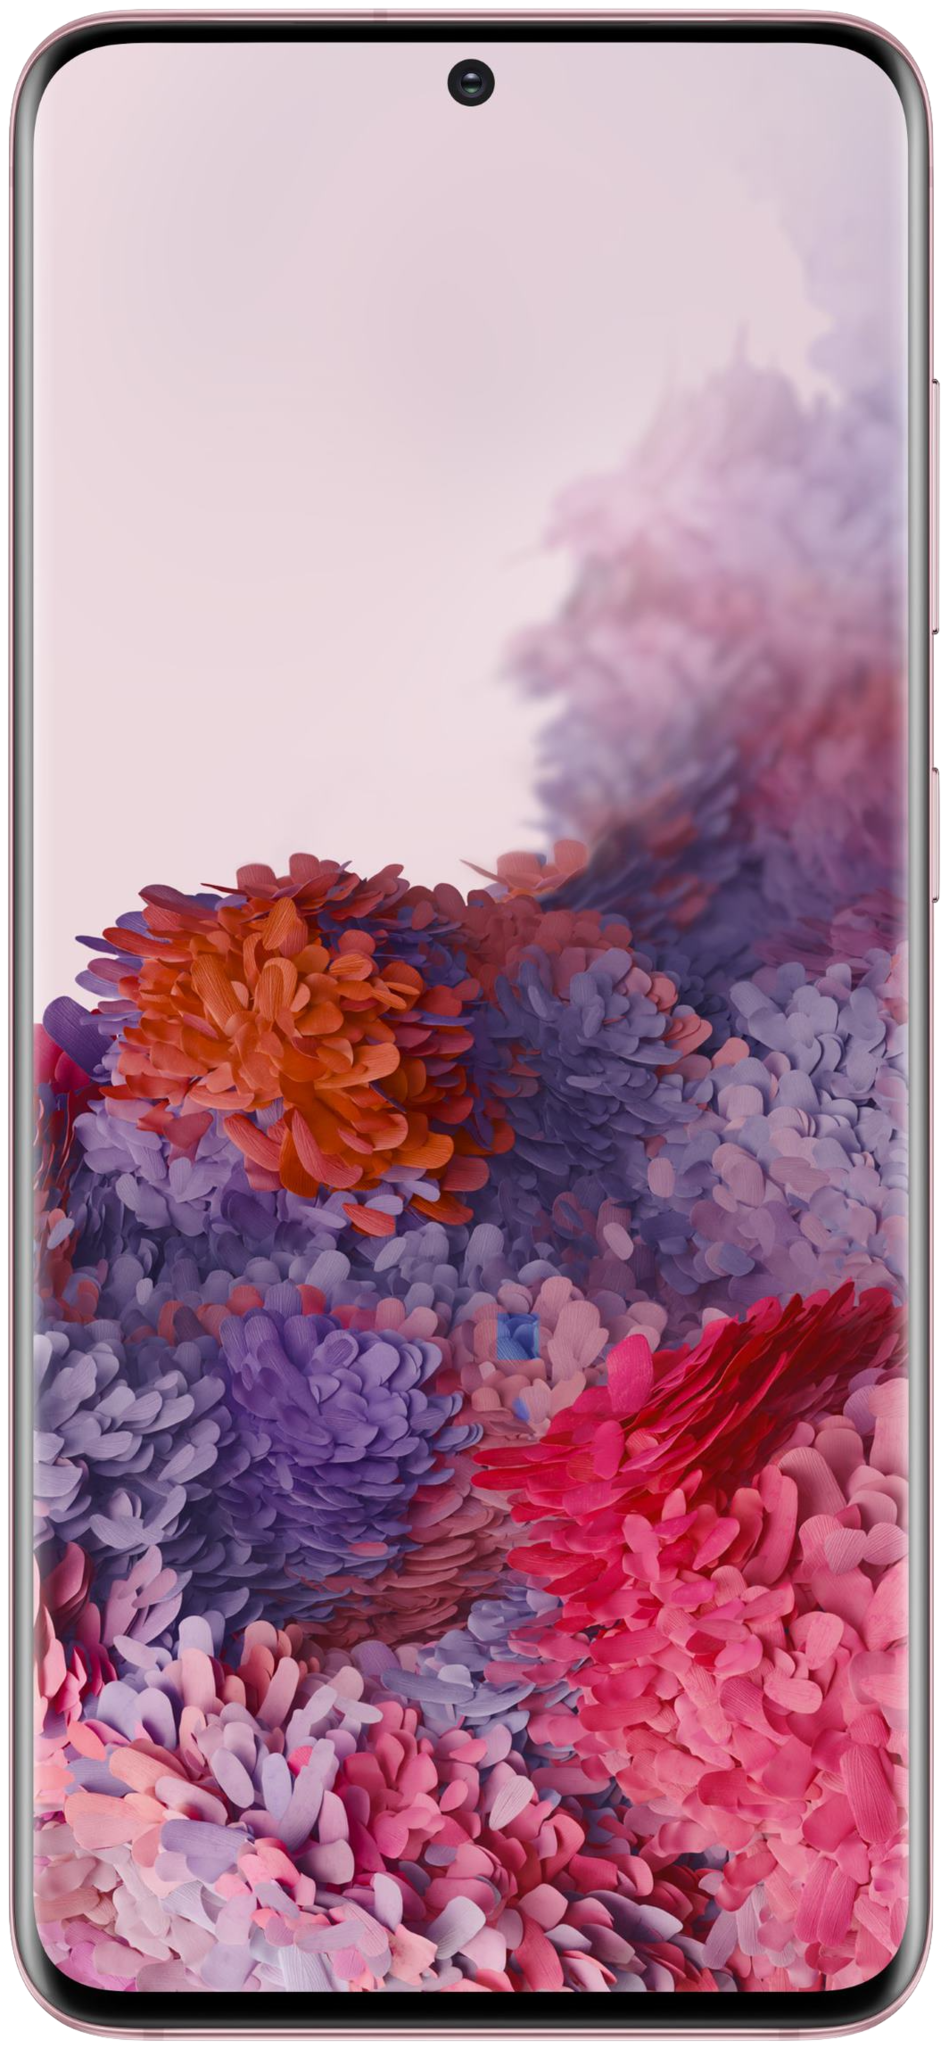
Breaking the seal on the box of a new phone is always an exciting time. You did your research, picked out the exact phone you wanted, and now you have it! When you buy a Galaxy S20, there's a whole lot to get into, to the point where it can be overwhelming and you can forget some of the basics. So, where do you start? Right here.
Remove all of the plastic
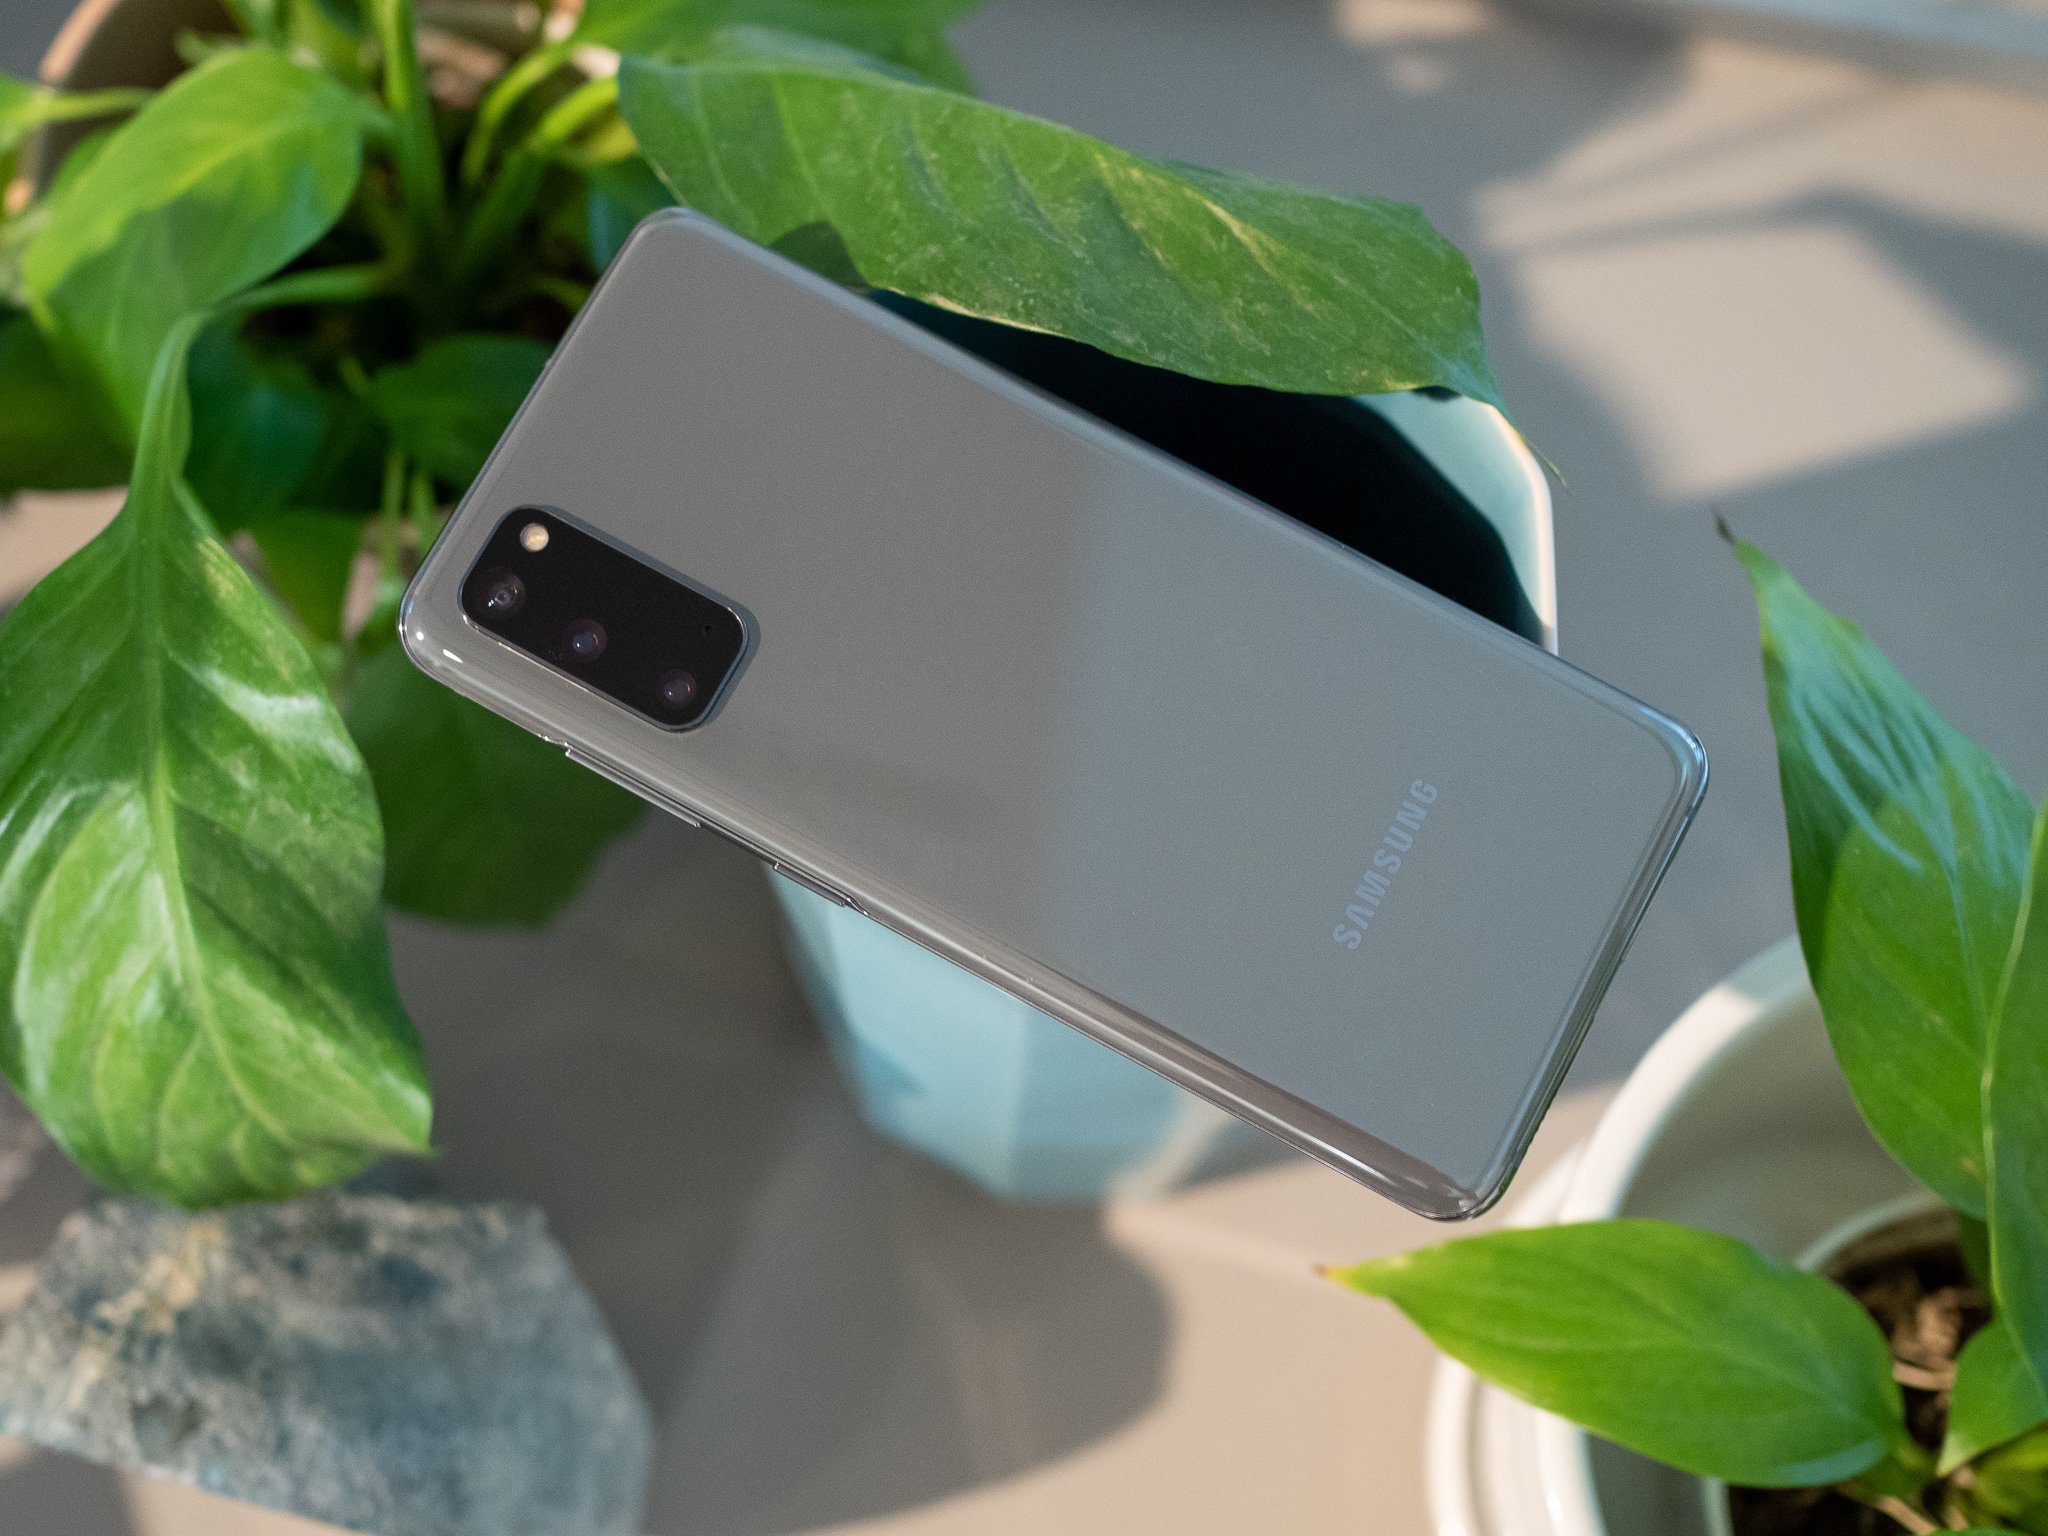
To protect phones during shipment, Samsung covers the Galaxy S20 in plastic. In the excitement to get started using your new phone you'll probably rip the big plastic covering off, and miss the other pieces of plastic film that line its edges. You don't want to use your phone for weeks and not realize that you still have factory plastic on the edges.
You'll find little pieces of thin plastic clinging to the sides, top and bottom of the phone — they're easy enough to lift up with a fingernail and peel off. After close inspection you'll get 'em all, and actually have your phone ready to go.
Remove the factory screen protector
Samsung now ships its phones with screen protectors pre-installed, but that doesn't mean you need to keep it installed. These are inexpensive low-end screen protectors that don't do a whole lot and definitely detract from the feeling of using the phone — we recommend you ditch it right away and get to touching the super-strong Gorilla Glass 6 instead. Your fingers will thank you.
But we also know that a lot of people like to have the protection and peace of mind of a screen protector. If you want a screen protector on your Galaxy S20, you can do way better than the cheap one that ships on the phone. We have a roundup of the best Galaxy S20 screen protectors, which covers the whole range of prices and features. Do yourself (and your phone) a favor and get a real screen protector to replace that pre-installed one.
Best Galaxy S20 screen protectors
Set your screen resolution and refresh rate
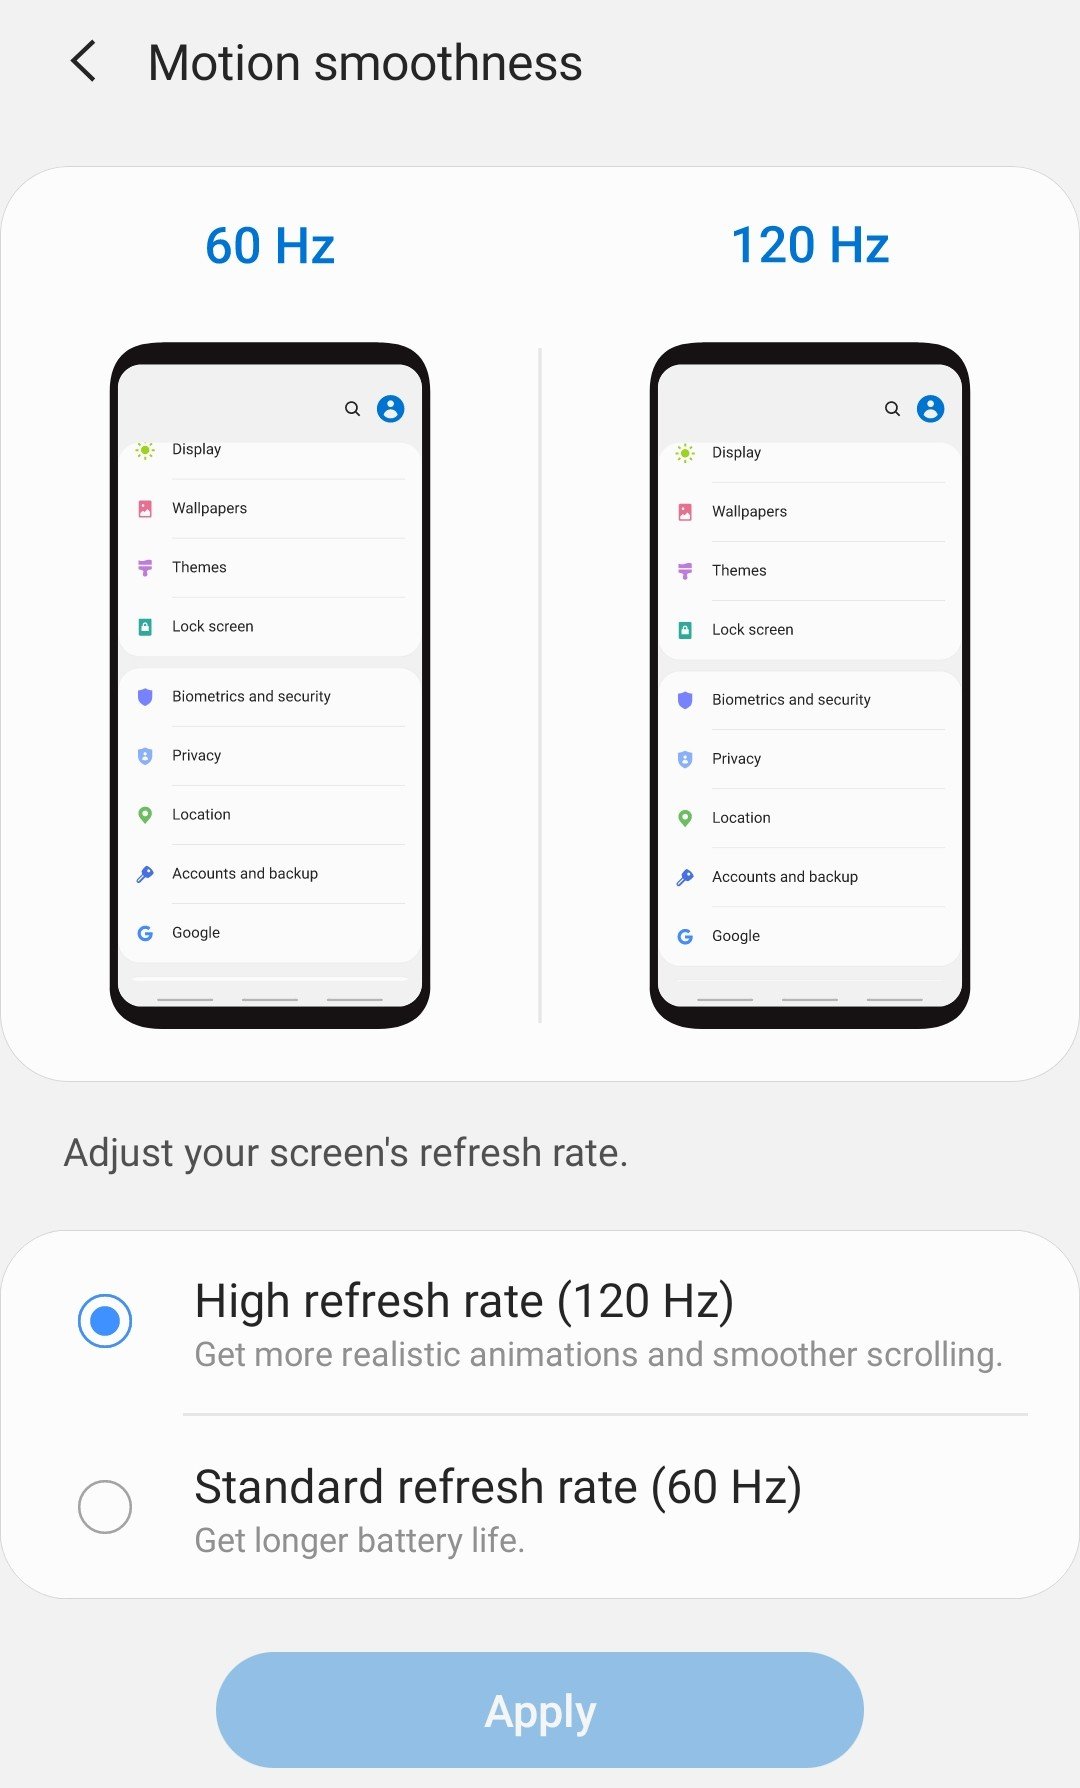
Samsung made a big deal about the S20 series supporting 120Hz refresh rate, and it really is something to get excited about because it looks wonderful. But ... it isn't turned on by default! You need to hop into Settings, Display, Motion smoothness and set it to 120Hz. You'll notice an immediate difference with how smooth any motion on the screen is.
By switching to 120Hz you give up the ability to move to the highest screen resolution, QHD+, but chances are you wouldn't have even noticed. The phone ships in FHD+, so it's what most people are used to as it is, and the 120Hz refresh rate makes a much bigger difference visually than moving to the higher resolution.
The only potential downside to 120Hz mode is that when it's enabled, the screen is going to use somewhere around 25% more battery. Now the Galaxy S20 series has strong battery life, so you can probably switch to 120Hz and still get through a day, but if you're already a heavy phone user and have the screen on for several hours a day, that extra drain may prove to be too much. Regardless, you should absolutely try 120Hz first, because it looks so great, and evaluate from there.
Set your screen zoom, icon size, and font size
Staying in the display settings, you'll find other options that are just as important: making sure you have the display set up to show content at the right size for your needs. Under "Font size and style" you can adjust just the size of the text that's displayed across your phone — both in the interface and in apps. You get eight different sizes to choose from, so tap though and see which one works best for your eyes.
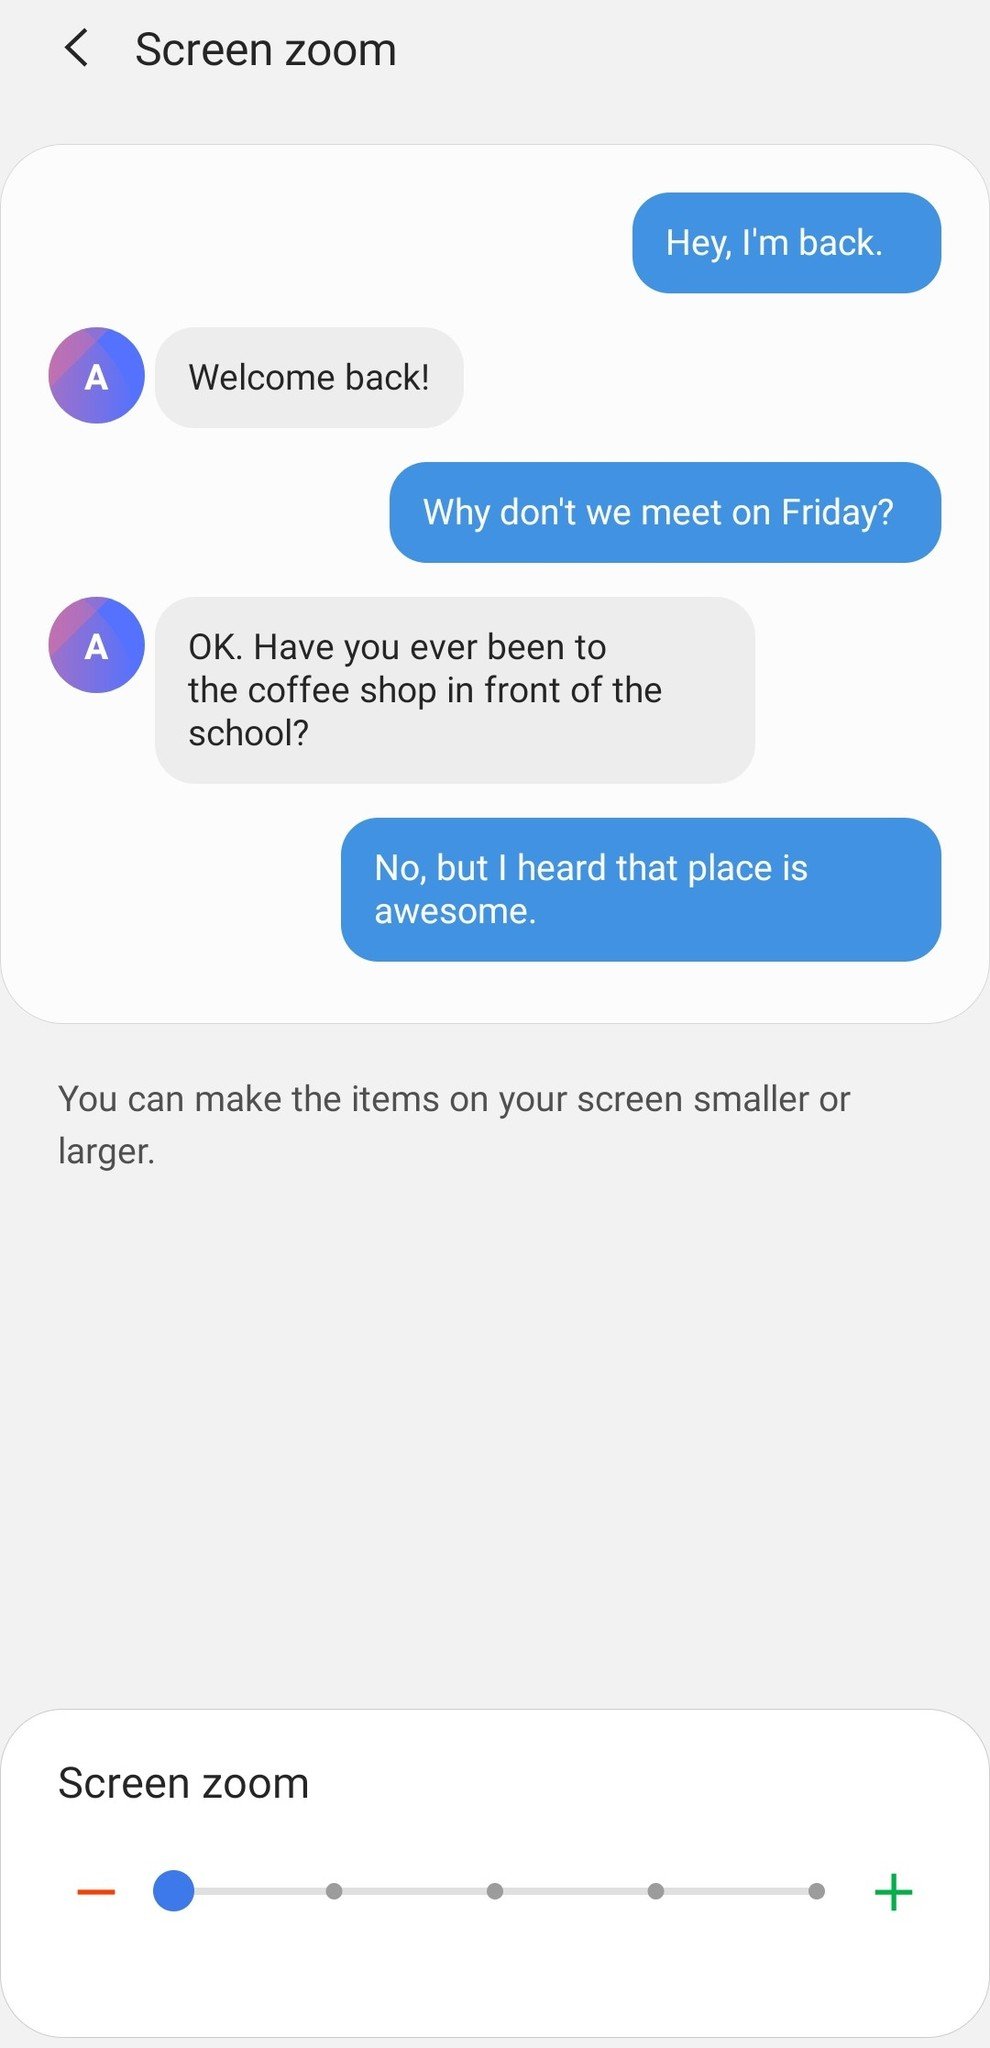
Then you can back out and go into "Screen zoom" to adjust how your phone draws all interface elements, not just text. Again you have multiple levels here, five this time, to choose how big everything is on the screen. Things like buttons, chat bubbles and padding between different parts of the interface will all change — again across everything on the phone, including apps.
What levels you choose will depend fully on your eyesight, preferences and of course which of the three Galaxy S20 models you chose. Tinker with both the font size and screen zoom to find a good combination for you.
Do your best to train the fingerprint sensor
The S20 series has the same fingerprint sensor as the S10 series, which is to say it's not the latest and greatest. That can be frustrating, for sure, but you can give it the best possible chance of working properly if you spend extra time training it.
Re-training the fingerprint sensor properly can make a huge difference in recognition speed.
Chances are in the rush to set up your new phone you didn't give the attention needed to get a great scan of your fingerprint the first time around. Once you've used your phone for a day or two, and have gotten used to how you hold it while unlocking, go back into the settings and erase the fingerprint data and start fresh. There's a good chance just knowing what position to hold your thumb will help this time around.
Additionally, make sure you're paying attention to all of the on-screen prompts during the learning process. Be sure to move and press different parts of your finger to get a complete scan of the print. And make sure your fingers are clean and dry for that first scan — it should be the "cleanest" view of your fingerprint possible.
It's also worth noting that if you set up your phone out of the box with the pre-installed screen protector, but then removed the protector, you'll want to re-teach the fingerprint sensor. The same goes if you swap that protector for a new one in the future. That extra layer can absolutely make a difference in how the sensor recognizes your fingerprint.
Set up blue light filter and dark mode
Just about every phone includes either a blue light filter or a system-wide dark mode, and probably both. But there are separate settings for each one, and for good reason.
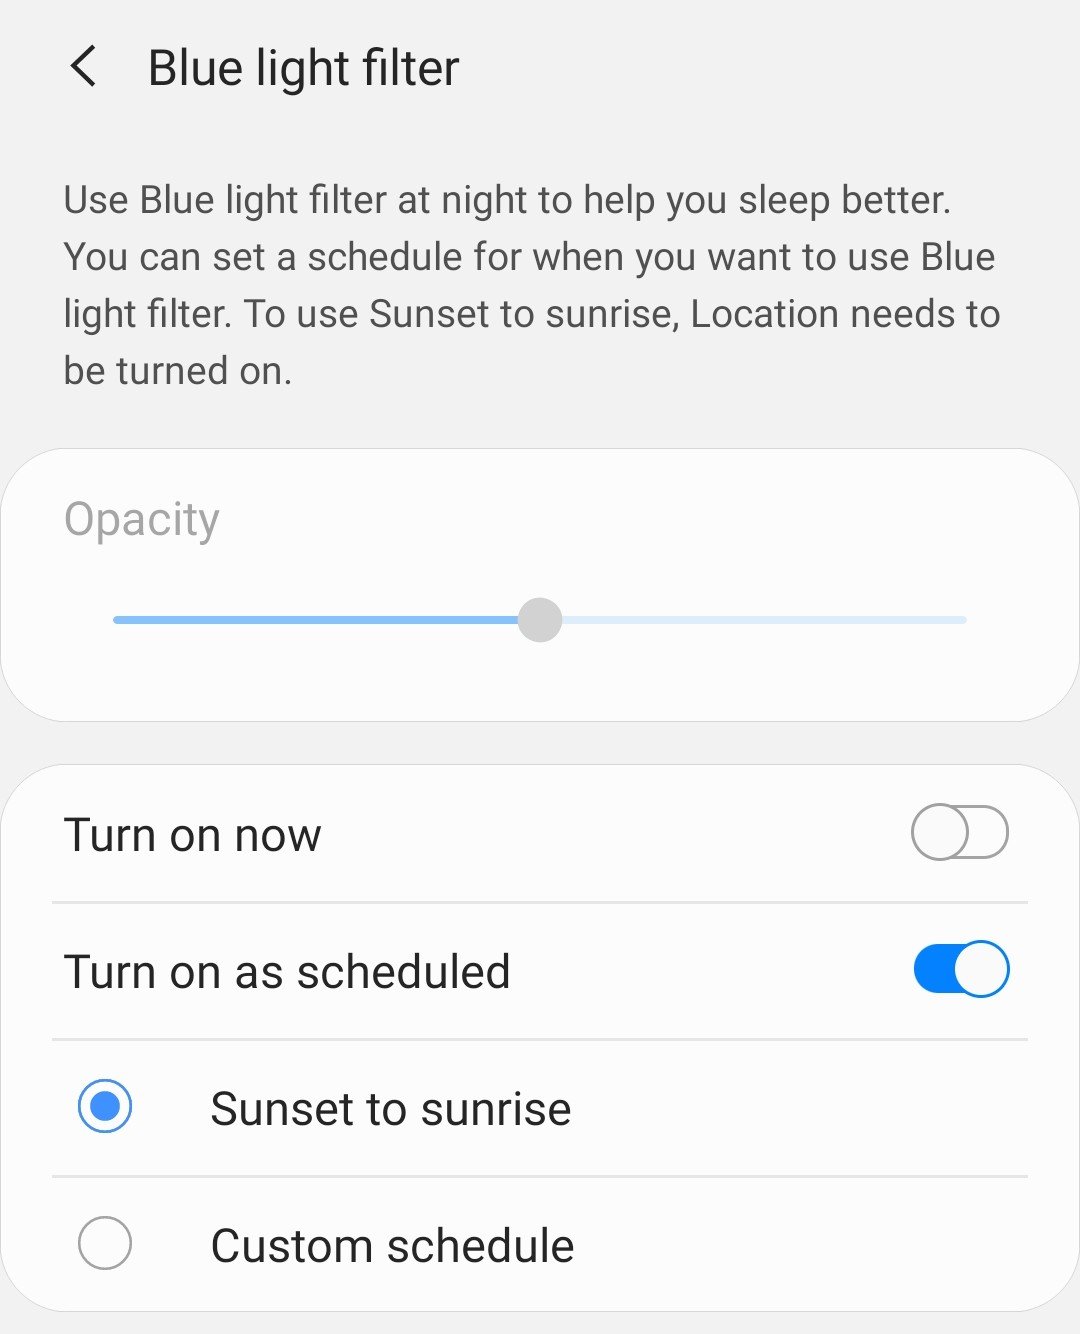
Under Settings, Display and Blue light filter you can control when (and whether) your phone will change the display temperature to reduce blue light output and help reduce eye strain. Most people that like this feature will want it to come on automatically using the "Sunset to sunrise" option, which will adjust based on your location. But you can also set a manual schedule if you prefer. And in either case, you can use the slider in the settings to adjust the intensity of the color shift.
Back in the core display settings, you'll see a toggle at the top for dark mode — you can toggle it on or off right there, and see the change right away. Dark mode in Android 10 is very comprehensive, changing the entire interface but also flipping the dark switch in any app that has a built-in dark mode as well. This is once again a personal preference thing; some people want it on all of the time, some never, and some on a schedule just like the blue light filter. Once again you can choose to have it come on from sunset to sunrise, or make your own schedule.
Both the blue light filter and dark mode can be toggled from the quick settings panel, too, so you can quickly turn them or off — even if they've been triggered by a previously-set schedule.
Choose gestures or standard nav buttons
Even though the S20 ships with Android 10, Samsung leaves its traditional navigation buttons enabled by default — including its odd configuration of using the back button on the right. But you get complete control over the navigation bar in the settings, so you can pick how you want to control your phone. From choosing between navigation buttons, Samsung's gestures or Android 10's gestures, down to individual tweaks within each one.
Go into Settings, Display, Navigation Bar and make your choices. If you've used another Android 10 phone, or want to just give Google's new navigation system a try, choose "Full screen gestures." You can also tap into "More options" and configure the sensitivity of the back gesture, which is made from the left or right edge, to suit how you end up using your phone. Here you can also choose Samsung's gestures it developed before Android 10, which simply replicate the three-button navigation with bottom-up gestures.
Even if you don't want to use gestures, you'll still want to go into the settings if you want to change the order of the three-button navigation. You can choose to put the back button on the left, or on the right.
Protect your investment
The Galaxy S20 series is Samsung's most expensive lineup ever, and that has more people than ever choosing to get a case for their new phone. We've rounded up the best Galaxy S20 cases you can buy, with picks for everyone no matter the price, style or features they need.
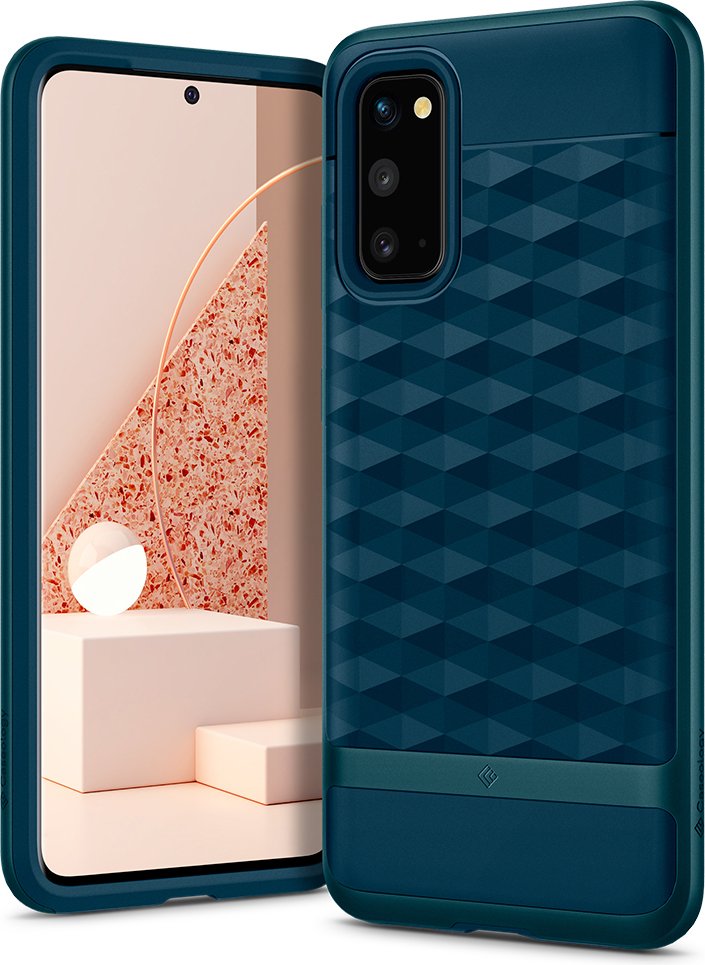
Caseology Parallax
This hybrid honey of a case has a lot in common with the Spigen Neo Hybrid, but it's got better color combos for that great protection, including a new new teal "Aqua Green" that is even more alluring in person than the renders do justice.
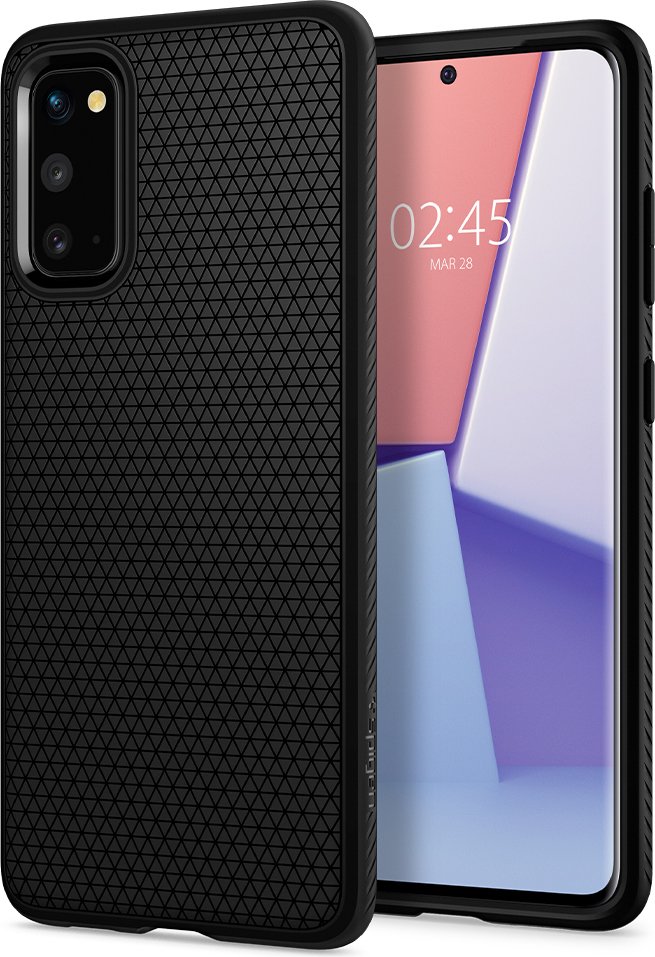
Spigen Liquid Air
Keep your carbon fiber classics and give me the Liquid Air any day of the week. The diamond pattern covering the back is just deep enough to add real grip while still feeling slim and sleek in the hand.
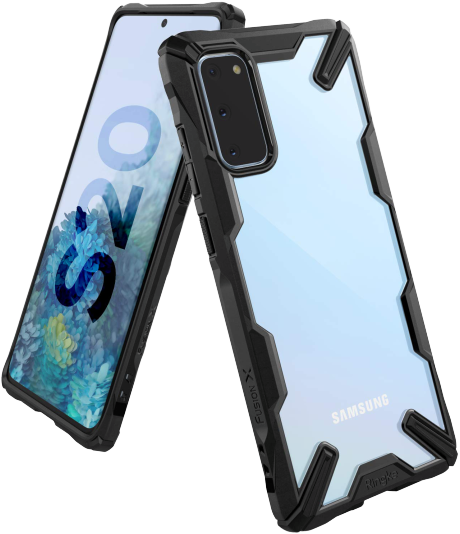
Ringke Fusion X
The Fusion X is one of those cases you'll either love or hate the second you see it. I love it, and if you do, too, this rugged clear case will give you a distinct look and some beefy corner air cushions.
Set up the camera app your way
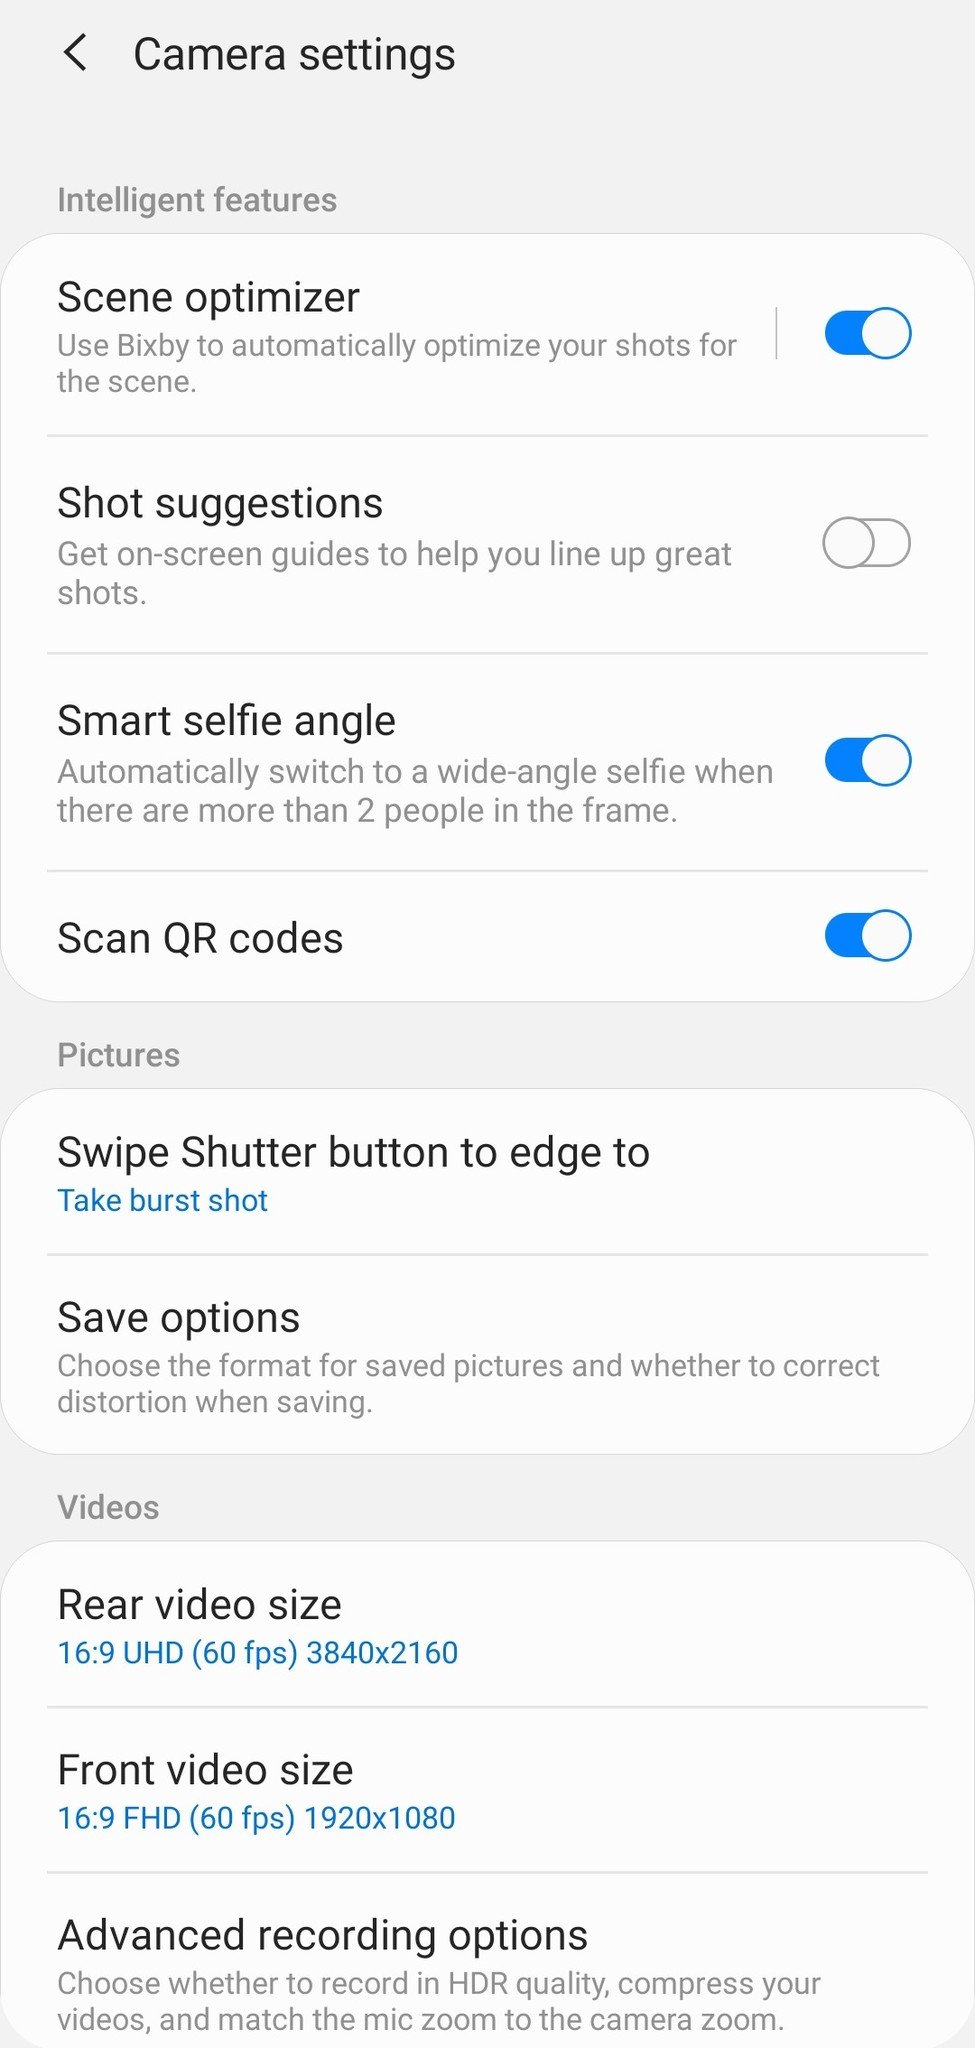
The camera app in One UI 2 is the best iteration yet, and it's really easy to use out of the box. But there are also many settings to get into and configure if you want to tweak things to work your own way. Open up your camera, tap the settings gear in the top-left corner and move through the whole list to see what you can change. Here are some choice settings to check out:
- Smart selfie angle: Leave this turned on. The camera app will toggle to a wider mode, using the whole sensor, whenever it detects there are a lot of people to fit in the shot.
- Rear video size: The Galaxy S20 can shoot at up to 8K resolution, but it isn't turned on by default. That's because you're going to face large file sizes and lose many shooting features. You can consider UHD or FHD resolution in order to get better-stabilized video, tracking auto focus and other features.
- Grid lines: This is a pretty easy one, you should turn on. It seems annoying at first, but it will absolutely help you line up better shots and get flat horizons.
- Shooting methods: Lots of options in here to choose how you capture photos and start recording video, from different button combinations to an extra floating shutter button.
Back in the main camera interface, you can turn off the "beauty mode" that's turned on by default on the front and rear cameras. Tap on the magic wand-looking icon on the opposite corner of the interface, tap on "beauty" and move the smoothness slider down to 0. You'll have to switch to the front-facing camera and do the same there. Samsung already arguably over-smooths facial detail as it is, there's no need to go further with a beauty mode.
Still in the camera, you can change and rearrange the camera shooting modes that show up by the shutter button. Tap on "more" and shift them around however you want. You can rearrange the set in the "more" screen, or drag them down to the bottom bar to have them available at a
Completely disable Bixby
Samsung no longer has a dedicated hardware button for its Bixby assistant service, but that's also introduced a new wrinkle of complication with the power button — or "Side key" as it's called now — because it can now perform multiple functions. Now by default a long-press of the power button will launch Bixby, which you probably don't want — but thankfully, you can customize both the long-press and double-press function of this button.
Go into Settings, Advanced features and Side key to configure it. You can change both functions, bringing back the power-off menu with a long-press if you want, while keeping the double-press camera quick launch option too. Either way, having control over what this hardware key does is a big improvement.
How to completely disable Bixby on a Samsung phone
Get More Galaxy S20
Samsung Galaxy S20, S20+ & S20 Ultra

Tidak ada komentar:
Posting Komentar