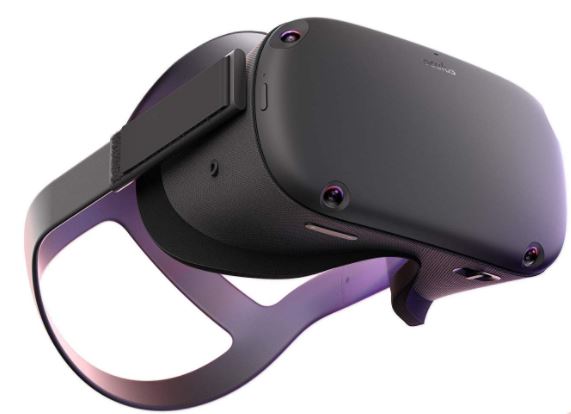
The Oculus Quest has built-in speakers that support spacial audio, and they work well, but you can get an even better sound experience by using a good pair of headphones. Headphones will improve sound quality and allow you to enjoy VR without projecting sound to everyone around you. If your headphones of choice are wired, you're in luck because it's just plug and play to use any wired headset. If you want to use wireless headphones, it's significantly more complicated.
Products used in this guide
- Liberating VR: Oculus Quest ($399 at Amazon)
- Rich and comfortable: SteelSeries Arctis 5 RGB Illuminated Gaming Headset ($80 at Amazon)
How to use wired headphones
Wired headphones are the way to go on the Oculus Quest. They're literally just plug and play. There is an audio jack on both sides of the headset. You can plug a pair of headphones into either side or plug a separate headphone into each side.
- Plug in headphones.
It's that simple. Just like on a phone, PC, or many other devices with an audio jack, you just need to plug in your headphones to use them.
How to use wireless headphones
Using wireless headphones is an entirely different animal. The Oculus Quest is a completely untethered headset when it comes to what powers the device. You don't need a PC, phone, or any external sensors to use your Oculus Quest for VR. But the wireless nature of the Oculus Quest does not extend to headphones. Using wireless headphones is technically possible, but you'll have to jump through a lot of hoops, and even then it might not work with all types of headphones.
Unlocking developer mode
The first thing that you need to do with your Oculus Quest to use wireless headphones is unlock developer mode. This is done through the Oculus app on your phone.
- Open the Oculus app.
- Select Settings.
-
Select your Oculus Quest headset.
- Tap the arrow to the right of your device name to drop down more options if they do not show up immediately after selecting your device.
- Select **more settings*.
- Select developer mode.
-
Toggle the developer mode setting to on.
- This opens a website (unless you've unlocked developer options on an Oculus device before).
- Scroll down and select the link below create an organization.
- Log in to your Oculus account
- Enter the name of your "organization" (this can be anything).
- Select submit
- Agree to the terms of agreement.
- Open the Oculus app again.
- Select Settings.
- Select your Oculus Quest headset.
- Tap the arrow to the right of your device name to drop down more options if they do not show up immediately after selecting your device.
- Select **more settings*.
- Select developer mode.
- Toggle the developer mode setting to on if it isn't already switched on.
Get your Oculus Quest ready for sideloading APKs
Next, you'll have to get your Oculus Quest ready to sideload APKs. This requires your PC and a cable that can connect your Oculus Quest and your PC. This allows you to sideload any APK that you want onto your device, which is important for this process, which requires sideloading a settings app. To get your Oculus Quest ready, you'll have to download ADB.
- Go to https://developer.android.com/studio/releases/platform-tools.
- Select Download SDK Platform-Tools for Windows.
- Open your File Explorer.
- Locate platform tools_r28.0.3-windows.
- Right-click platform tools_r28.0.3-windows and select extract all
- Select a file location and select extract.
- Plug your Oculus Quest into your PC. Drivers download automatically.
-
Open Command Prompt by pressing Windows+R, typing "CMD" and pressing enter.
- Go to File Explorer and copy the address text of the folder that you extracted ADB to.
- After your user name in Command Prompt, type "CD" and paste the folder text address.
- Press Enter.
- After the ">" at the bottom of Command Prompt, type "ADB devices".
- Press Enter.
- You now have to authorize the PC to connect to the headset by putting on your headset.
- Inside the Oculus Quest, check Always allow from this computer.
-
Select OK.
- Make sure to leave the Command Prompt open. This will save you steps later.
You can now sideload apps to your device. Command Prompt isn't forgiving. If a space is missing or one character is out of place, a command won't work. If you run into any issues, look at the Command Prompt screenshot that I've taken and make sure that yours looks exactly the same.
Sideloading a specific settings app
Now, you need to sideload a specific settings app onto your Oculus Quest. A user on reddit, TyHurd has uploaded the Settings app we need.
- Download the settings app here.
- Locate Settings_1.0.apk from your downloads and copy it.
- Paste it in the same folder you have ADB installed.
- In Command Prompt, after the ">" from the session you had previously opened, type "ADB install Settings_1.0.apk".
- Press Enter.
The Settings app is now sideloaded onto your Oculus Quest.
Enable Bluetooth on Oculus Quest
With developer mode enabled and the Settings app sideloaded, you are now ready to enable Bluetooth settings on your Oculus Quest. The settings app we installed allows you to access the Android settings of the device, including Bluetooth.
- Inside your Oculus Quest, open Oculus TV.
- Select the black box listed under "Unknown Sources."
- Select Bluetooth.
- Select your headphones, and they should pair.
This setup won't work with all Bluetooth headphones. And even if it does work, you might experience latency issues. After all, latency issues are why the makers of the Oculus Quest chose not to enable this by default in the first place. But if your headphones can pair, and you have low-latency headphones or happen to luck out and not deal with latency issues, you now have Bluetooth headphones paired to your Oculus Quest.
Our top equipment picks
While the Oculus Quest has built-in speakers, good headphones will provide higher quality audio and more immersive gameplay. While you can use some wireless headphones in the right circumstances, the best experience will come from using a good pair of wired headphones.
Immersive VR
Oculus Quest
Immersive and captivating
The Oculus Quest provides an immersive VR environment thanks to its lack of external wires or sensors. When you use headphones in conjuction with these, you can dive even deeper into VR.
Comfortable and affordable
SteelSeries Arctis 5 RGB Illuminated Gaming Headset
Comfortable and rich
These over-ear headphones have Airweave ear cushions that make them comfortable enough to wear during long VR sessions. They also support 360-degree audio and are built to reduce distortion.
These headphones will fit over your Oculus Quest and your ears. They're built for comfort so you won't have to fiddle with them or take them off during longer VR sessions. They're also a great pair of headphones to use if you need to do any PC gaming.
Additional Equipment
The Oculus Quest has everything you need to run it in the box, but you can still add some accessories to enhance the experience and help you take it with you on the go.
Oculus Quest Travel Case
This case will protect your Oculus Quest when you're on the go and has enough room for the headset and Touch Controllers.
Quest Deluxe Strap
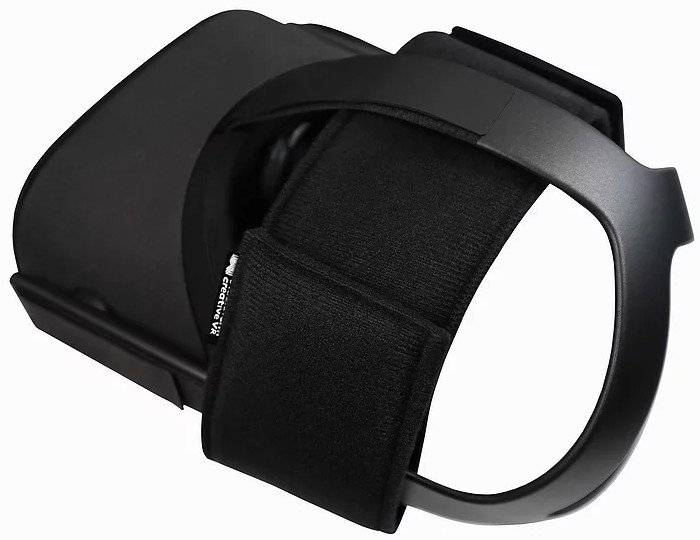
This strap adds another layer of support to the head strap that's built into the Oculus Quest. It helps distribute weight across your head to improve comfort, which is important for longer sessions.
Panasonic rechargeable batteries
These batteries can be recharged up to 2,100 times and are a great way to keep your Touch Controllers charged and ready to go.


Tidak ada komentar:
Posting Komentar